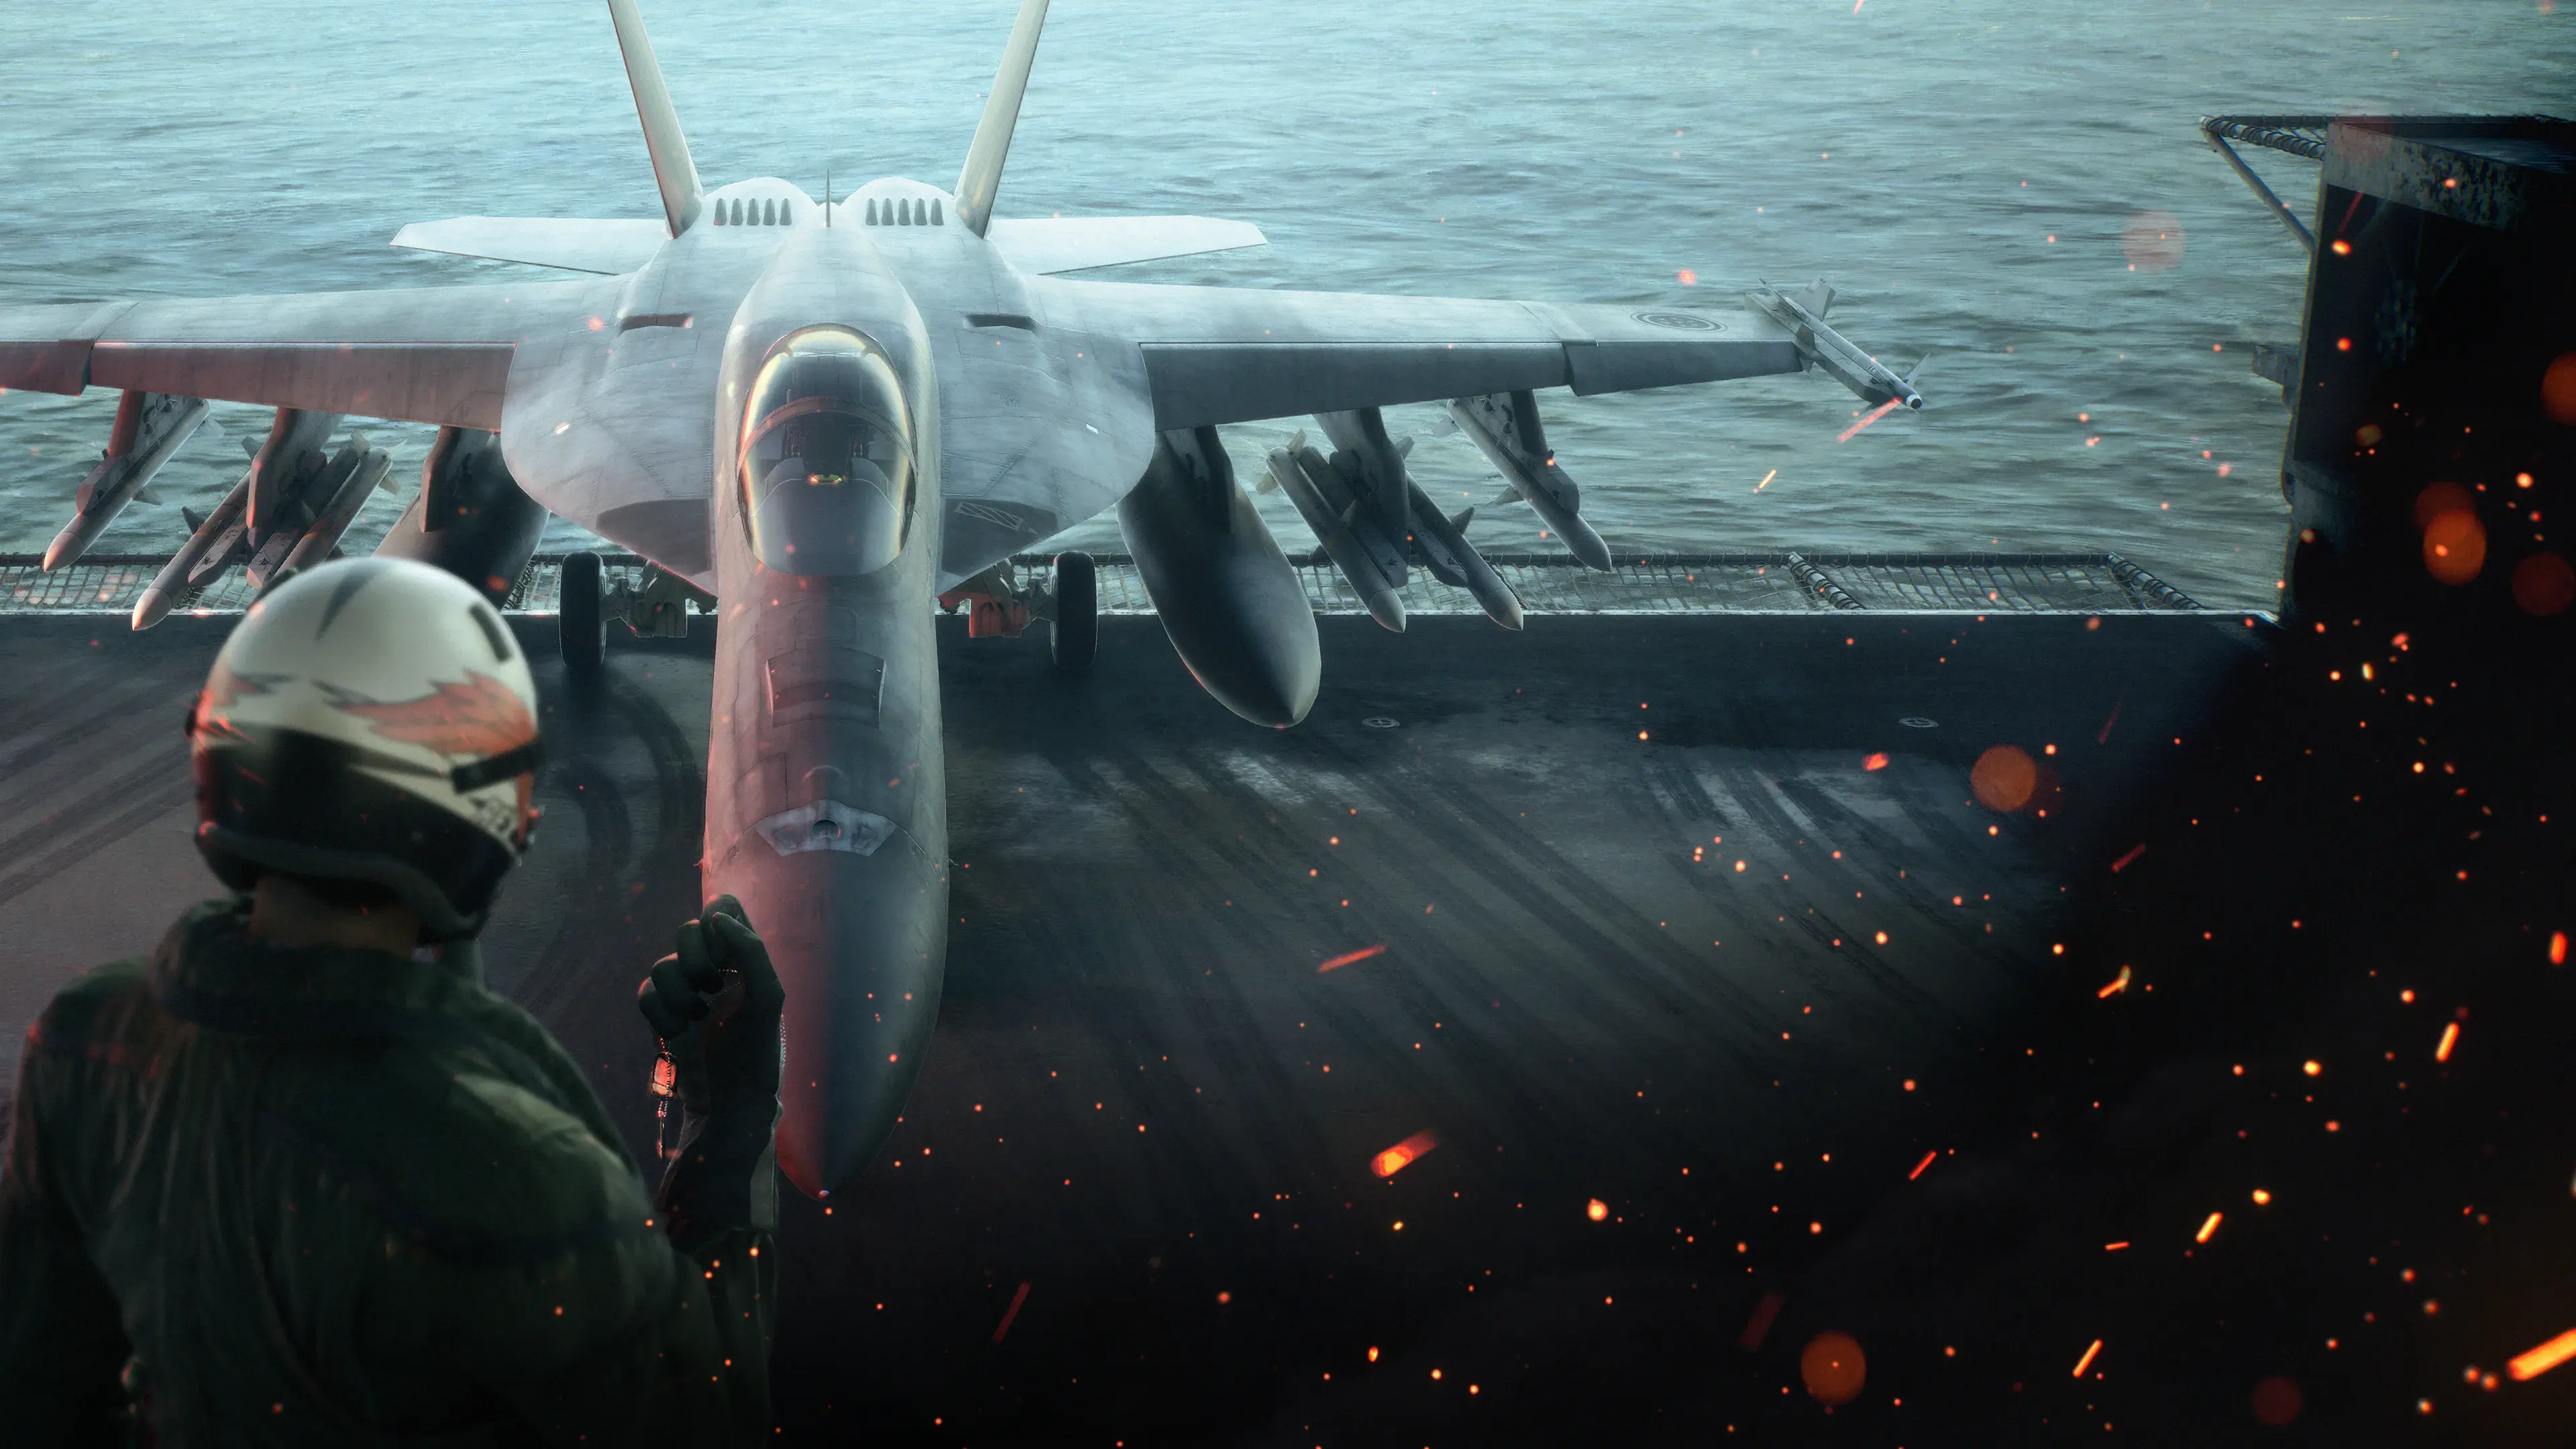
Current ACE COMBAT 8 player reports place the Campaign second special-weapon unlock after completing Mission 6. When the second selection is available in your save, sortie setup lets you choose a first and a second special weapon. The two choices share the aircraft's available hardpoints, so equipping a second type reduces the ammunition assigned to each. Choosing NO WEAPON for the second selection keeps the single special weapon configuration and its larger ammunition supply.
The Mission 6 milestone comes from a current AC8 Steam community reply. It has not been independently reproduced here or confirmed by a publisher unlock table. If your cleared save still lacks the second selection, use the checks below and report that exact state rather than treating this as a verified build-wide guarantee.
This answers the common situation in which selecting one weapon immediately sends you to the formation screen. Early campaign setup does not necessarily expose every loadout option. Buying another aircraft or restarting the same menu cannot substitute for completing the campaign milestone. Check your cleared missions first, then return to aircraft and weapon selection.
This guide covers the second special weapon slot. It does not promise that every aircraft can carry every weapon, or that campaign progression unlocks the same option in Online. Each aircraft has its own compatible choices, and Online progression must be checked against the descriptions shown in that mode.
Check the campaign milestone before changing your loadout
If you are still before Mission 6, continue the campaign with the single special weapon that best fits the briefing. You do not need to make an unusual purchase to repair the missing second selection. The practical checkpoint is a completed Mission 6, followed by a fresh look at the hangar's weapon setup.
Distinguish reaching a mission from clearing it. Seeing Mission 6 in your mission list is not the same as having completed its objective and returned through the results flow. If you stopped midway, retried, or opened an earlier mission from a replay list, check the campaign's actual clear state before assuming the second slot should be present.
Once the mission is cleared, start the next sortie preparation normally. Select the aircraft you intend to fly, then inspect both special weapon entries. This is a cleaner check than repeatedly entering an aircraft purchase screen: the feature concerns the sortie's weapon configuration, while the purchase screen concerns which aircraft and equipment you own.
If the second selection still seems absent, finish the preparation steps in order and look at the resulting loadout before launching. A familiar sequence of menus can make a new step easy to dismiss. Record which mission is cleared, which mode you are in, and the exact menu entry you see. Those details identify the problem more reliably than the statement that a weapon is missing.
Find the two special weapon entries in the hangar
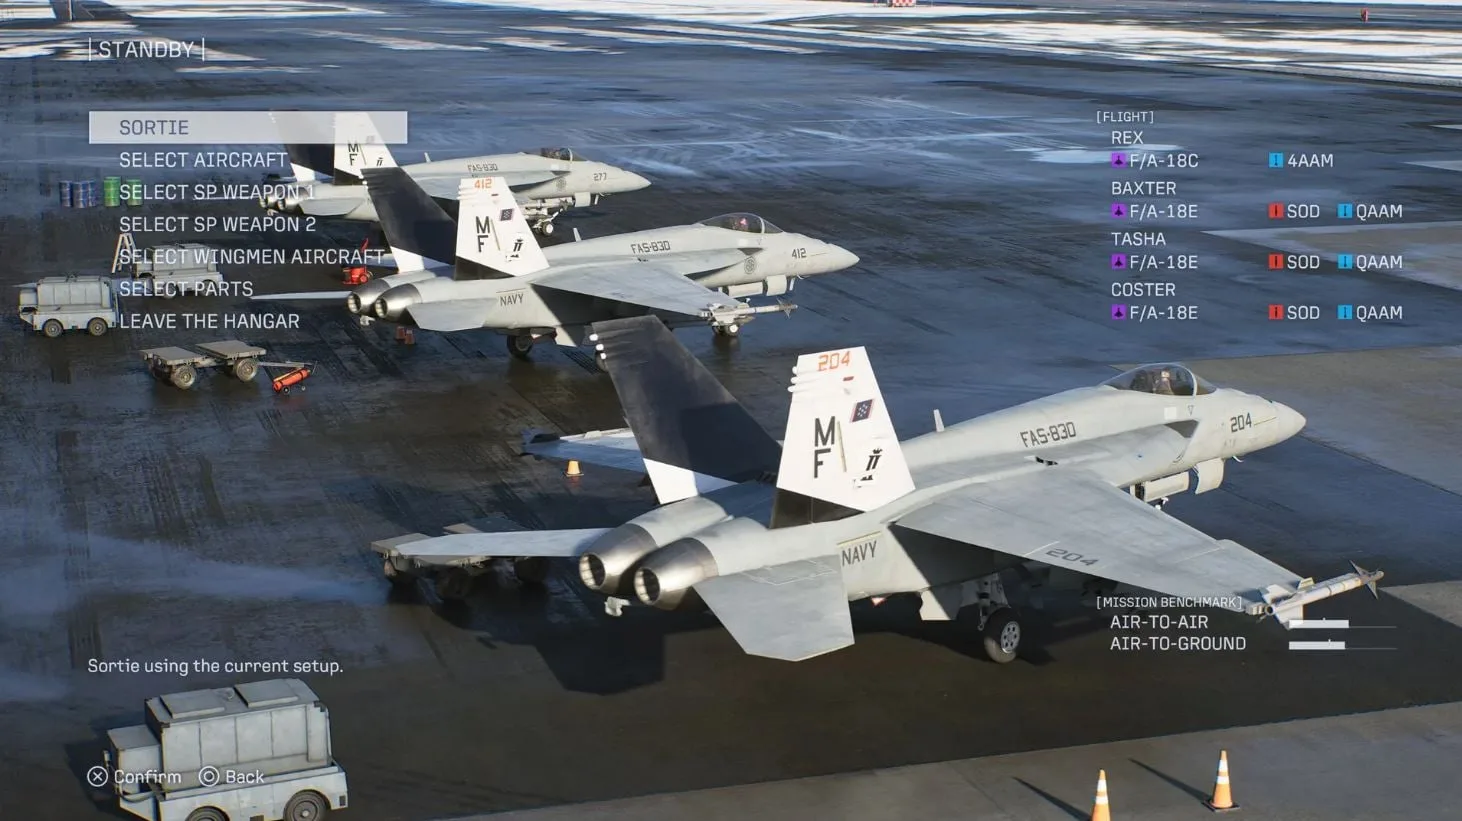
The hangar separates the two special weapon selections from aircraft and wingman setup.
The hangar interface distinguishes SELECT SP WEAPON 1 from SELECT SP WEAPON 2. Use those entries to check the two selections independently. An aircraft choice, a wingman assignment, and a special weapon selection are different parts of preparation; changing one does not prove that the other has changed.
A straightforward setup sequence is:
- Read the mission briefing and decide whether your main work will be against aircraft, surface targets, or a mixture.
- Choose an aircraft whose available special weapons can cover that work.
- Select the first special weapon for the objective you expect to tackle most often.
- Open the second special weapon selection and choose either a different compatible type or NO WEAPON.
- Compare the ammunition displayed for the final configuration before confirming the sortie.
The fifth step is essential. A second option is useful only if it solves a problem that justifies carrying less of the first. A mixed loadout can look more versatile in the menu while being less convenient during a mission dominated by one target type.
Do not infer compatibility from another aircraft's menu. Two aircraft may share one weapon and differ on their remaining choices. If a desired pairing is unavailable on the selected aircraft, check that aircraft's actual list rather than assuming that the second slot has failed to unlock.
What changes when you equip a second special weapon
With one special weapon, the available hardpoints are filled for that selection. Adding a different second weapon divides those hardpoints between the two types. The result is a lower ammunition capacity for each type than its single weapon configuration.
That does not establish a universal fifty percent split. Different weapons and aircraft should be evaluated through the ammunition shown in their own loadout screens. Read both quantities after making the second choice; do not carry a remembered number from another aircraft into your sortie planning.
The tradeoff is between depth and coverage. A single weapon configuration gives you more opportunities to repeat one kind of attack. A mixed configuration gives you a second tool, but fewer opportunities with either tool. Neither choice is automatically superior because the campaign milestone has unlocked an extra slot.
Consider the attacks that you regularly have to repeat. If you spend most of a mission returning to the same class of ground target, a dedicated surface weapon configuration may be easier to manage. If a mission asks you to move between air combat and ground objectives, a complementary pair may prevent your special weapon from becoming irrelevant during one part of the sortie.
Your standard weapons still matter when evaluating that choice. The second special weapon is part of the whole loadout, not a requirement to solve every encounter through special ammunition. Plan when each weapon earns its place, and retain an ordinary attack option for targets that do not require the more specialized tool.
When to choose NO WEAPON for the second slot
NO WEAPON is a valid loadout decision. It leaves the first special weapon as your only special type and preserves the ammunition capacity associated with that single selection. Use it when the second option would solve a rare inconvenience while reducing a resource you need repeatedly.
For example, you may already be comfortable handling a mission's occasional secondary targets with your normal weapons. In that case, carrying a second special type just for those targets can weaken the loadout you use for the main objective. Keeping one type is a deliberate specialization, even after two types become available.
The same reasoning applies during practice. If you are learning a weapon's lock behavior, approach angle, or release timing, a single weapon configuration gives you a simpler set of decisions. You can become consistent with the first weapon before adding another mode of attack and another ammunition count to monitor.
Revisit the choice after a sortie. If you repeatedly wish for a second tool, the mixed configuration is worth testing. If the second tool remains unused while the first runs short, NO WEAPON may fit that mission better. Evaluate what happened in flight instead of treating the extra slot as an instruction to fill it.
Why selecting the same weapon twice does not add a second stack
Selecting the same special weapon in both positions does not create two independent copies with doubled ammunition. The resulting behavior is equivalent to retaining a single special weapon configuration. If your goal is to carry more ammunition for one type, use the single weapon setup and check its displayed capacity.
This matters because the two menu entries describe two selections, not two unlimited storage compartments. Their purpose is to let you configure different compatible special weapons, with the hardpoint tradeoff described above. Repeating a selection does not bypass that tradeoff or create a new weapon tier.
A quick menu comparison can resolve the confusion. Note the ammunition with the first weapon selected and NO WEAPON in the second slot. Then compare it with the same type selected twice. Do this before the sortie, where the numbers are easier to inspect and no mission pressure is competing for your attention.
If you want variety, choose a genuinely different weapon with a different job. If you want capacity, stay with the single type. Keeping those goals separate makes the setup process much faster than experimenting with repeated selections in the hope of an undocumented bonus.
Choose a pairing by its jobs, not by its names
Start with the mission's required targets. The first weapon should support the job that is both common and costly to perform badly. The second should cover a distinct job that your first weapon and ordinary weapons handle poorly.
A pairing has less value when both choices are being used for essentially the same attack. That overlap can be useful for a specific plan, but it needs a reason: different targeting behavior, a different approach, or a different group of targets visible in the briefing. Simply equipping two available types does not establish that they complement each other.
Keep the plan concrete. Decide which targets receive the first special weapon and which receive the second before taking off. During the mission, revisit that plan when the objective changes. It is easier to adapt a clear plan than to remember which weapon you happened to select whenever a target appears.
A mixed configuration also adds a small attention cost. You must monitor the active selection as well as both ammunition reserves. Before committing to an attack, verify that the selected weapon matches the target you are approaching. A well chosen pair can still be wasted if you repeatedly fire the wrong type because you are relying on the previous engagement's selection.
Campaign and Online do not share a proven unlock threshold
The campaign's Mission 6 answer should not be turned into an Online level requirement. Online has its own aircraft development and equipment context. The available information does not establish one reliable aircraft level that unlocks the second special weapon selection for every Online situation.
If you are troubleshooting Online, inspect the aircraft's upgrade descriptions and its current weapon setup in that mode. Check whether you are looking at the aircraft you fly or equipment assigned to a wingman. Record the exact requirement stated in the interface rather than borrowing a number from a campaign guide or another player's different configuration.
In particular, an aircraft reaching a certain level does not, by itself, prove that every possible weapon option has been activated. A level, an owned weapon, a selected weapon, and an available second slot describe different states. Confirm each relevant state in the current menu before spending additional resources.
Your second slot and your wingman's weapon are different decisions
Wingman special weapons follow the aircraft assigned to that wingman. Your own two weapon choices do not turn the wingman setup into a second copy of your personal loadout menu. If you are trying to change a wingman's support equipment, inspect the wingman aircraft selection rather than your second special weapon entry.
This distinction helps when an electronic warfare support aircraft appears to carry something you did not buy for your own aircraft. The wingman's preset role and your personal weapon inventory can produce different visible equipment. Do not use one as proof that the other has unlocked or lost a weapon.
Before you launch
Confirm a completed Mission 6 for the campaign, the correct aircraft, two compatible selections, and the ammunition shown for the final configuration. Choose NO WEAPON when a larger supply of the first type is more useful than the coverage of a second. In flight, check the active selection before each new attack and judge the pairing by whether both weapons actually serve the mission.
A second special weapon slot expands your choices. Its best use is a specific plan for the sortie, with the ammunition tradeoff understood before takeoff.