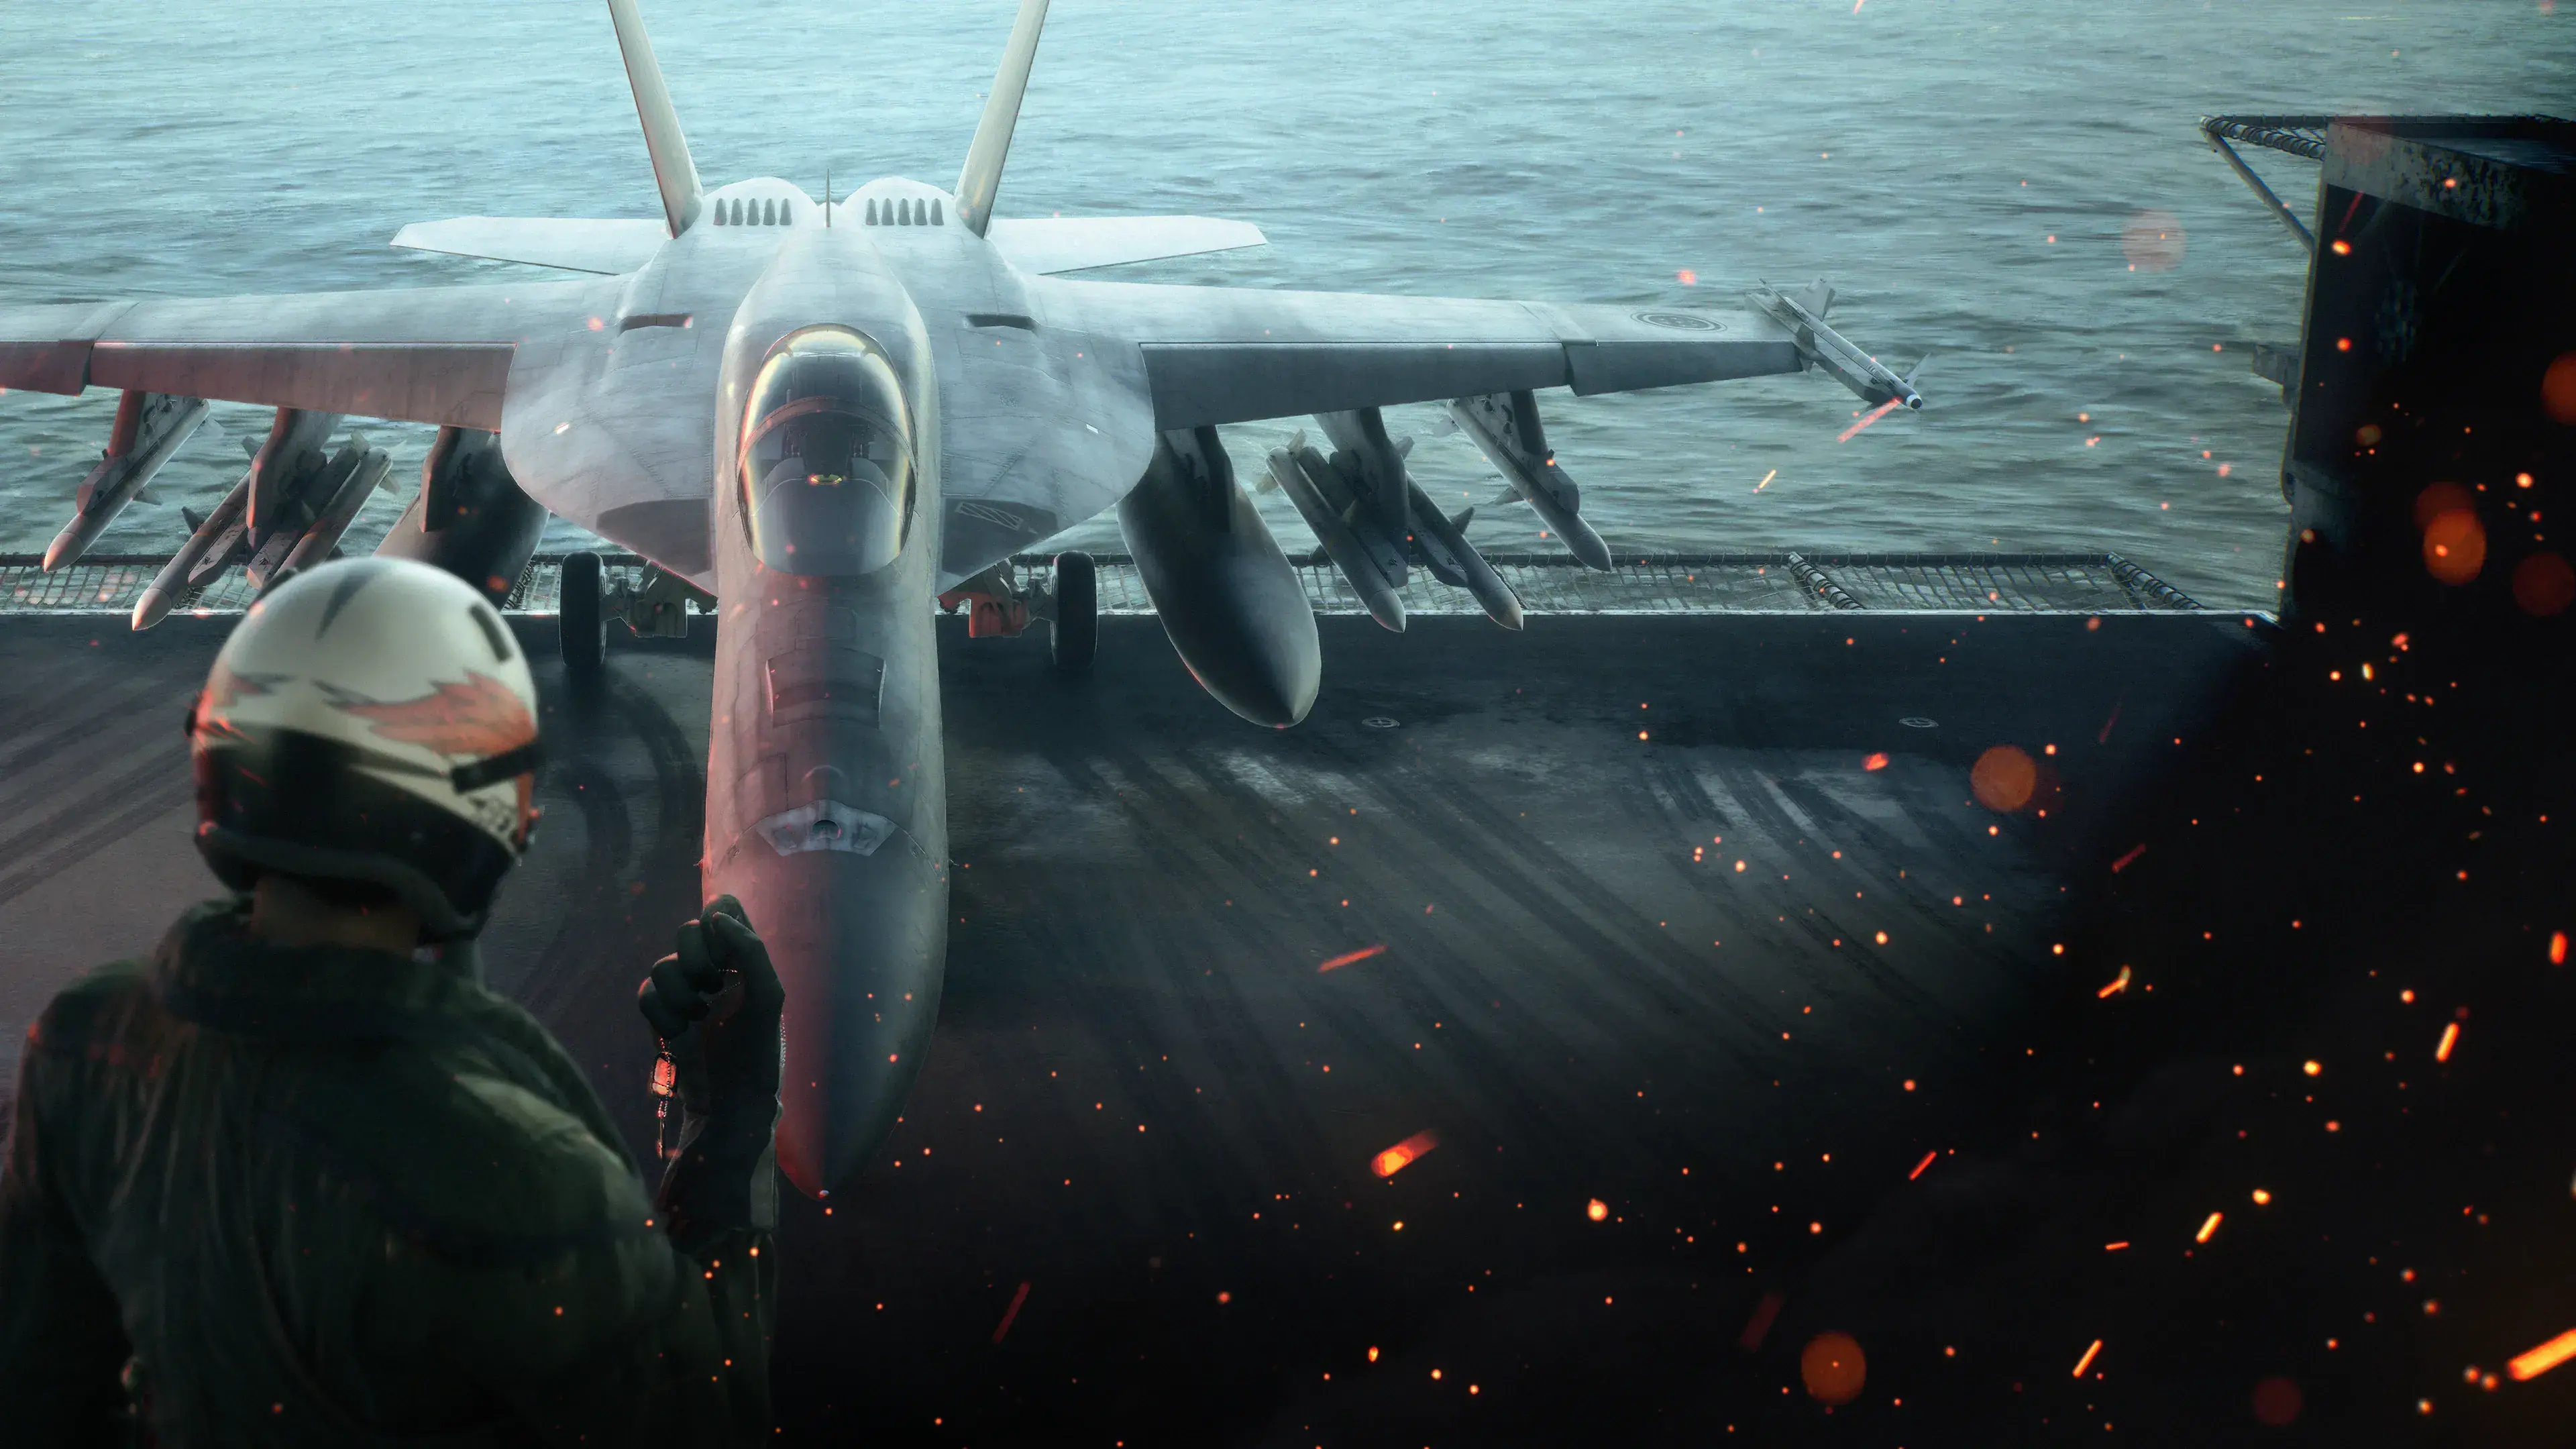
Spoiler warning: This walkthrough reveals every objective change and the final phase of Mission 9, “The Land Battleship Blockade.”
To clear Ace Combat 8 Mission 9, protect the allied vehicles marked IED VEHICLE until they expose the Land Battleship’s secondary treads. Destroy all eight secondary treads—four on each side—then follow the operation toward the final containment line. When Remaining Distance appears, immediately attack the marked building. After the battleship starts moving again, destroy both rocket thrusters.
The most important rule is to follow the current objective rather than attacking whatever looks dangerous. The Land Battleship changes how it moves several times, and each phase has a different solution. You can remain airborne and still fail if the ship reaches the ENO Special Zone or you ignore the timed demolition target. Losing an IED vehicle also prevents it from exposing the protected tread armor.
Mission 9 objective sequence
| HUD or mission cue | Immediate action | Common mistake |
|---|---|---|
| IED VEHICLE approaching the ship | Protect the vehicle and clear threats along its route | Attacking armor that cannot yet be damaged |
| Secondary tread exposed | Attack the newly available tread target | Continuing to chase aircraft after the opening appears |
| Multiple tread markers active | Destroy all eight, preferably grouping passes by side | Mistaking a slowdown for completion |
| Remaining Distance displayed | Turn toward the marked containment building and attack it | Finishing an optional target before changing course |
| Rocket thrusters marked | Destroy both propulsion targets | Returning to the wider defensive battle |
Treat every objective update as a reset of your priorities. A target that mattered ten seconds earlier may become a distraction as soon as the next phase begins.
Prepare for a long air-to-ground fight
Mission 9 is built around repeated attacks on vehicles, weapons, structures, and low-mounted components. A reliable air-to-surface option therefore makes the central objectives easier to manage. This is a loadout recommendation, not a requirement: use an aircraft and weapon combination that is actually available in your campaign and that you can control confidently around buildings.
Keep these needs in mind before launching:
- Bring a dependable way to damage surface targets across several phases.
- Retain standard missiles or another practical answer to aircraft and UAVs threatening the convoy.
- Avoid spending all special-weapon ammunition on early defensive targets; later objectives include eight treads, a demolition target, and two thrusters.
- Favor controlled attack runs over maximum speed. Many required components sit low beside the hull, where a rushed approach can leave too little space to turn away.
- Decide which weapon you will use against exposed components before the first IED vehicle reaches the ship.
You do not need a particular late-game aircraft for a first clear. Consistent aiming, ammunition control, and fast reactions to objective changes matter more than copying a replay-oriented setup.
Protect the IED vehicles and expose the armor
The secondary treads begin behind armored side skirts. Joker Flight cannot open those panels by repeatedly firing at the hull. Allied remote-controlled bomb trucks, shown on the HUD as IED VEHICLE, must reach the Land Battleship and detonate beneath the armor.
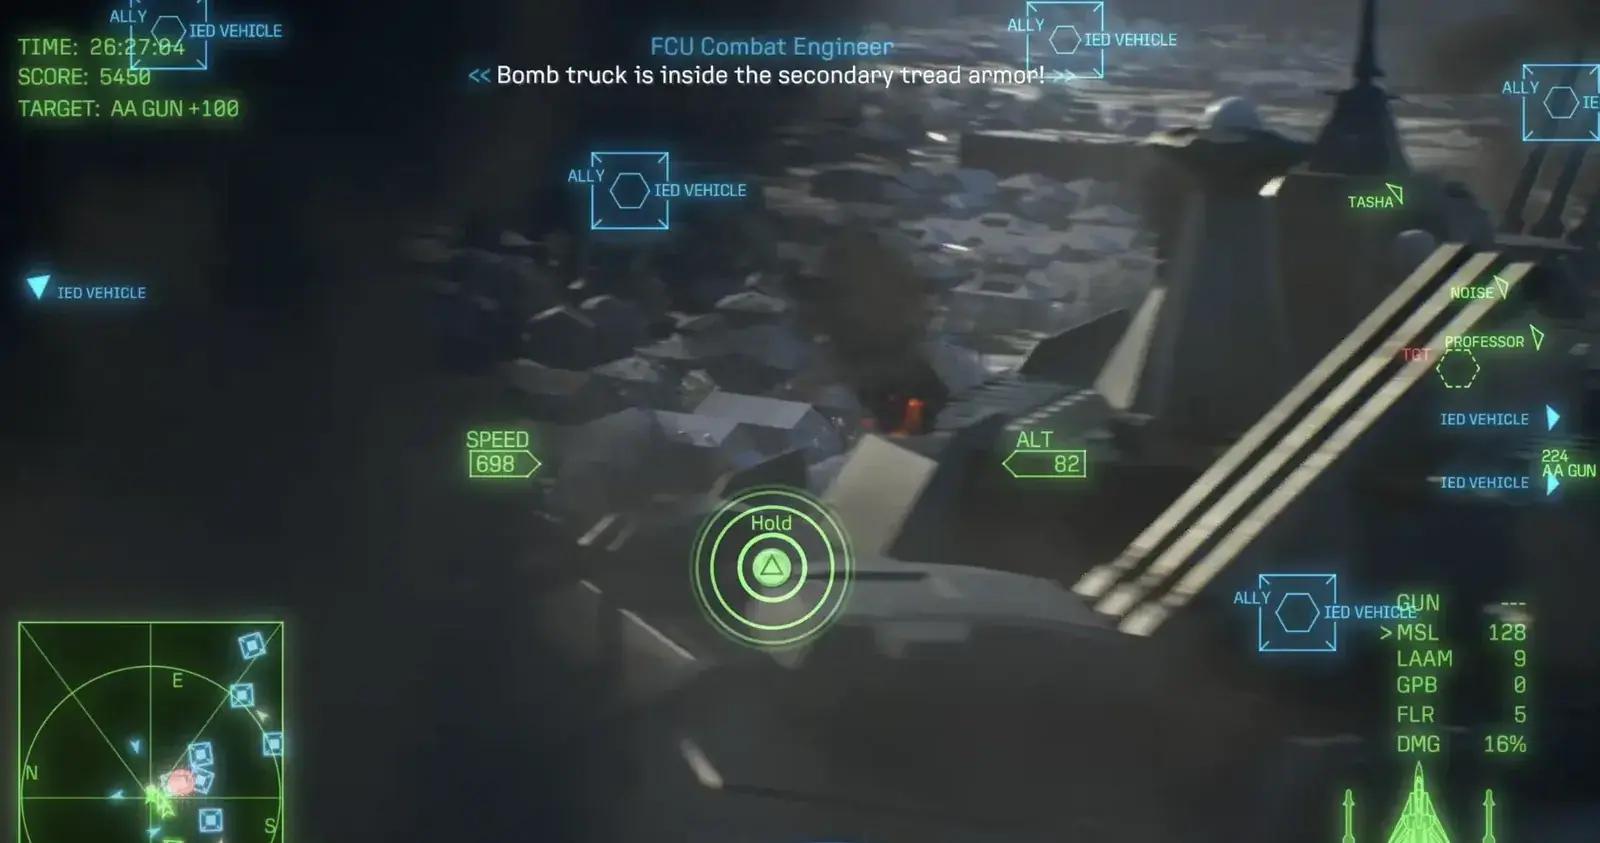
Protect the bomb trucks until the secondary tread becomes vulnerable.
During each approach, defend the vehicle instead of drifting into the wider battle. Prioritize ground weapons firing into its route, UAVs or aircraft attacking it, and any nearby system that directly prevents it from reaching the hull. A distant fighter moving away from the convoy is usually less urgent than a threat already engaging the truck.
Use this cycle whenever an IED vehicle advances:
- Find the IED VEHICLE marker and note its path to the battleship.
- Clear the most immediate weapons and aircraft threatening that path.
- Stay close enough to react without flying directly into the battleship’s defensive fire.
- Wait for the vehicle to enter the secondary-tread armor and detonate.
- Listen for confirmation that the armor has been removed.
- Switch immediately to the exposed secondary tread.
Do not count ordinary hits against the armor as progress. The truck explosion, the radio confirmation, and the appearance of the tread target are the reliable cues. If no tread marker appears, return to convoy protection rather than wasting ammunition on the protected section.
Destroy all eight secondary treads
There are eight secondary treads, with four on each side of the Land Battleship. They sit low along the hull, so an attack line parallel to one side is usually easier to manage than constantly crossing over the ship.
After a side opens, work through the accessible targets before moving around the hull. Lock one tread, make a controlled pass, confirm that its marker disappears, and then select the next. Counting launches is unreliable because a hit does not necessarily mean the component has been destroyed.
A practical attack pattern is:
- Approach from outside the battleship’s immediate path.
- Level the aircraft early enough to keep the tread marker visible.
- Wait for a clean lock or aiming cue.
- Fire, verify the result, and break away with room to clear the hull and buildings.
- Re-enter from an angle that exposes the next tread on the same side.
The ship may start moving again or appear to slow as the battle develops. Neither visual impression completes the phase. Keep attacking until the operation confirms that all secondary treads have been destroyed.
If another IED vehicle is still trying to reach protected armor, its survival temporarily takes priority over an already exposed component. Break off to remove the immediate threat, let the vehicle create the next opening, and then return to the treads. Chasing unrelated enemies only gives the battleship more time to advance.
Follow the containment operation after the treads
Spoiler warning: The next section reveals the timed demolition sequence in the high-rise district.
Destroying all eight secondary treads does not end Mission 9. Prepared demolitions interrupt the Land Battleship’s advance, but the operation continues as ground forces fall back toward the last containment point. Do not circle the hull looking for a ninth tread.
Stay alive during this transition and clear threats only when they interfere with the retreat or your ability to reach the next objective. The key moment occurs when the planned demolition can no longer be completed without air support. The HUD then marks a building and displays Remaining Distance.
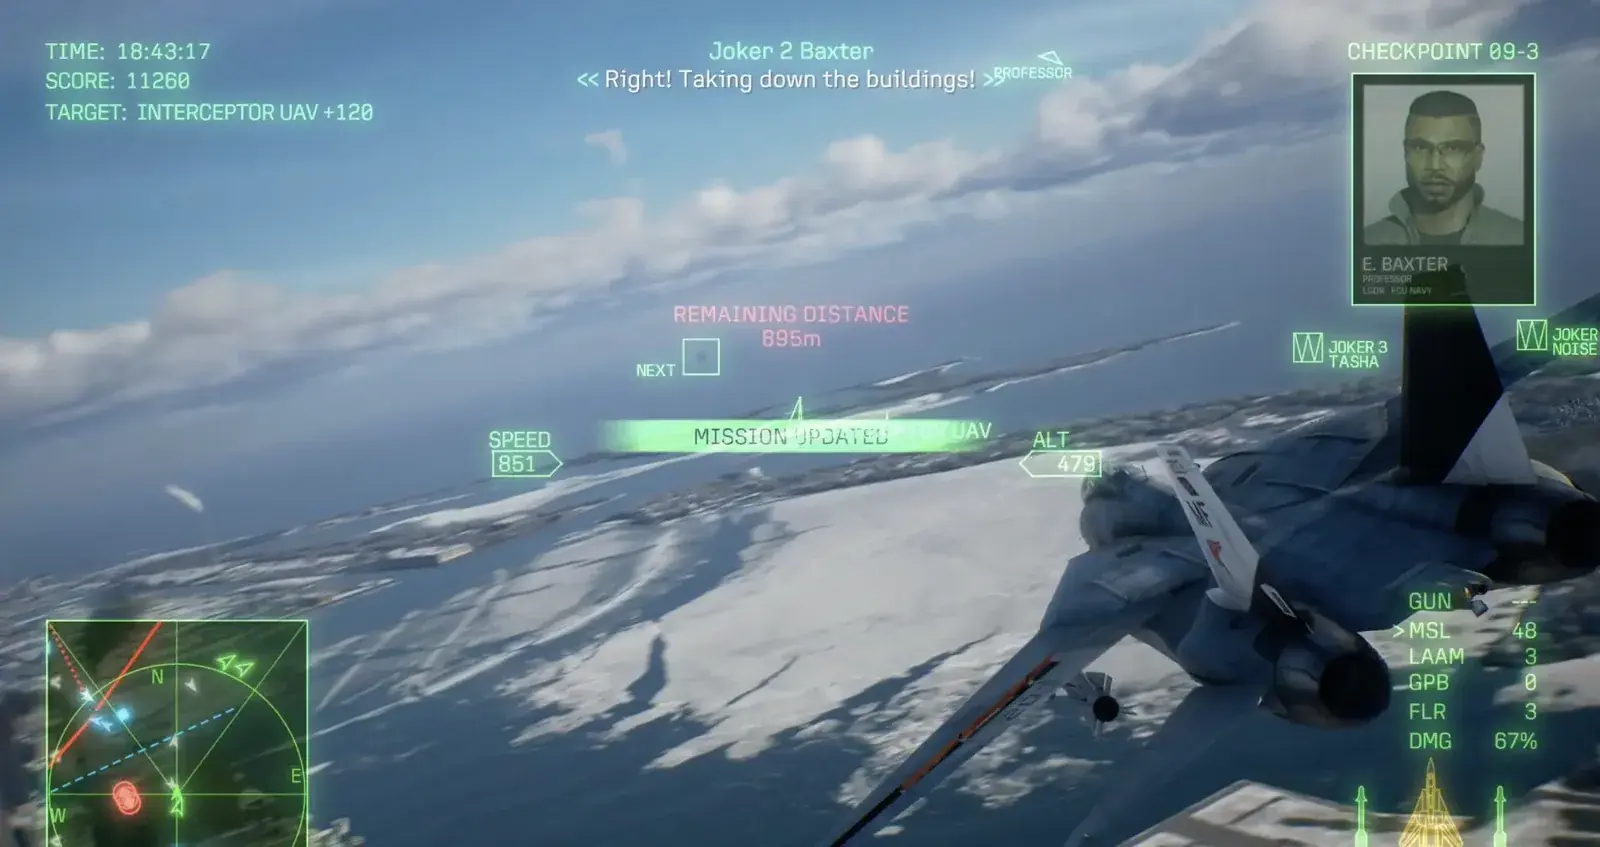
The Remaining Distance cue marks the transition to the final containment target.
The distance counter is a hard change in priority. Stop attacking fighters, UAVs, turrets, and leftover defensive systems. Turn toward the marked structure immediately, acquire the target, and attack it with a reliable surface weapon. The building has already been prepared for demolition; your job is to trigger the collapse before the battleship reaches the containment line.
Avoid a wide setup turn if a shorter approach gives you a safe shot. Do not assume that hitting an arbitrary nearby tower will work—the live objective marker identifies the structure that matters. After firing, confirm the target’s destruction and the demolition update before turning back toward the battleship.
If this phase causes repeated failures, preserve at least one dependable attack for the building and begin repositioning as the operation enters the high-rise district. That preparation is advice rather than a guaranteed shortcut; the marked target and Remaining Distance display remain the authoritative cues.
Destroy both rocket thrusters
Spoiler warning: The Land Battleship has one final propulsion system after the containment demolition.
The collapse appears to immobilize the battleship, but it soon starts moving again using two rocket thrusters. Once those targets are marked, the mission no longer asks you to protect another vehicle or search for another demolition point. Destroy both thrusters.
Approach the rear or side that gives you a clear line to one thruster. Concentrate on that component until its destruction is confirmed, then transfer to the other. Splitting damage between both targets leaves two active propulsion systems and makes it harder to track what still needs attention.
Nearby buildings can help break lines of fire while you reset for another pass, but they also reduce maneuvering space. Turn away before you are forced into the hull or a structure. If defensive fire ruins an approach, extend far enough to regain control and then return to the surviving thruster; do not replace the objective with a prolonged attempt to clear every weapon on the ship.
The mission ends after the final propulsion target is destroyed and the Land Battleship is brought to a stop. You do not need to eliminate every remaining turret, UAV, or visible section of the vehicle first.
Recover from the most common Mission 9 failures
The tread target never appears
The armor has not been opened. Find the current IED VEHICLE, clear enemies attacking it, and let it reach the battleship. Firing at the protected hull does not substitute for the vehicle’s detonation.
The battleship moves after all eight treads are destroyed
This is the planned continuation of the mission, not evidence of a missed tread. Follow the objective updates toward the high-rise district and prepare for the final containment demolition.
The mission fails while Joker One is still healthy
Mission 9 is also a race against the battleship’s progress. Check which objective was active at failure: protect an approaching IED vehicle, finish the exposed treads, attack the marked building during Remaining Distance, or destroy the surviving thruster. Aircraft health alone does not determine success.
The containment counter expires
Optional enemies consumed the remaining distance, or the attack was aimed at the wrong structure. The moment Remaining Distance appears, turn toward the marked building and commit to the shot. Save ammunition for this transition if earlier attempts leave you empty.
No obvious target remains after a demolition
Wait for the objective update while staying ready near the battleship. Do not wander far into a dogfight. When the two rocket thrusters become available, make them your only required targets.
First-clear checklist
Before retrying, reduce the mission to five checks:
- Use a surface-capable loadout you can control around the city.
- Protect each IED VEHICLE until it exposes the tread armor.
- Destroy all eight secondary treads and verify their markers disappear.
- Attack the marked containment building as soon as Remaining Distance appears.
- Finish both rocket thrusters instead of clearing the entire battlefield.
The mission becomes manageable once you stop treating the Land Battleship as one large target. Every phase is a separate mobility problem: expose the armor, remove the treads, trigger the containment demolition, and eliminate the emergency propulsion system.