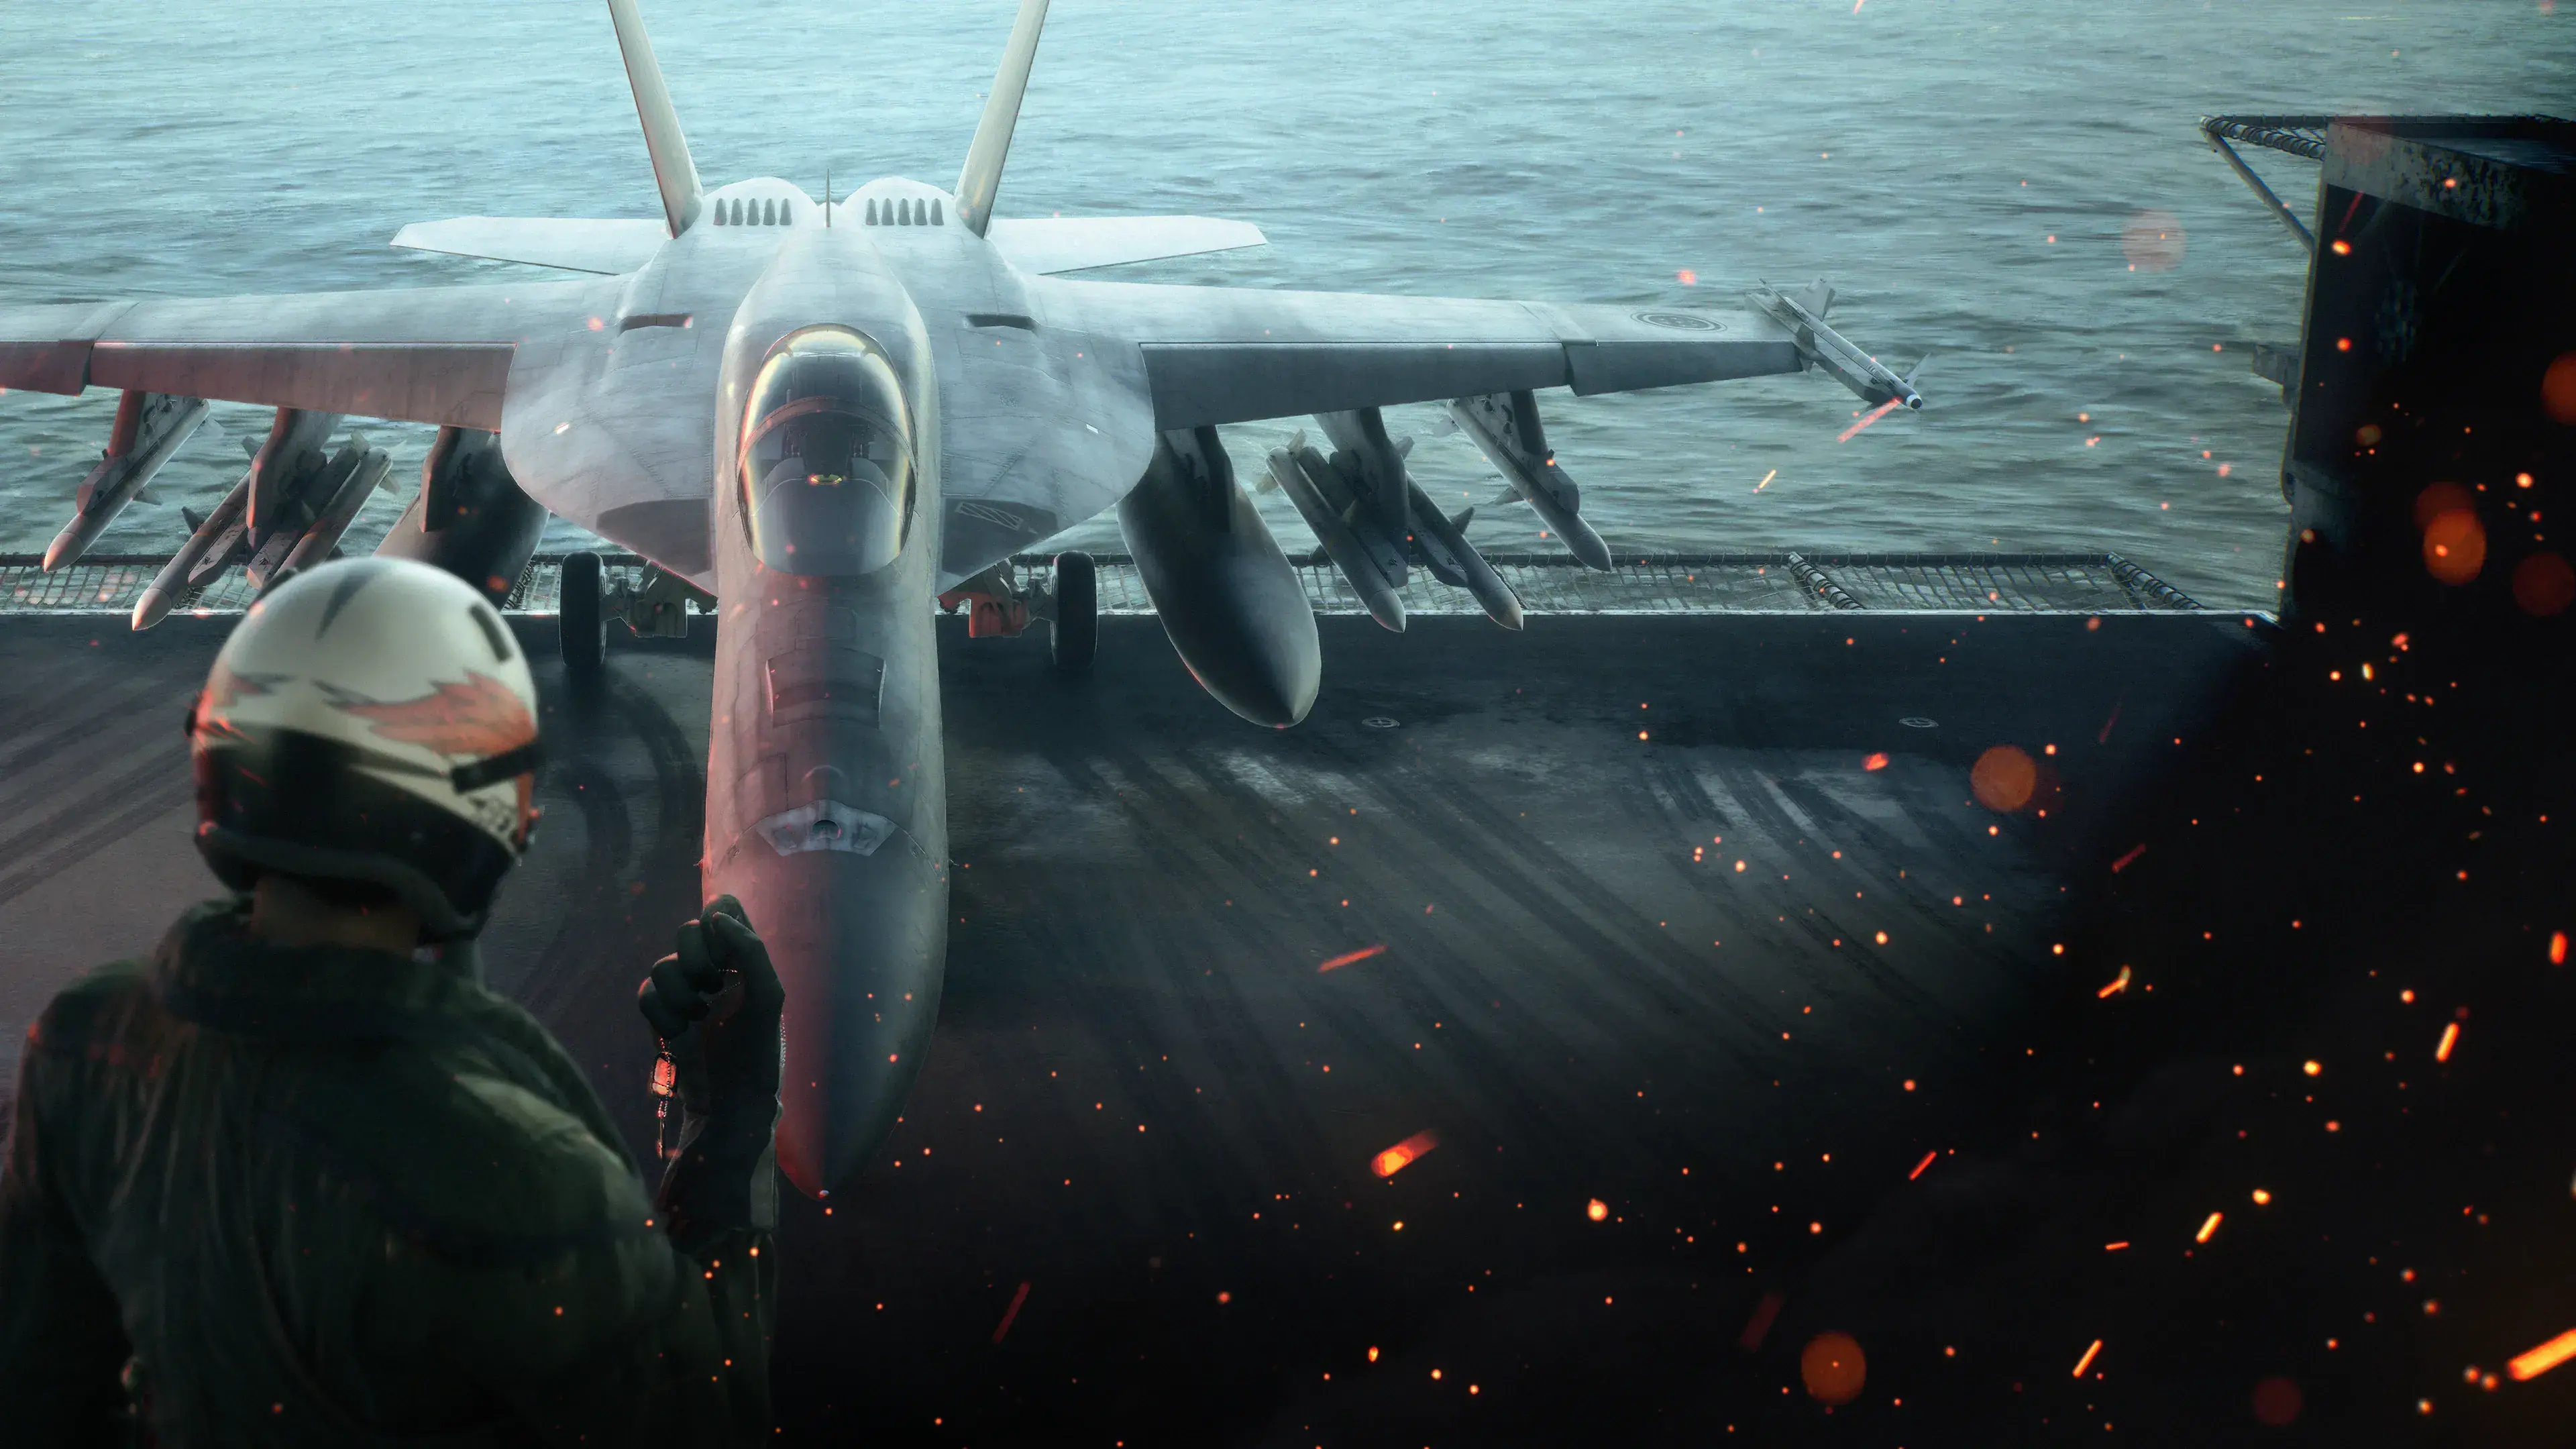
Ace Combat 8 Mission 26, Crossing Fleets, is a fleet-support battle built around changing priorities. Your first job is to reduce the enemy naval force without letting bombers, explosive boats, or anti-ship aircraft reach the allied fleet. Use the return line before your mixed loadout becomes a liability, then switch from surface targets to aircraft as soon as the fleet reports an immediate threat. Once the surrounding sea is secured, the mission enters a scripted story phase; that phase is covered separately under a clear spoiler warning.
The most reliable rule is to attack whatever can damage the fleet next. A nearby fighter is less urgent than a bomber preparing to launch, a boat already accelerating toward a ship, or a strike aircraft beginning its dive. Do not try to clear the map in a fixed clockwise route, because the center of danger moves during the operation.
Mission 26 objective and battle flow
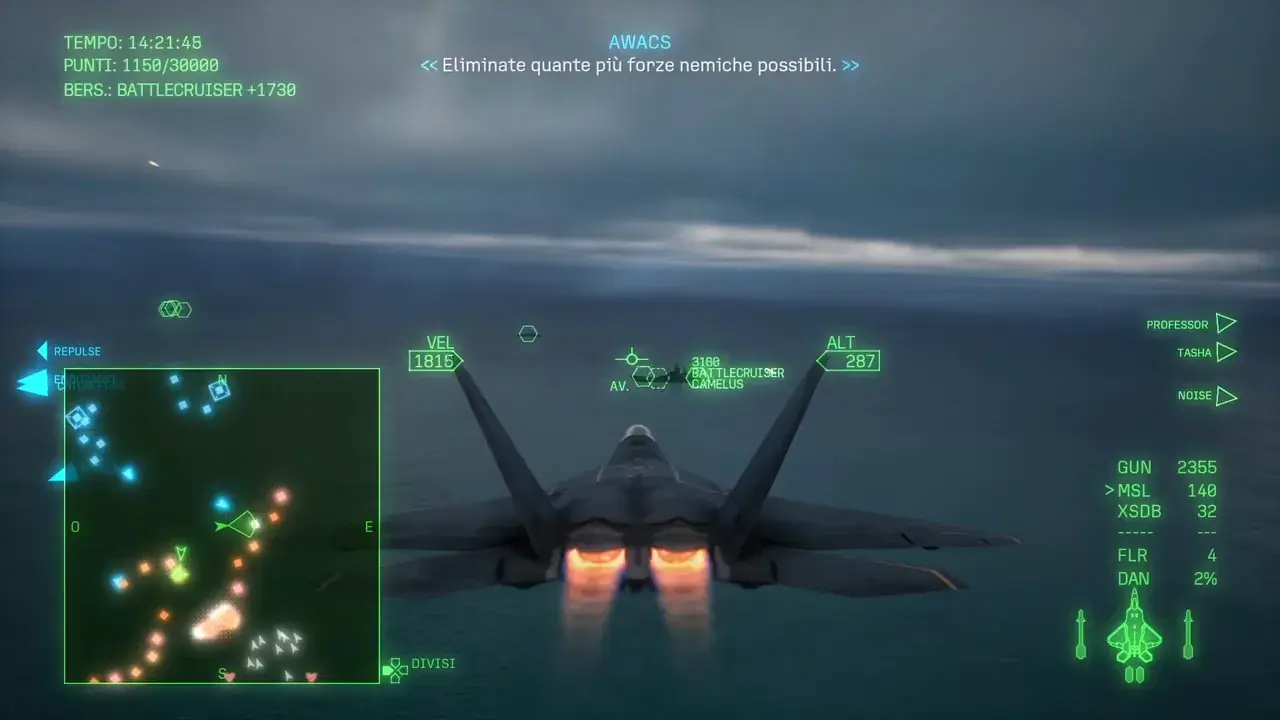
The opening naval battle mixes surface targets with airborne threats; keep watching the fleet radar.
Operation King Tide supports the coming assault on the enemy megafloat by taking Cima Island as a staging point. Joker Flight launches from the Endurance alongside a much larger naval force. The operation briefing asks you to assess the battle after launch, destroy priority targets, and limit damage to the fleet.
The playable battle can be grouped into four practical tasks:
| Phase | Immediate goal | What to ignore temporarily |
|---|---|---|
| Opening naval clash | Destroy dense ship groups and exposed priority targets | Fighters that are not interrupting an attack run |
| Explosive-boat attack | Stop the boats before they ram allied ships | Distant surface targets |
| Port and airfield cleanup | Sink escaping ships and catch bombers before takeoff when possible | Already neutralized parts of the map |
| Anti-ship air attack | Intercept strike aircraft and protect the carrier | Long dogfights away from the fleet |
The radio marks 25%, 50%, and 75% of targets destroyed. These are progress milestones, not confirmation that the fleet is safe or that another attack wave cannot appear. The percentage does not replace threat assessment. Fleet radio calls tell you when a target has become urgent. If a new warning mentions ramming boats, bombers, anti-ship weapons, or aircraft closing on the Endurance, break away from your current target and respond.
Recommended aircraft role and loadout
A multirole setup is the safest first-clear choice because Mission 26 moves between ships and aircraft. Favor an aircraft you can control comfortably at low altitude over the fleet and still use in a sustained dogfight. The opening gives anti-surface weapons plenty to do, while the later attack waves make air-to-air ammunition equally important.
Treat the return line as part of the route rather than an emergency exit. Radio dialogue explicitly allows resupply or an equipment change. A good time to use it is after you have reduced the first large surface formation and before a new heavy phase begins, provided no urgent attacker is already closing on the fleet.
Use this ammunition plan:
- Spend anti-surface weapons on clustered ships or priority vessels where they save a full attack pass.
- Use standard missiles and guns on isolated targets when the approach is safe.
- Keep a reserve for boats and ships that begin moving toward allied vessels.
- Avoid emptying every special weapon into the opening formation merely because the targets are dense.
- If you return to rearm, choose the next weapon for the targets currently threatening the fleet, not the targets left behind on the far side of the map.
Wingman attack orders can help reduce a busy cluster, but they do not replace your own target selection. Use them to add pressure while you turn toward the threat with the shortest time to impact.
Phase 1: Break the opening naval formation
The enemy fleet begins tightly packed, which makes the first minutes look like a straightforward naval sweep. Start with a clean attack line across several ships, but avoid staying low and straight after releasing weapons. Anti-air fire and enemy fighters can punish a predictable exit.
Finish ships that are already damaged before spreading fire across fresh targets. Removing one vessel reduces incoming fire and prevents a nearly destroyed target from remaining active while you turn away. If an enemy aircraft is sitting on your tail, defend yourself, then return to the surface battle instead of following that fighter away from the fleet.
Bombers deserve special attention even during the naval phase. The battle includes aircraft on or near the island that can join the attack. If the radio reports a bomber before it takes off, diverting to destroy it early can remove a later threat. This is an opportunity, not a requirement to sweep every parked aircraft before touching the ships.
Watch your ammunition as the destruction percentage climbs. The mission still has mobile surface threats and a substantial air phase ahead. If your strongest anti-surface option is nearly empty, look for a safe return-line window rather than continuing with a loadout that no longer fits the battle.
Stop the explosive boats from the west
A later warning identifies multiple boats approaching from the west. They are carrying explosives and intend to ram allied ships. At that point, they become the highest-priority targets on the map.
Turn toward the western contacts immediately. Attack the closest boat to the fleet first, then work outward. A boat that is farther from you may still be the correct first target if it has the shorter route to an allied ship. Use the tactical map and closing direction, not just the range shown for your currently selected target.
Approach from an angle that keeps the boats visible against the water. A steep dive can make target switching awkward and leave little recovery room. A shallower pass lets you launch, confirm the kill, and transfer to the next boat without overshooting the entire group. Once the radio confirms that the boats are gone, return to the broader naval fight.
Prevent ships from escaping the port
Another surface priority is the group trying to leave the port. Do not wait for those ships to spread into open water. Intercept them while their route is still predictable, and finish one vessel before shifting to the next.
This phase can overlap with other contacts, so keep listening for the fleet's condition. If an aircraft begins an immediate anti-ship run, defend the fleet first and return to the port group afterward. The mission rewards controlling the battle around your allies, not rigidly completing one target category before touching another.
When the enemy airfield or remaining vessels are neutralized, the operation transitions toward an air-defense finish. Use any brief reduction in pressure to check standard missiles, special weapons, damage, and your distance from the carrier.
Phase 2: Defend the fleet from anti-ship aircraft
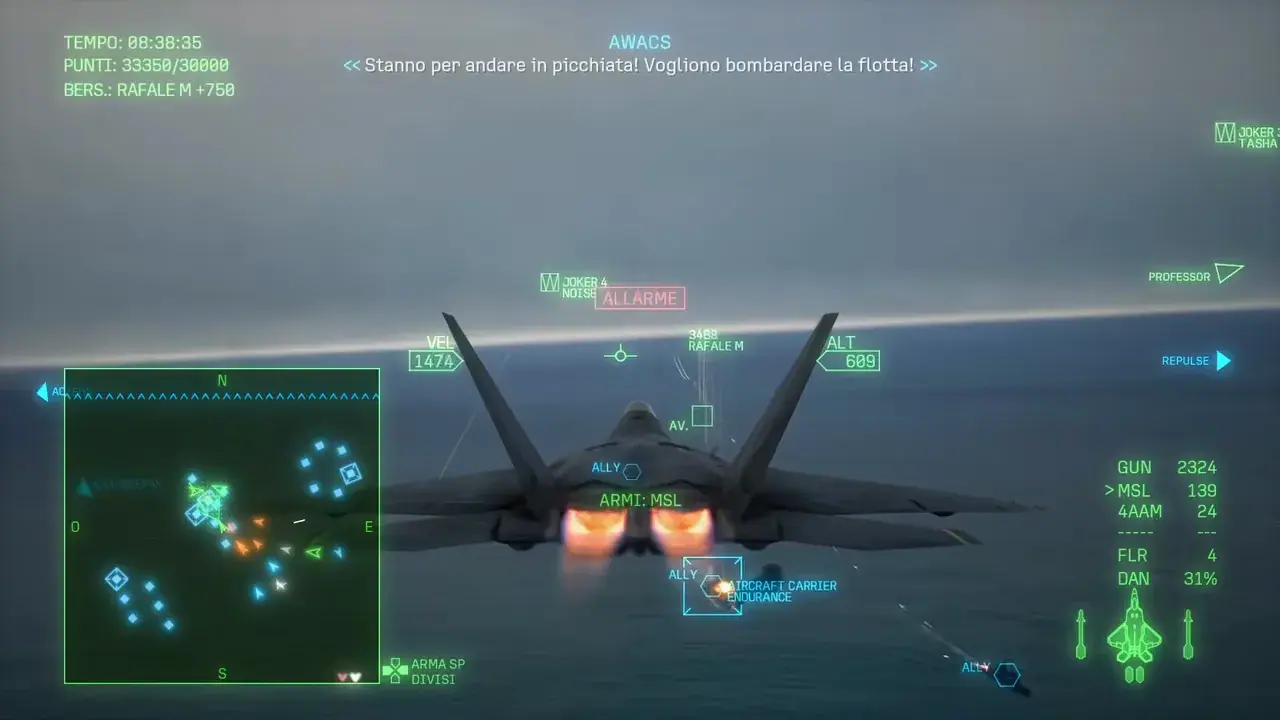
When the fleet receives an attack warning, break off surface cleanup and intercept the attacking aircraft.
Aircraft from the southern side of the island begin moving, including stealth aircraft attacking in smaller groups. The decisive warning is that inbound bandits are armed with anti-ship weapons. From this point, stay close enough to the fleet to intercept a dive without a long return flight.
Use this priority order:
- Attackers already diving on a ship.
- Aircraft carrying anti-ship weapons and closing on the carrier.
- Bombers or strike aircraft forming for another run.
- Fighters directly preventing you from engaging those attackers.
- Other fighters only after the fleet is no longer under immediate threat.
Do not accept a turning fight that drags you far from the Endurance. If an agile fighter refuses a clean shot, disengage and scan the fleet approach lanes. The mission confirms when all attackers in a wave are down and when the carrier is no longer under threat; those calls are more useful than assuming the wave is finished because your local radar looks quiet.
Clouds can break a weapon lock. When that happens, avoid firing into a poor solution. Keep visual contact, reposition, and launch after the lock stabilizes. This preserves ammunition and reduces the chance that one surviving attacker reaches its release point while you chase a missed shot.
After the final resistance is cleared, the fleet announces control of the surrounding sea and begins rescue and mop-up work. That is the end of the normal target-destruction battle, but it is not the end of Mission 26.
Major story spoilers for the final phase of Mission 26 begin below.
Scripted high-altitude attack
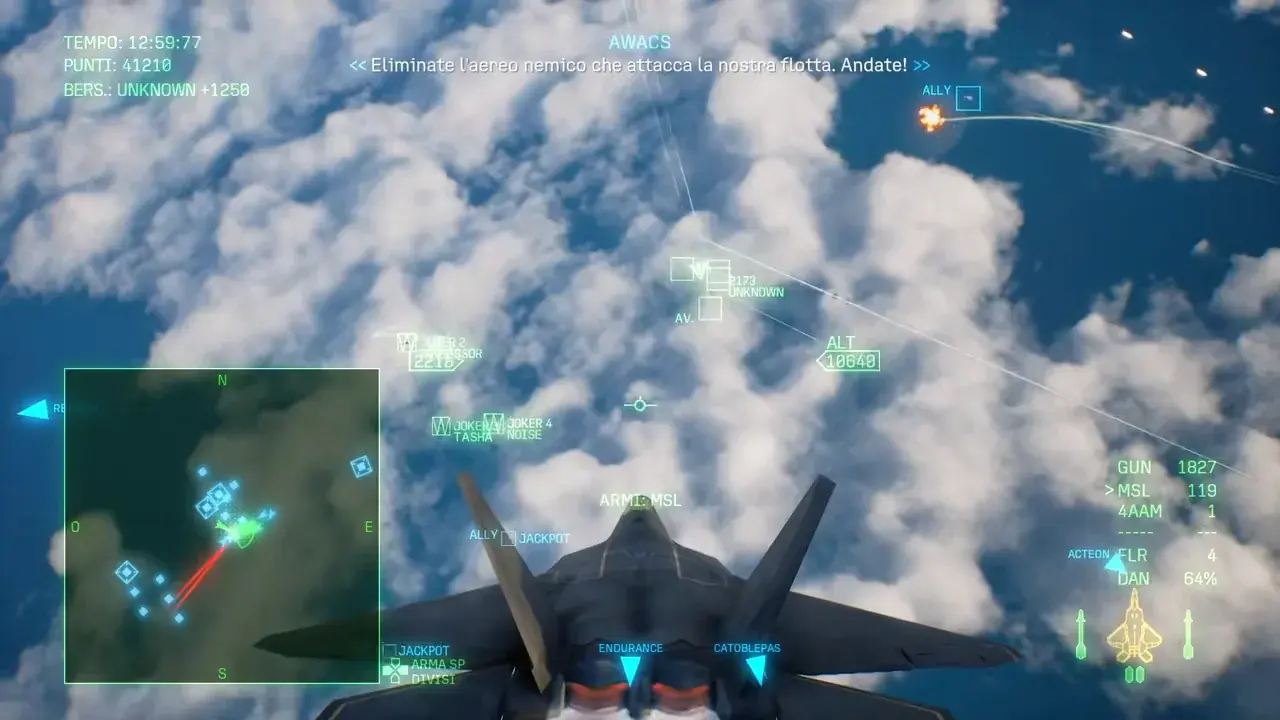
The UNKNOWN target and extreme altitude identify the scripted attack phase; following the target is not a way to change its story outcome.
A high-altitude prototype suddenly attacks the fleet after the sea battle appears finished. It dives, climbs beyond the reach of ordinary pursuit, intercepts defensive missiles, and destroys multiple ships. Shadow aircraft remain outside the combat area while Joker Flight is ordered to secure the airspace.
Treat this as a scripted attack sequence rather than a normal damage race. The mission dialogue indicates that hits have little or no useful effect, and the aircraft repeatedly accelerates or climbs away. Do not burn all remaining ammunition expecting to prevent the established story event. Keep moving, obey the updated target cue, and evade rail-gun warnings rather than holding a straight climb.
When the prototype changes course toward Rex, prioritize evasion. A rail-gun warning is a reason to break your current line immediately. Do not keep the nose fixed on the target for one more missile shot. The sequence advances through radio and story triggers, so staying alive and following the mission's current direction is the practical goal.
Major character-fate spoilers begin below.
Escort Baxter back to the carrier
Baxter is hit while protecting Rex, and the hostile aircraft leaves the combat zone. The mission explicitly tells you to forget the escaping target because Baxter is now the priority. Stop pursuing and form up for the return.
Baxter is badly wounded and has trouble seeing, so the flight talks him toward the Endurance. This section is controlled more by the scripted sequence than by combat. Stay near him, avoid reckless maneuvering around his aircraft, and follow the return and landing instructions. He reaches the carrier and catches the arresting wire, but his condition deteriorates after landing.
The story continues on the deck as the crew removes him from the cockpit and tries to treat him. Baxter dies from his wounds after entrusting the wingman role to Tasha. Treat Baxter's death as a fixed story outcome, separate from your combat performance. Reaching the transition and completing the return sequence means you have progressed correctly.
Failure recovery and cleaner replay decisions
If the fleet takes too much pressure during the main battle, the likely problem is target priority rather than raw damage. Use the failure point to identify which transition you missed:
- If ships are hit by explosive boats, turn west as soon as the ramming warning begins and work from the boat nearest an allied vessel outward.
- If the carrier is threatened by aircraft, stop chasing surface cleanup and intercept the diving or anti-ship-equipped attackers.
- If ammunition collapses late, use the return line earlier and preserve special weapons during the opening ship cluster.
- If clouds repeatedly break locks, delay the shot, keep visual contact, and re-engage after the target exits the cloud.
- If rail-gun fire catches you in the story phase, prioritize evasive movement over another attack attempt.
- If you keep following the prototype after Baxter is hit, obey the new escort order; the escaping aircraft is no longer the mission task.
For a cleaner replay, build the route around transitions: opening ships, western explosive boats, port escapees, southern anti-ship aircraft, then the scripted high-altitude attack. The exact order within a cluster can change with your position and the fleet's condition, so do not treat this as a rigid speedrun line.
Do not assume a fixed S-rank score or time cutoff. For a rank-focused replay, destroy priority targets efficiently, avoid wasted travel, and use dense formations for chain kills when safe. Optional chases should not disrupt fleet defense.