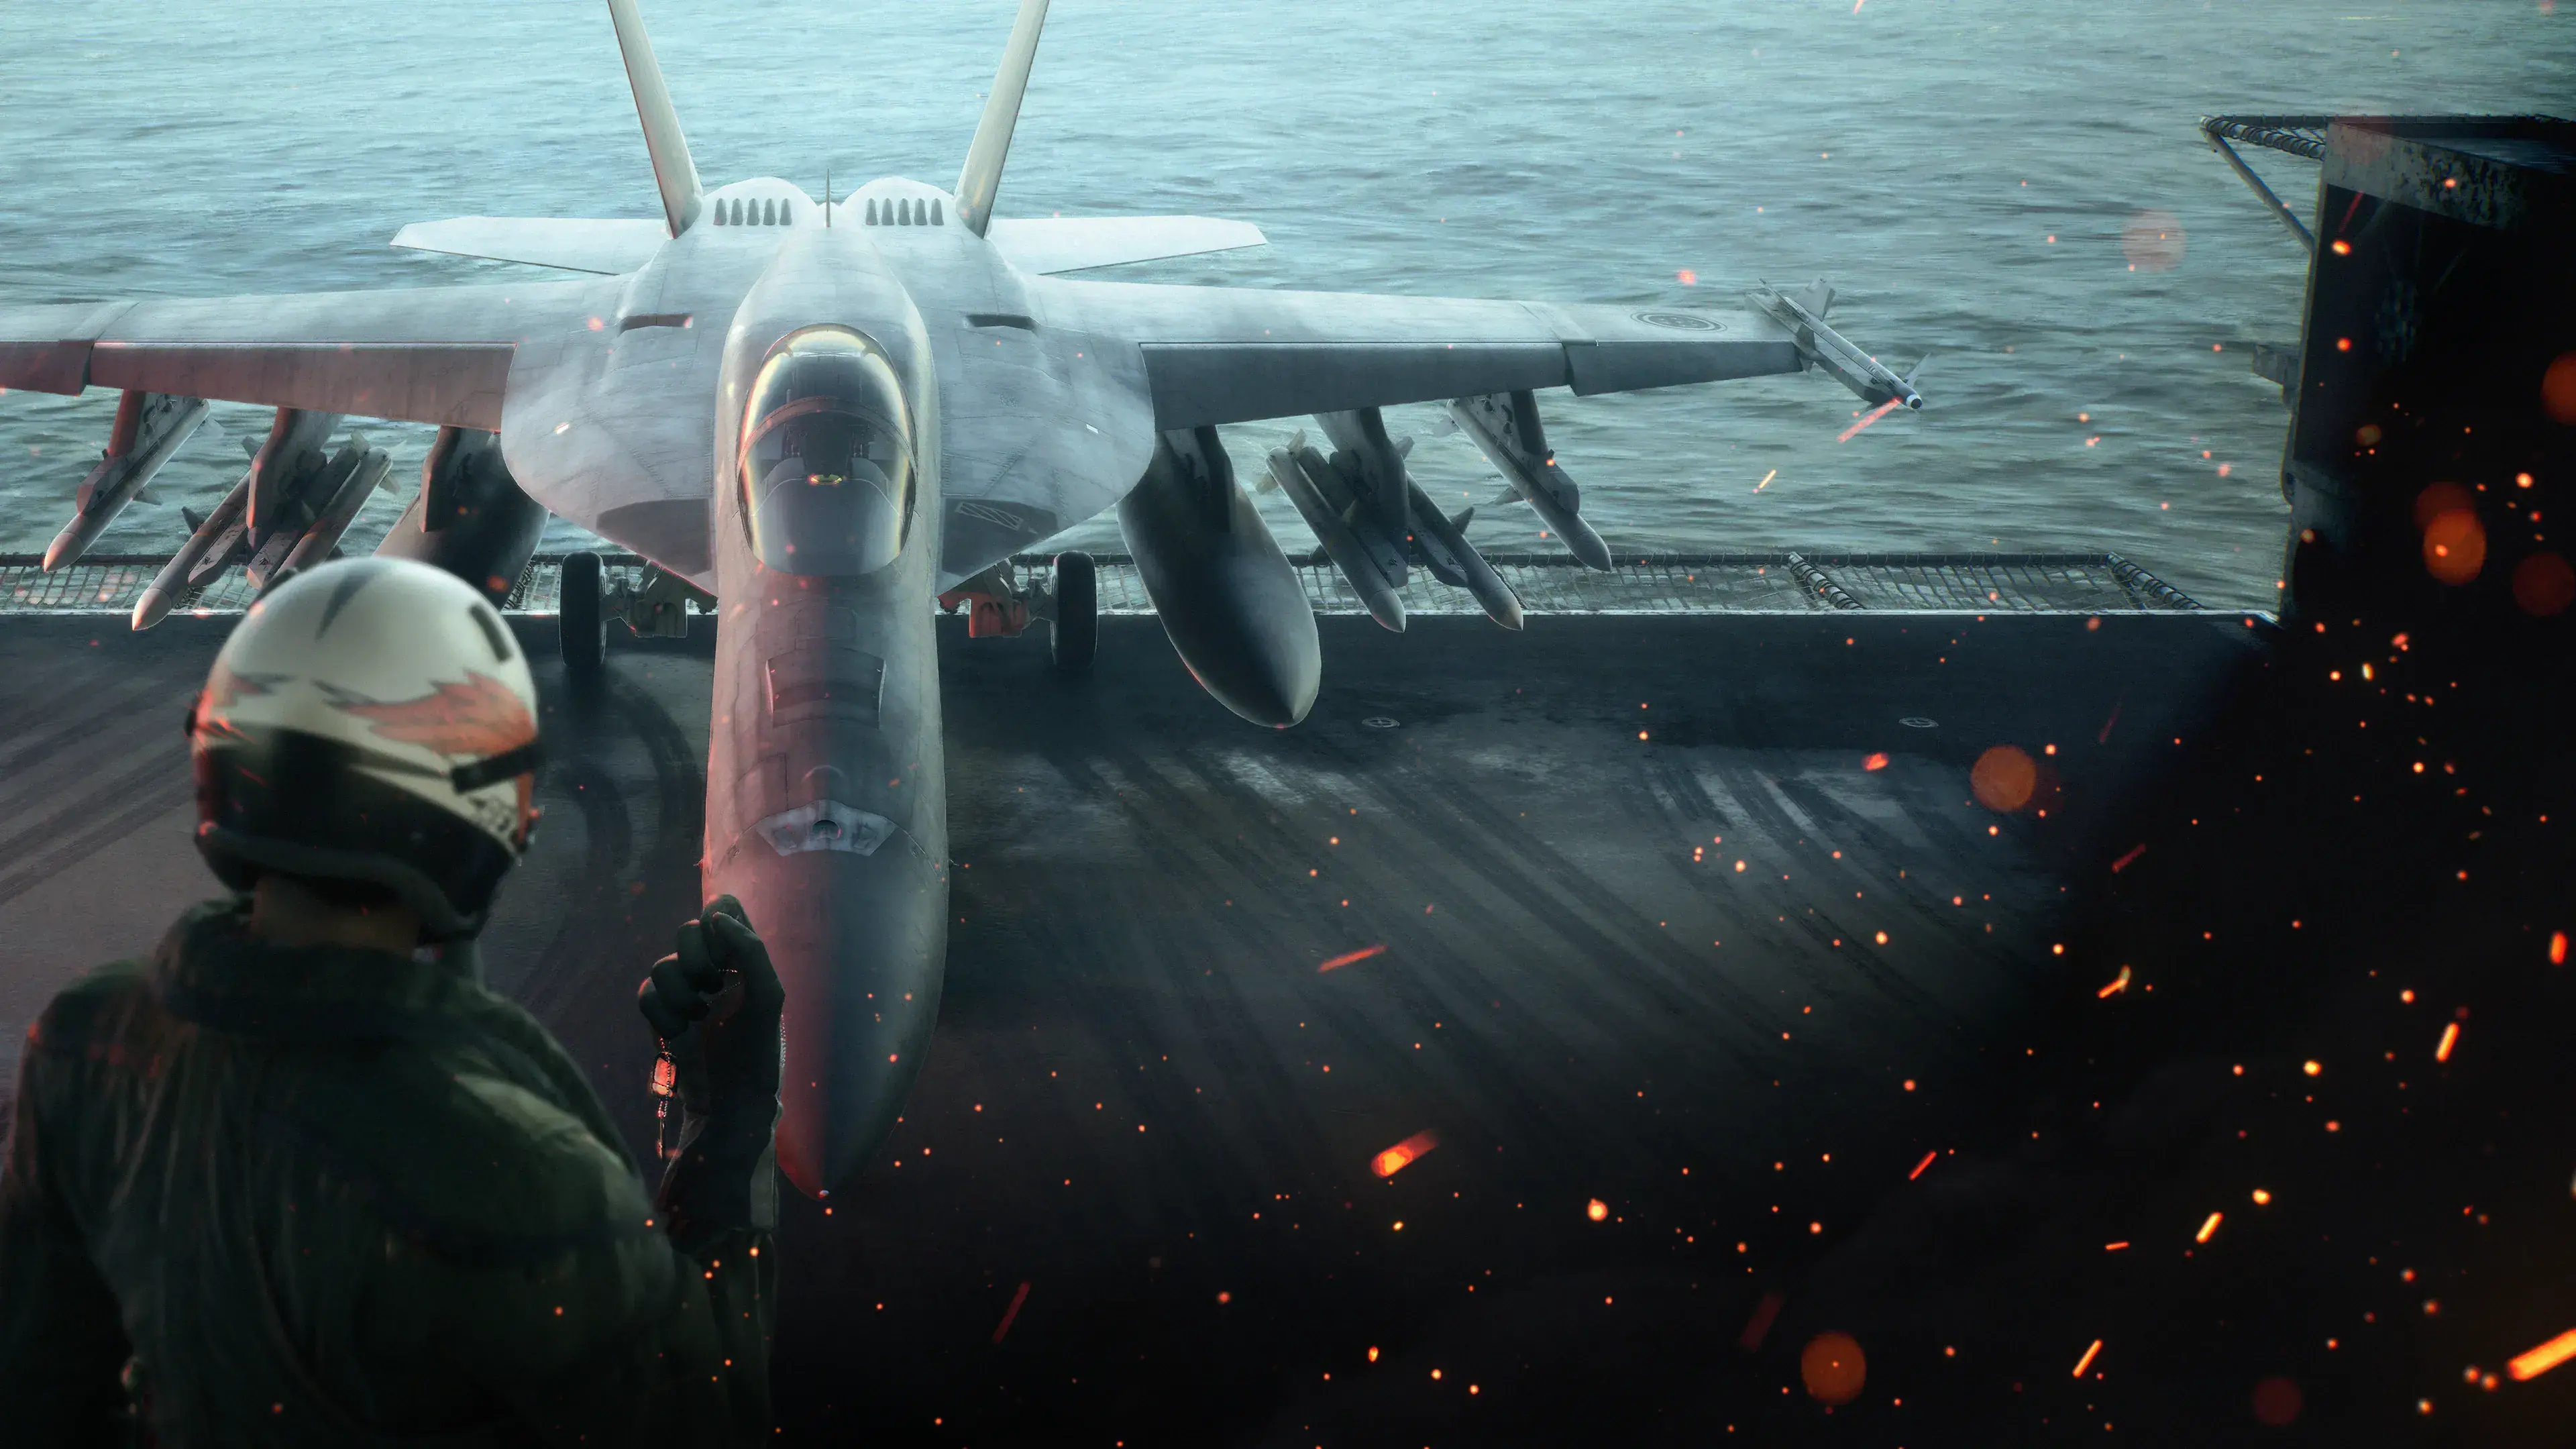
Ace Combat 8 Mission 27, “Fatsia, the Ocean Fortress,” has two distinct combat phases. First, damage the Mega Float’s outer modules until command orders everyone to hold fire. Then enter the opening marked in the central structure and strike the fusion reactor twice before its shutter closes. You do not need to destroy every exterior target, clear every defensive weapon, or demolish all eight arms.
The key is to stop treating Fatsia like a conventional target-clearing mission. Concentrate damage along one arm at a time, use support pillars and explosive industrial targets to damage whole sections, and move to the center as soon as the objective changes.
Find this operation in the campaign list. If replaying it for currency, use the MRP measurement method; the next Mission 28 S-rank route has different priorities.
Version scope — October 7, 2026: This page was edited from supplied research. No numbered game build or independent playtest is recorded for this guide. Check the current in-game descriptions and your platform before applying build-sensitive conditions.
Mission 27 Route at a Glance
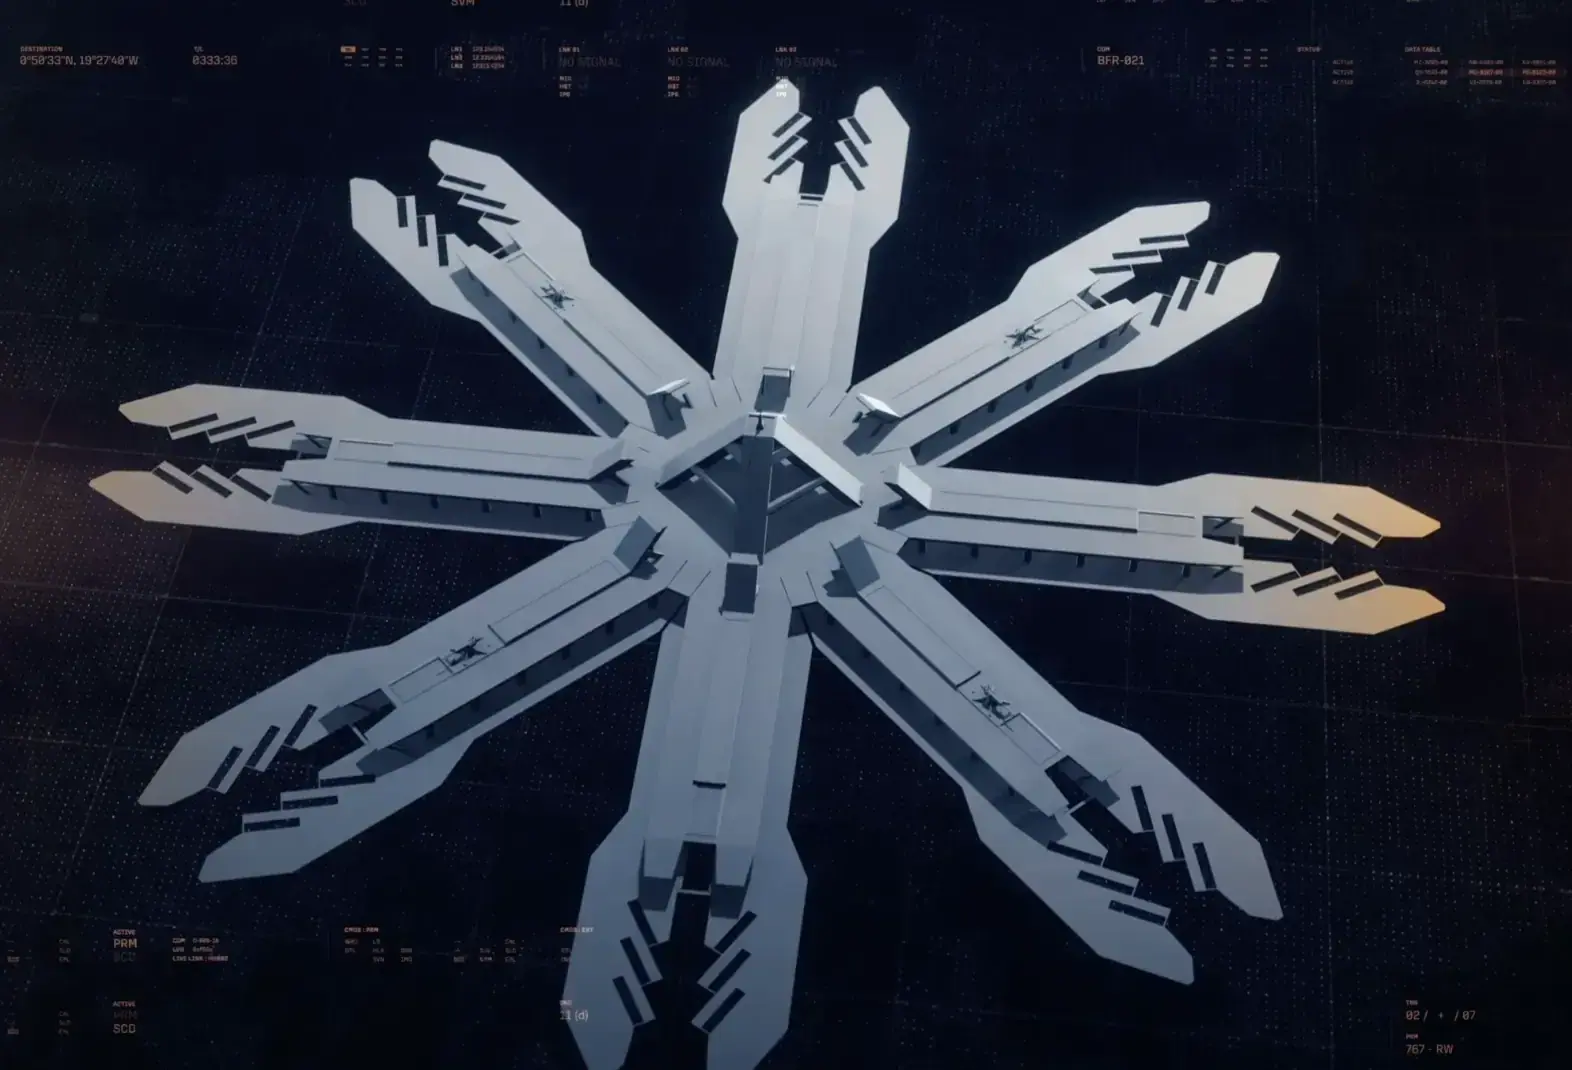
Use the arm layout to plan the attack route.
| Phase | Immediate goal | What matters most | What to avoid |
|---|---|---|---|
| Exterior assault | Inflict enough structural damage to force a surrender attempt | Support pillars, explosive industrial targets, and guns blocking your chosen route | Chasing every red icon or constantly crossing the fortress |
| Hold-fire sequence | Wait for the radio exchange and objective update | Ceasing all attacks immediately | Firing at targets that remain selectable |
| Central approach | Enter the marked opening in a controlled line | A straight entry with room to maneuver inside | Diving into the opening from a steep or badly offset angle |
| Reactor attack | Disable the fusion reactor | Two successful attacks before the shutter closes | Flying deeper after the first hit or searching for another target |
| Exit | Leave after objective completion | Following the return instruction | Going back outside to clear surviving structures |
Fatsia consists of a central terminal surrounded by eight long arms. The upper portions carry military facilities and weapon systems, while the lower areas contain docks, manufacturing facilities, fuel storage, and supporting structures. That layout creates two efficient ways to build structural damage: collapsing an upper deck by destroying its supports, or detonating clustered industrial targets that damage their surroundings.
Prepare for Structural Attacks, Not a Full Target Sweep
Choose an aircraft and loadout that you can control confidently during low-altitude ground attacks. Precision and predictable handling matter more than committing to a particular aircraft or special weapon. You will repeatedly approach targets close to platforms, cranes, defensive fire, and the water, so a weapon is only useful if you can deliver it without turning every pass into a recovery problem.
For a normal completion run, bring enough air-to-ground capability to damage concentrated surface targets efficiently, but retain standard missiles for isolated supports and other precise shots. Area damage can help against clusters, yet it is a poor substitute for a clean approach when the desired target sits beneath a deck.
Do not plan around destroying everything. Fatsia carries enough defenses and facilities to waste a large part of the assault moving between low-value targets. Your practical objective is to create structural damage until the mission explicitly advances.
Break One Fatsia Arm at a Time
Select one arm and stay with it while useful structural targets remain along your route. A disciplined circuit is more efficient than flying from one convenient lock to another across the entire fortress.
Use this exterior pattern:
- Approach an arm from enough distance to identify its upper deck, lower industrial area, and underside openings.
- Remove a major gun or troublesome defensive position only if it prevents a safe structural attack.
- Attack an exposed support pillar or a dense group of explosive industrial targets.
- Continue through the attack line instead of slowing beside the fortress.
- Create separation, turn outside the structure, and inspect the result on the next pass.
- Continue along that arm while each pass still produces useful damage, then move to another arm.
The mission reports destruction progress during the assault. Treat those calls as confirmation that your method is working, not as instructions to stop. The actual transition arrives through an explicit hold-fire order.
Collapse Upper Decks Through Their Support Pillars
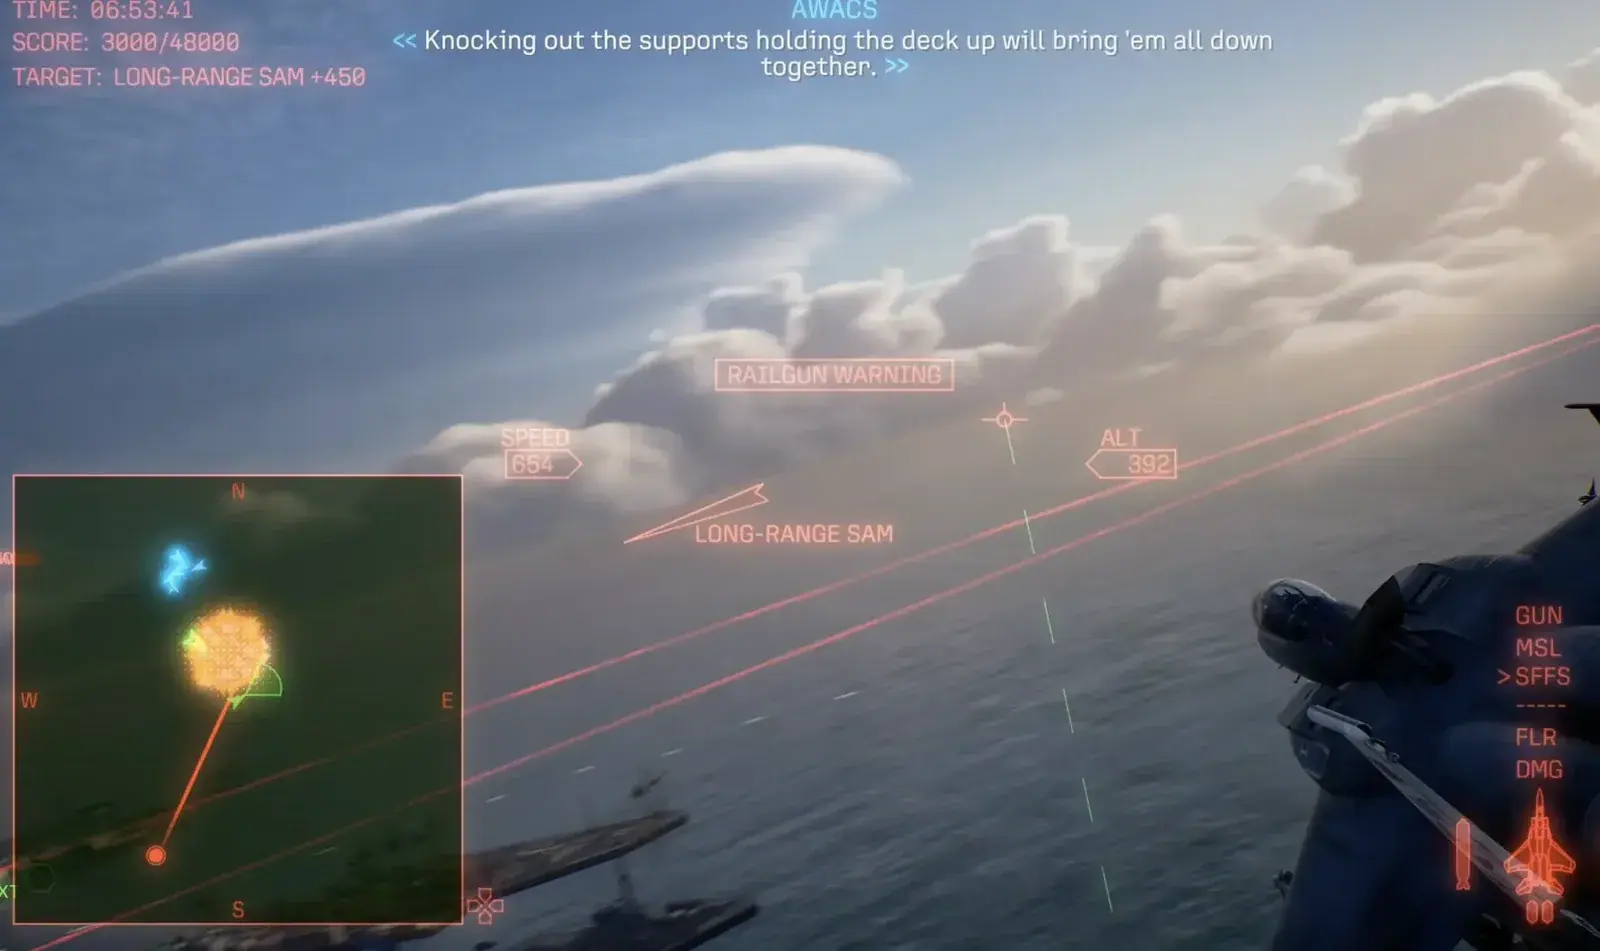
Target the support pillar to collapse the upper deck.
Support pillars beneath the arms hold sections of the upper platform in place. Destroying a support can collapse the deck above and remove multiple installations with it. This makes a pillar much more valuable than an isolated defensive unit that contributes little structural damage.
The risk is the approach. Locking onto an underside target can place you below the upper platform, where defenses have time to track a slow or indecisive aircraft. Do not remain beneath the arm while selecting several targets. Identify one exposed pillar, line up before entering the confined area, fire, and continue through the available gap.
Begin the turn for another pass only after you have regained open space. If the pillar’s angle is poor, abandon that attempt and reposition. Forcing a shot while pointed toward a deck, crane, or support structure is not worth the few seconds it might save.
Use Explosive Targets When the Underside Route Is Bad
Fuel storage and other explosive industrial targets on the lower level can spread damage into nearby structures. They provide an alternative when defensive fire or geometry makes a pillar approach unnecessarily dangerous.
Look for a cluster already aligned with your flight path. Attack through the group and leave rather than circling tightly over the same section. The value comes from secondary structural damage, so there is no need to remain nearby and shoot every surviving object individually.
This is also why clearing all defenses first is inefficient. Destroy a main gun, rail-gun position, or smaller defense when it repeatedly controls the exact lane you need. Once that lane is usable, return to structural targets. Defensive suppression supports the route; it is not the mission’s main objective.
Stop Immediately When Command Orders Hold Fire
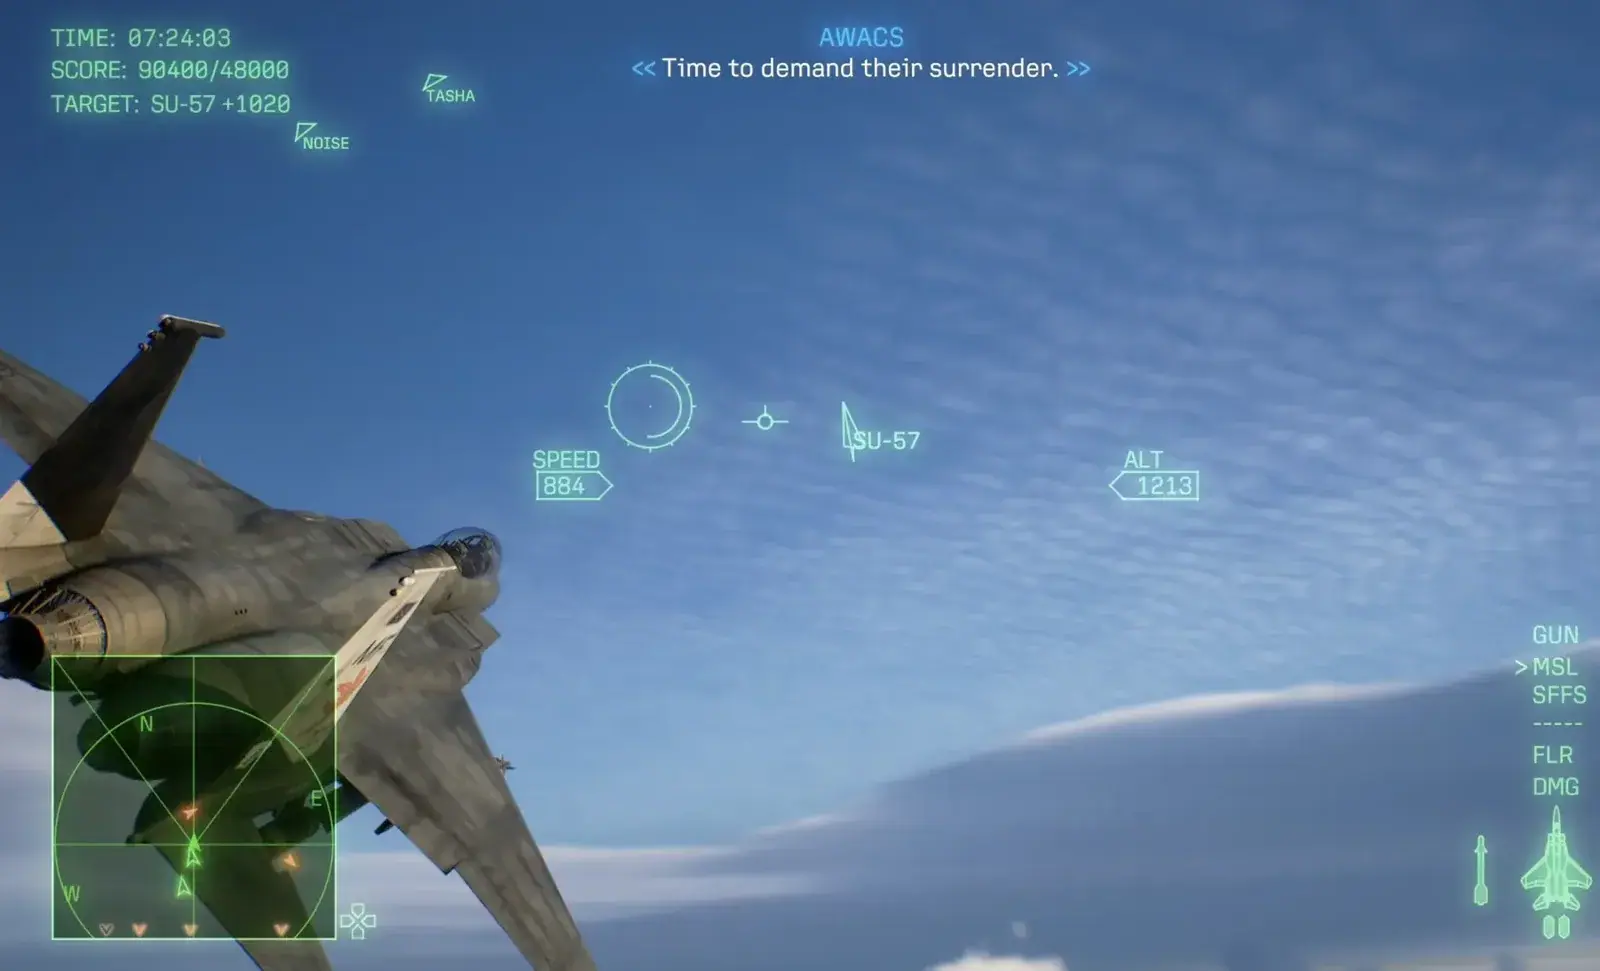
Stop attacking when the hold-fire order appears.
When command announces that enough damage has been inflicted and orders hold fire, release the trigger and stop launching weapons. Fatsia may still have intact arms, visible facilities, active-looking defenses, and selectable targets. Their presence does not mean the exterior phase continues.
Allow the surrender demand and response to play out. Continuing to attack during this interval is unnecessary and distracts from the next objective change. Keep the aircraft clear of wreckage and use the pause to regain altitude, stabilize your speed, and watch the center of the fortress.
The situation changes after the allied force is threatened by laser targeting and the Tonitra Spear. Attack restrictions are lifted, and a new entry point appears in Fatsia’s central section. At that moment, abandon the outer arms. Any exterior target left behind is irrelevant to completing the new objective.
Set Up a Straight Approach to the Central Opening
Do not dive at the central marker the moment it appears. The interior route is much tighter than the exterior battlefield, and a poor entry angle leaves little room to correct before reaching the reactor.
First fly away far enough to place the opening directly ahead. Level the aircraft, center the nose, and choose a speed that preserves steering authority without carrying you through the interior faster than you can react. Wingmen remain outside, so the final attack depends on your own alignment.
Use the marker to locate the entrance, but use the visible structure to fly through it. Cross the opening near its center and avoid large control inputs immediately after entering. The only relevant internal target is the fusion reactor; there is no reason to inspect side routes or attack unrelated interior geometry.
A good entry must solve two problems at once: it must give you a clear first shot, and it must leave enough space to turn back toward the same target. If the opening is badly offset, make another setup turn outside instead of hoping to repair the line inside.
Strike the Fusion Reactor Twice Before the Shutter Closes
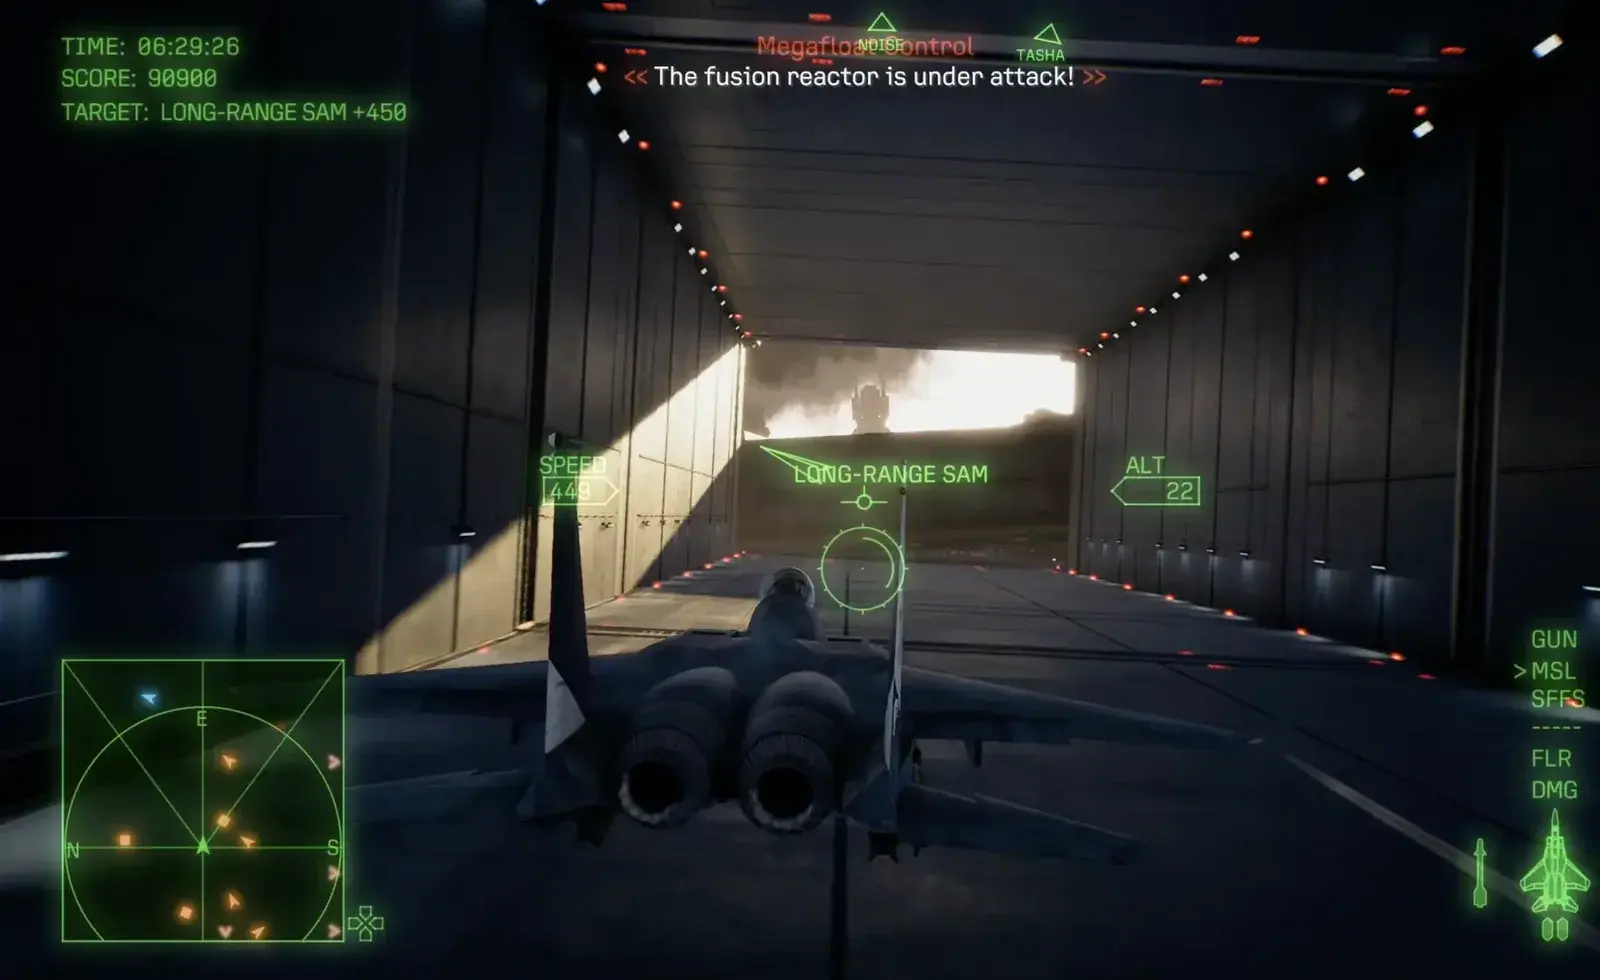
Strike the reactor again before the shutter closes.
The first successful attack does not complete the objective. It damages the reactor’s outer protection, after which the mission can report that there is no change in the heat signature. That message does not indicate a wrong target. It means the reactor needs another attack.
At the same time, an internal shutter begins closing across the firing line. Execute the sequence without searching for a second objective:
- Enter the central opening on a stable line.
- Attack the fusion reactor once.
- Use the available interior space to turn back toward it immediately.
- Reacquire the same reactor and attack it again before the shutter blocks the shot.
- Wait for the high heat-signature confirmation, then follow the withdrawal instruction.
Do not continue deeper after the first hit. Extra distance consumes the limited turning room and allows the shutter to cover more of the reactor. Begin reversing as soon as the first attack registers.
After the second successful strike, the reactor is disabled and the objective completes. Projectiles already released are not retroactively erased, but the central system can no longer continue the sequence normally. Follow the return direction rather than flying back to the arms or trying to destroy the remaining exterior targets.
Common Mission 27 Failure Points
- Flying across Fatsia for every new lock: Choose a productive arm and finish a sequence of passes there before relocating.
- Clearing every defense first: Remove only the weapons that control your intended approach, then resume structural attacks.
- Lingering under a deck: Take one prepared shot and fly through. Reposition in open air before attempting another support.
- Ignoring explosive industrial clusters: Use them when a support pillar is difficult to approach safely.
- Continuing to fire after the hold-fire order: Stop even though targets remain visible and selectable.
- Rushing the central entrance: Back away, align with the opening, and enter straight rather than making severe corrections inside.
- Treating the first reactor hit as completion: Turn back and strike the same reactor a second time before the shutter closes.
- Returning to the exterior after the reactor: Once the objective completes, withdraw; surviving arms and facilities no longer matter.
The shortest reliable plan is therefore simple: concentrate structural damage on one arm at a time, obey the hold-fire order, set up a controlled central entry, and reserve enough space for the reactor’s mandatory second attack.