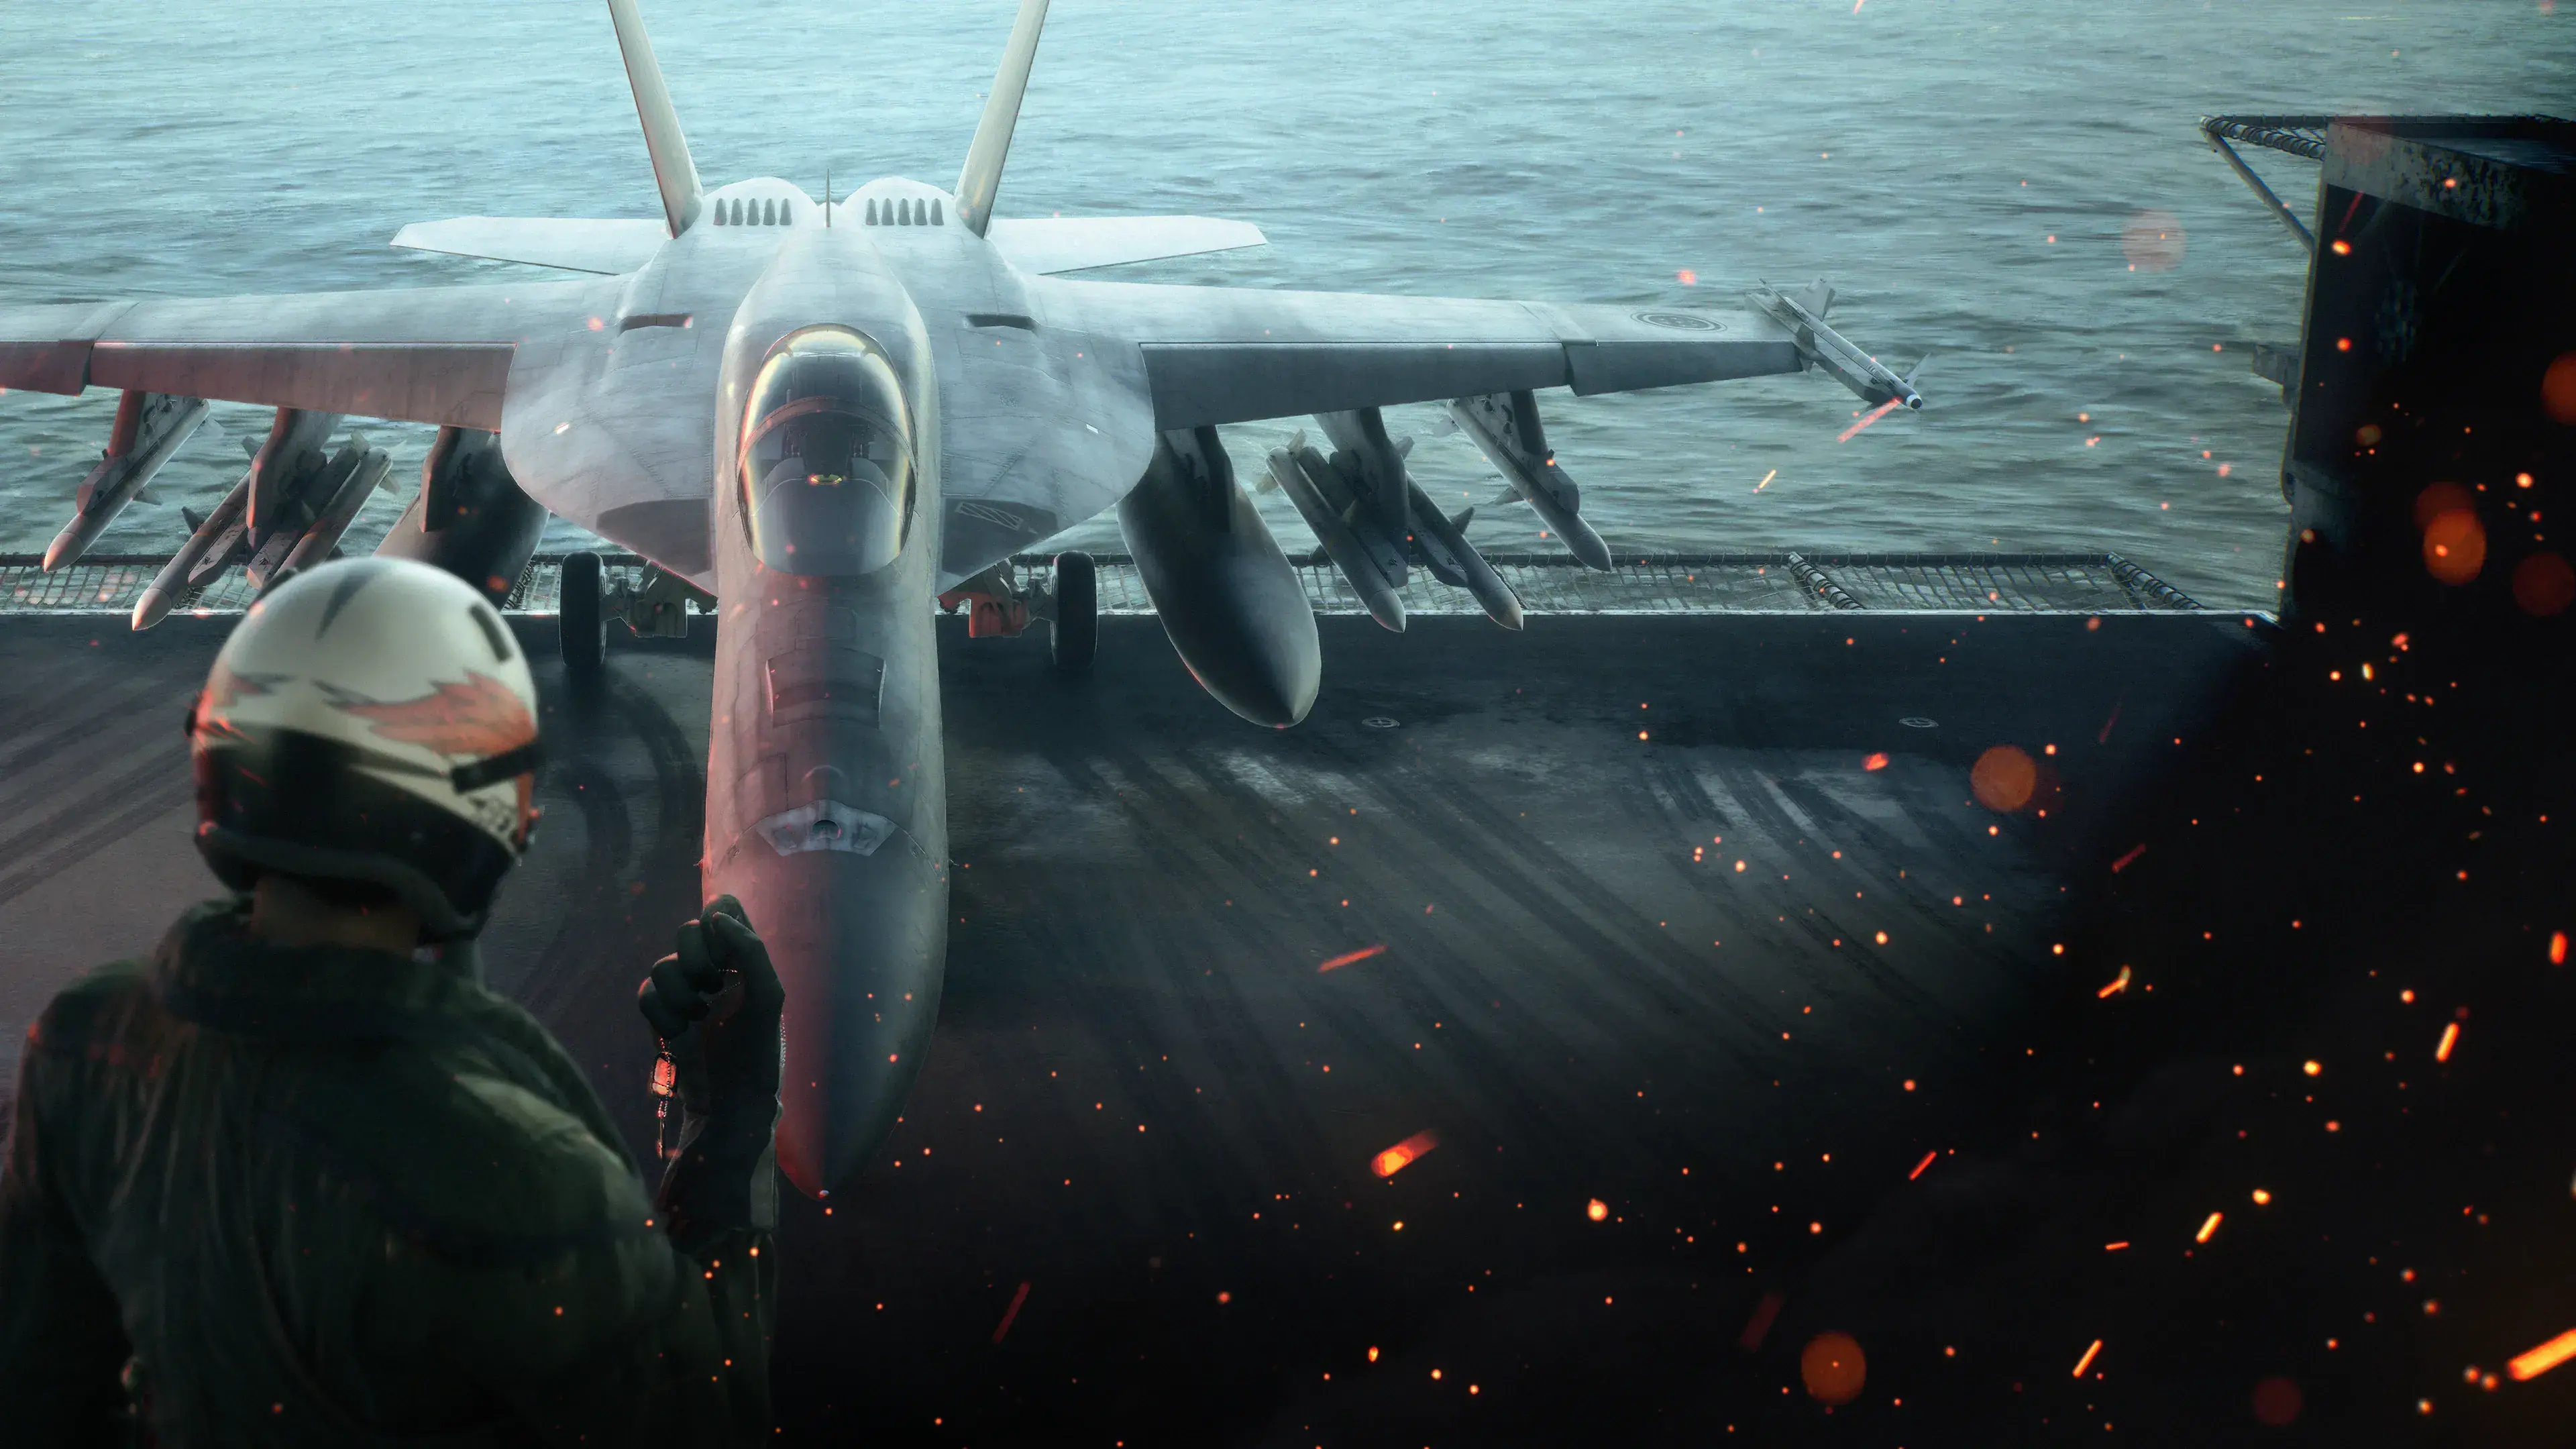
Mission 25, The Battle of Rocky Island, Day 2, is a long close-air-support operation built around one rule: your allied ground force must survive long enough to capture the enemy HQ. The safest route is to destroy threats attacking the eastern and western columns, use the western return line before your ammunition becomes critical, and preserve enough air-to-air capability for the large fighter wave that interrupts the assault.
The operation moves through a timed battle-damage phase, a fight against 12 Shadows, a renewed attack on several defensive lines, and a final HQ breach. Optional ace and medal objectives add more targets, but none of them is required for a normal mission clear.
Mission 25 objectives and failure condition
Allied troops advance along two routes toward the same command center. The western force moves south with naval artillery support, while the eastern force advances from the turntable through the less-defended side. You provide air support to both groups.
Your primary objective is not simply to accumulate score. If allied ground losses become too severe, the surviving troops cannot complete the assault and the mission fails. Treat every urgent support call as a warning that one route is being stalled or depleted.
Use this priority order throughout the ground phases:
- Destroy a heavy weapon that is actively threatening allied troops, especially a Land Destroyer rail gun or a land ship’s main guns.
- Clear tanks, anti-air defenses, and other vehicles blocking a named route.
- Attack aircraft focused on the ground force or your wingmen.
- Clean up isolated targets only when neither route is requesting immediate help.
Do not remain over one side simply because targets are close together. After each attack pass, check the radar and listen for a new eastern or western support request. A balanced response keeps both formations moving and reduces the chance that losses accumulate outside your view.
Recommended aircraft and ammunition plan
A responsive fighter or multirole aircraft is the practical choice because Mission 25 repeatedly switches between ground attack and dogfighting. A slow-turning attacker can damage the land ships, but it gives you less flexibility when missiles, SAMs, and the Shadow formation begin competing for your attention.
Choose a loadout that can handle both target types. Ground-attack weapons are useful during the opening and the push toward the HQ, while reliable air-to-air weapons matter during the central interception. This is a recommendation rather than a guaranteed best build: use the aircraft you can control accurately under missile pressure.
Manage ammunition by phase instead of firing every special weapon during the opening minutes:
- Use standard missiles, guns, or efficient ground-attack shots against exposed vehicles and aircraft waiting on the runway.
- Reserve heavier attacks for Land Destroyers, Land Aegis units, Podarges, and dense defensive positions.
- Keep enough air-to-air ammunition for the formation that arrives after the timed phase.
- Leave for the western return line before every weapon counter reaches zero.
The return line lets you land, repair, and rearm during the mission. It is especially valuable immediately before or during the Shadow fight. A short rearm trip is safer than entering the next phase with only a few missiles, but do not abandon a route that is already reporting heavy losses. Stabilize the immediate threat first, then head west.
Opening BDA phase
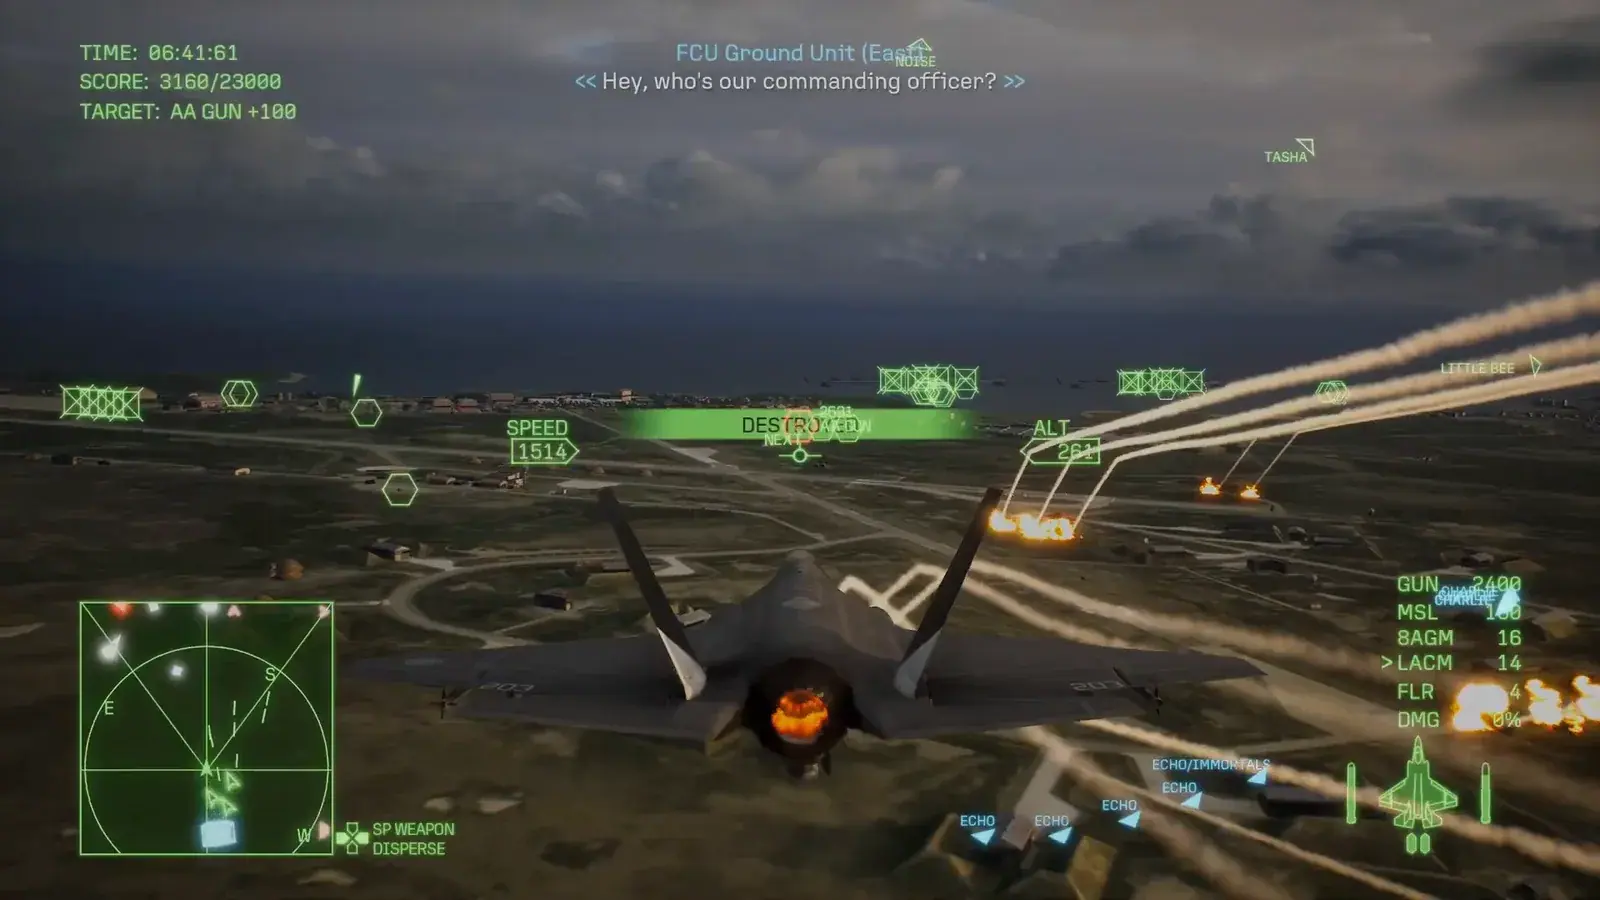
The opening BDA phase shows the airfield, several target markers and allied Echo units while the timer is active.
The mission begins with a timed battle-damage-assessment phase. Command asks you to inflict as much damage as possible before the timer expires, while the ground forces start their advance.
Begin at the airfield. Aircraft still on the tarmac are vulnerable before takeoff, so attack them early while keeping enough altitude and space to avoid ground fire. Once the runway targets are handled, turn toward whichever ground route has made the first support call.
Use repeated, controlled passes rather than circling directly above a target cluster. Approach, release weapons at a stable angle, extend beyond the anti-air envelope, and then select the next threat. This keeps your view of both routes clear and makes incoming missile warnings easier to manage.
A low-flying Podarge approaches from the southwest and deploys a Land Destroyer. The land ship’s rail gun threatens the infantry, making it a higher priority than nearby targets that are not holding up the advance. More heavy units can arrive later, so destroying the first deployment does not mean the route is permanently safe.
Continue alternating between east and west until the timer expires. You do not need to clear the entire map before the phase changes. The useful goal is to remove as many dangerous units as possible without wasting the ammunition needed for the next attack.
Defeating the 12 Shadows
Gameplay spoiler warning: This section reveals the major enemy wave that interrupts the ground assault.
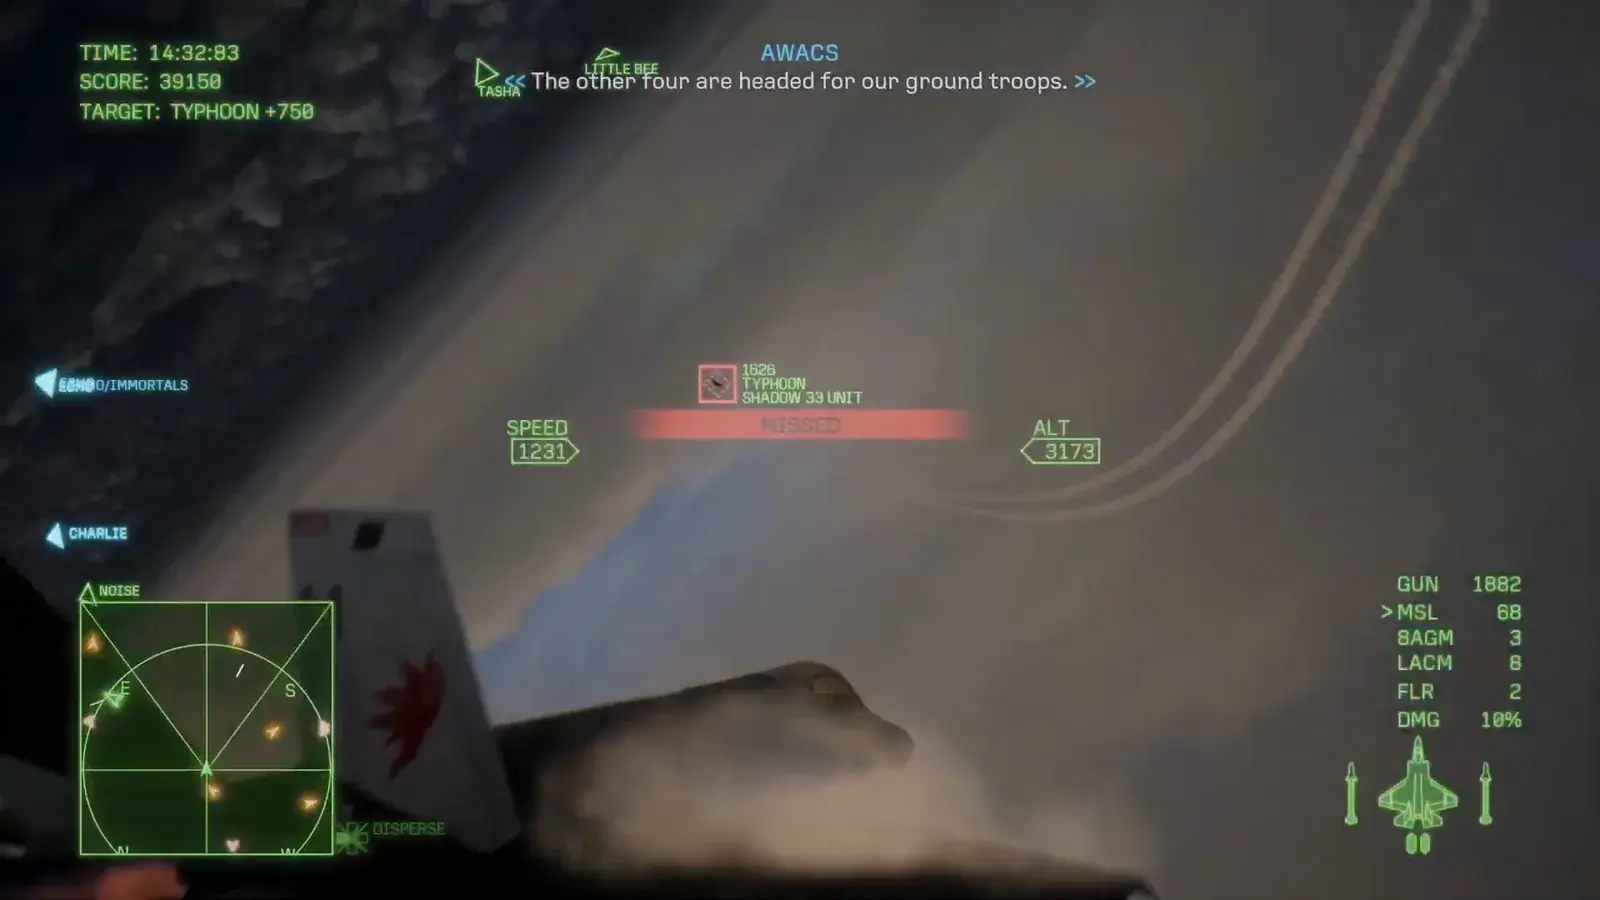
The selected Typhoon is labeled Shadow 33 Unit; nearby contacts and allied calls remain visible during the air battle.
When the timed phase ends, Lux Lunae takes control of the airspace and sends 12 Shadow fighters into the battle. Two Shadows engage each Joker Flight pilot, while the remaining four move against the allied ground troops. Your wingmen are initially too pressured to operate normally, and the ground formations remain pinned until the interception is resolved.
Switch your attention to the Shadows immediately. The earlier ground-target priority is temporarily reversed because this formation is now the direct obstacle stopping the entire advance.
A reliable sequence is:
- Attack a Shadow threatening an allied pilot so that the freed wingman can regroup.
- Turn on the aircraft moving toward the ground troops before they can continue uncontested attacks.
- Maintain speed after each firing pass instead of following one target through a long turning fight.
- Reacquire targets near the operational area rather than chasing a single fighter far from the formation.
- Use the western return line if ammunition becomes too low to finish the wave.
The Shadows demand ammunition and attention, but an aggressive pursuit can expose you to the rest of the formation. Break when warning tones stack up, use flares deliberately, and re-enter when you have a clean firing angle. This approach does not guarantee that a wingman will score a kill; it simply reduces the time each ally spends trapped in a defensive fight.
Once all 12 Shadows are eliminated, Joker Flight can regroup and the ground forces resume their advance.
Breaking the defensive lines
Return to close-air support as soon as the ground attack restarts. The eastern and western forces encounter separate defensive lines, and either side may call for help first. Remove the specific vehicles holding up that route, then cross the battlefield instead of waiting for every minor target to disappear.
Land battleships are particularly dangerous during this stage. Target their main guns to stop their heaviest attacks against your troops. If a ship has several selectable components, destroying the weapons that are firing on the advance can be more urgent than concentrating every shot on the hull.
Keep the following rhythm:
- Answer the newest route request.
- Destroy the blocking armor or major gun.
- Confirm that the route reports progress.
- Check the opposite side before selecting another target.
Enemy fighters remain a threat, but they should not automatically pull you away from the ground battle. Evade or engage them when they prevent a safe attack pass, then return to the vehicles obstructing your allies. The mission is won by enabling the ground assault, not by chasing every aircraft across the map.
Final HQ assault and marked wall
Story spoiler warning: This section describes a major Joker Flight incident and the outcome of the Rocky Island battle.
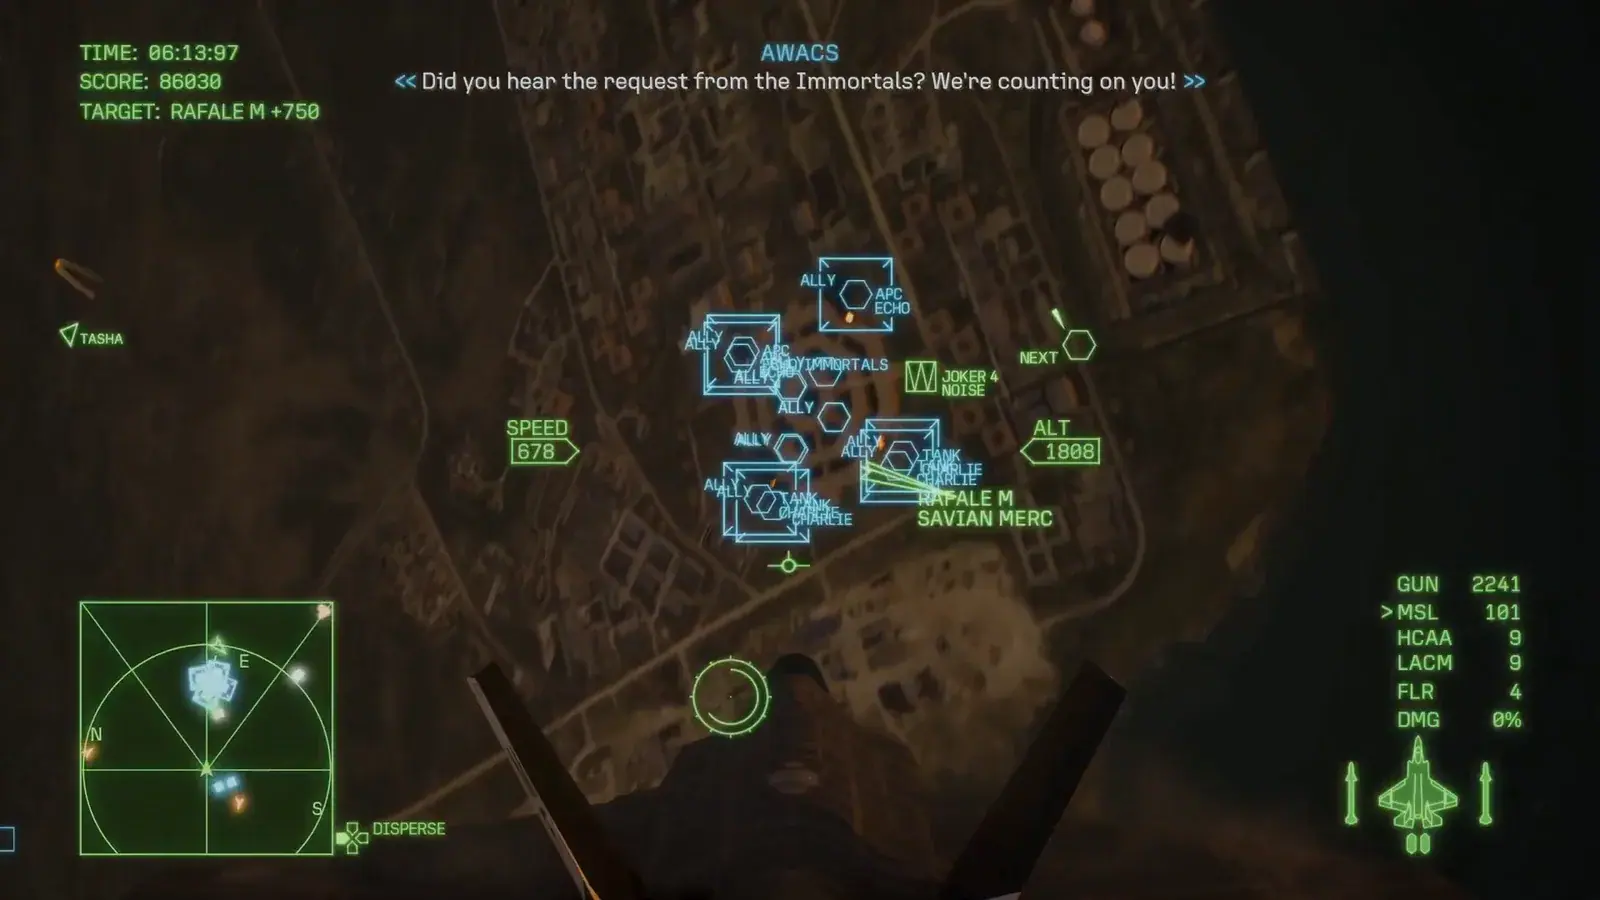
Allied Echo and Immortals markers cluster in the final assault area. The selected Rafale M is an aircraft target, not the marked wall.
A later reinforcement wave includes FA-36 fighters, and Kate is hit during the fighting. Search and rescue is deferred until the battle is over, while the remaining pilots must continue supporting the assault. The radio traffic becomes emotionally intense, but your immediate gameplay objective remains the same: destroy the tanks and other units blocking the allied force.
After the last defensive line is broken, troops move on the HQ. Four barricaded breach points must be suppressed so the assault teams can enter. Keep your attack runs shallow and controlled because the targets sit close to friendly forces and fixed structures.
Once the troops infiltrate the facility, the Immortals request an air strike on a marked wall beside the command room. They remain dangerously close to the impact point, but the mission requires you to attack the marked target. Line up carefully, confirm the marker, and fire on that target rather than an adjacent building or weapon mount.
The command room is secured after the breach, Rocky Island surrenders, and a cease-fire is ordered. The Savian carrier is granted safe passage. Completing the operation also awards the Freeing Usea achievement.
Optional Cinis, Silacrum, and Paint It Blue objectives
Optional-content spoiler warning: The following table reveals the hidden ace and mission-medal conditions.
These objectives increase the amount of work required during an already crowded support mission. Attempt them only when your allied routes are stable. Cinis and Silacrum are optional Assault Record aces and are not required to finish Mission 25.
| Objective | Route to pursue it | Important detail |
|---|---|---|
| Cinis | Destroy every Land Destroyer and Land Aegis, including units delivered later by Podarges | Do not assume the initial heavy units are the complete set |
| Silacrum | Fly through the space between the moored Podarges and the sea | Maintain a controlled line and abandon the attempt if the low pass becomes unsafe |
| Paint It Blue medal | Destroy all four Podarges: the two that fly into the operation and the two sitting in the water | The landed transports require destruction of the main body, not only their visible weapons |
For a landed Podarge, attack the transport itself after disabling any weapon that makes the approach unsafe. Players report the rear-middle cargo area as a weak point, but a clean angle and safe pullout matter more than forcing a risky shot while ground troops need assistance elsewhere.
Free Mission becomes available after completing the campaign once, so none of these optional goals needs to be forced into the first story run. Replay Mission 25 later with unlocked aircraft, weapons, and parts if protecting the ground routes while meeting every hidden condition proves too demanding.
Recovery plan for common failure points
If the ground force keeps collapsing during the opening, stop clearing isolated fighters and respond to the route named in radio calls. Land Destroyers, main guns, tanks, and other units directly blocking the advance should receive your first attacks.
If the Shadows exhaust your missiles, use the western return line earlier. Rearming before the formation arrives is preferable when the opening phase has already consumed most of your loadout. During the interception, free pressured allies and protect the ground force rather than committing to a prolonged chase.
If the final assault appears stalled, scan for the remaining tanks, defensive-line targets, or one of the four breach points. After infiltration, wait for the marked-wall request and attack the explicit mission target. Optional Podarges and aces should never take priority over an active failure warning from the allied ground force.