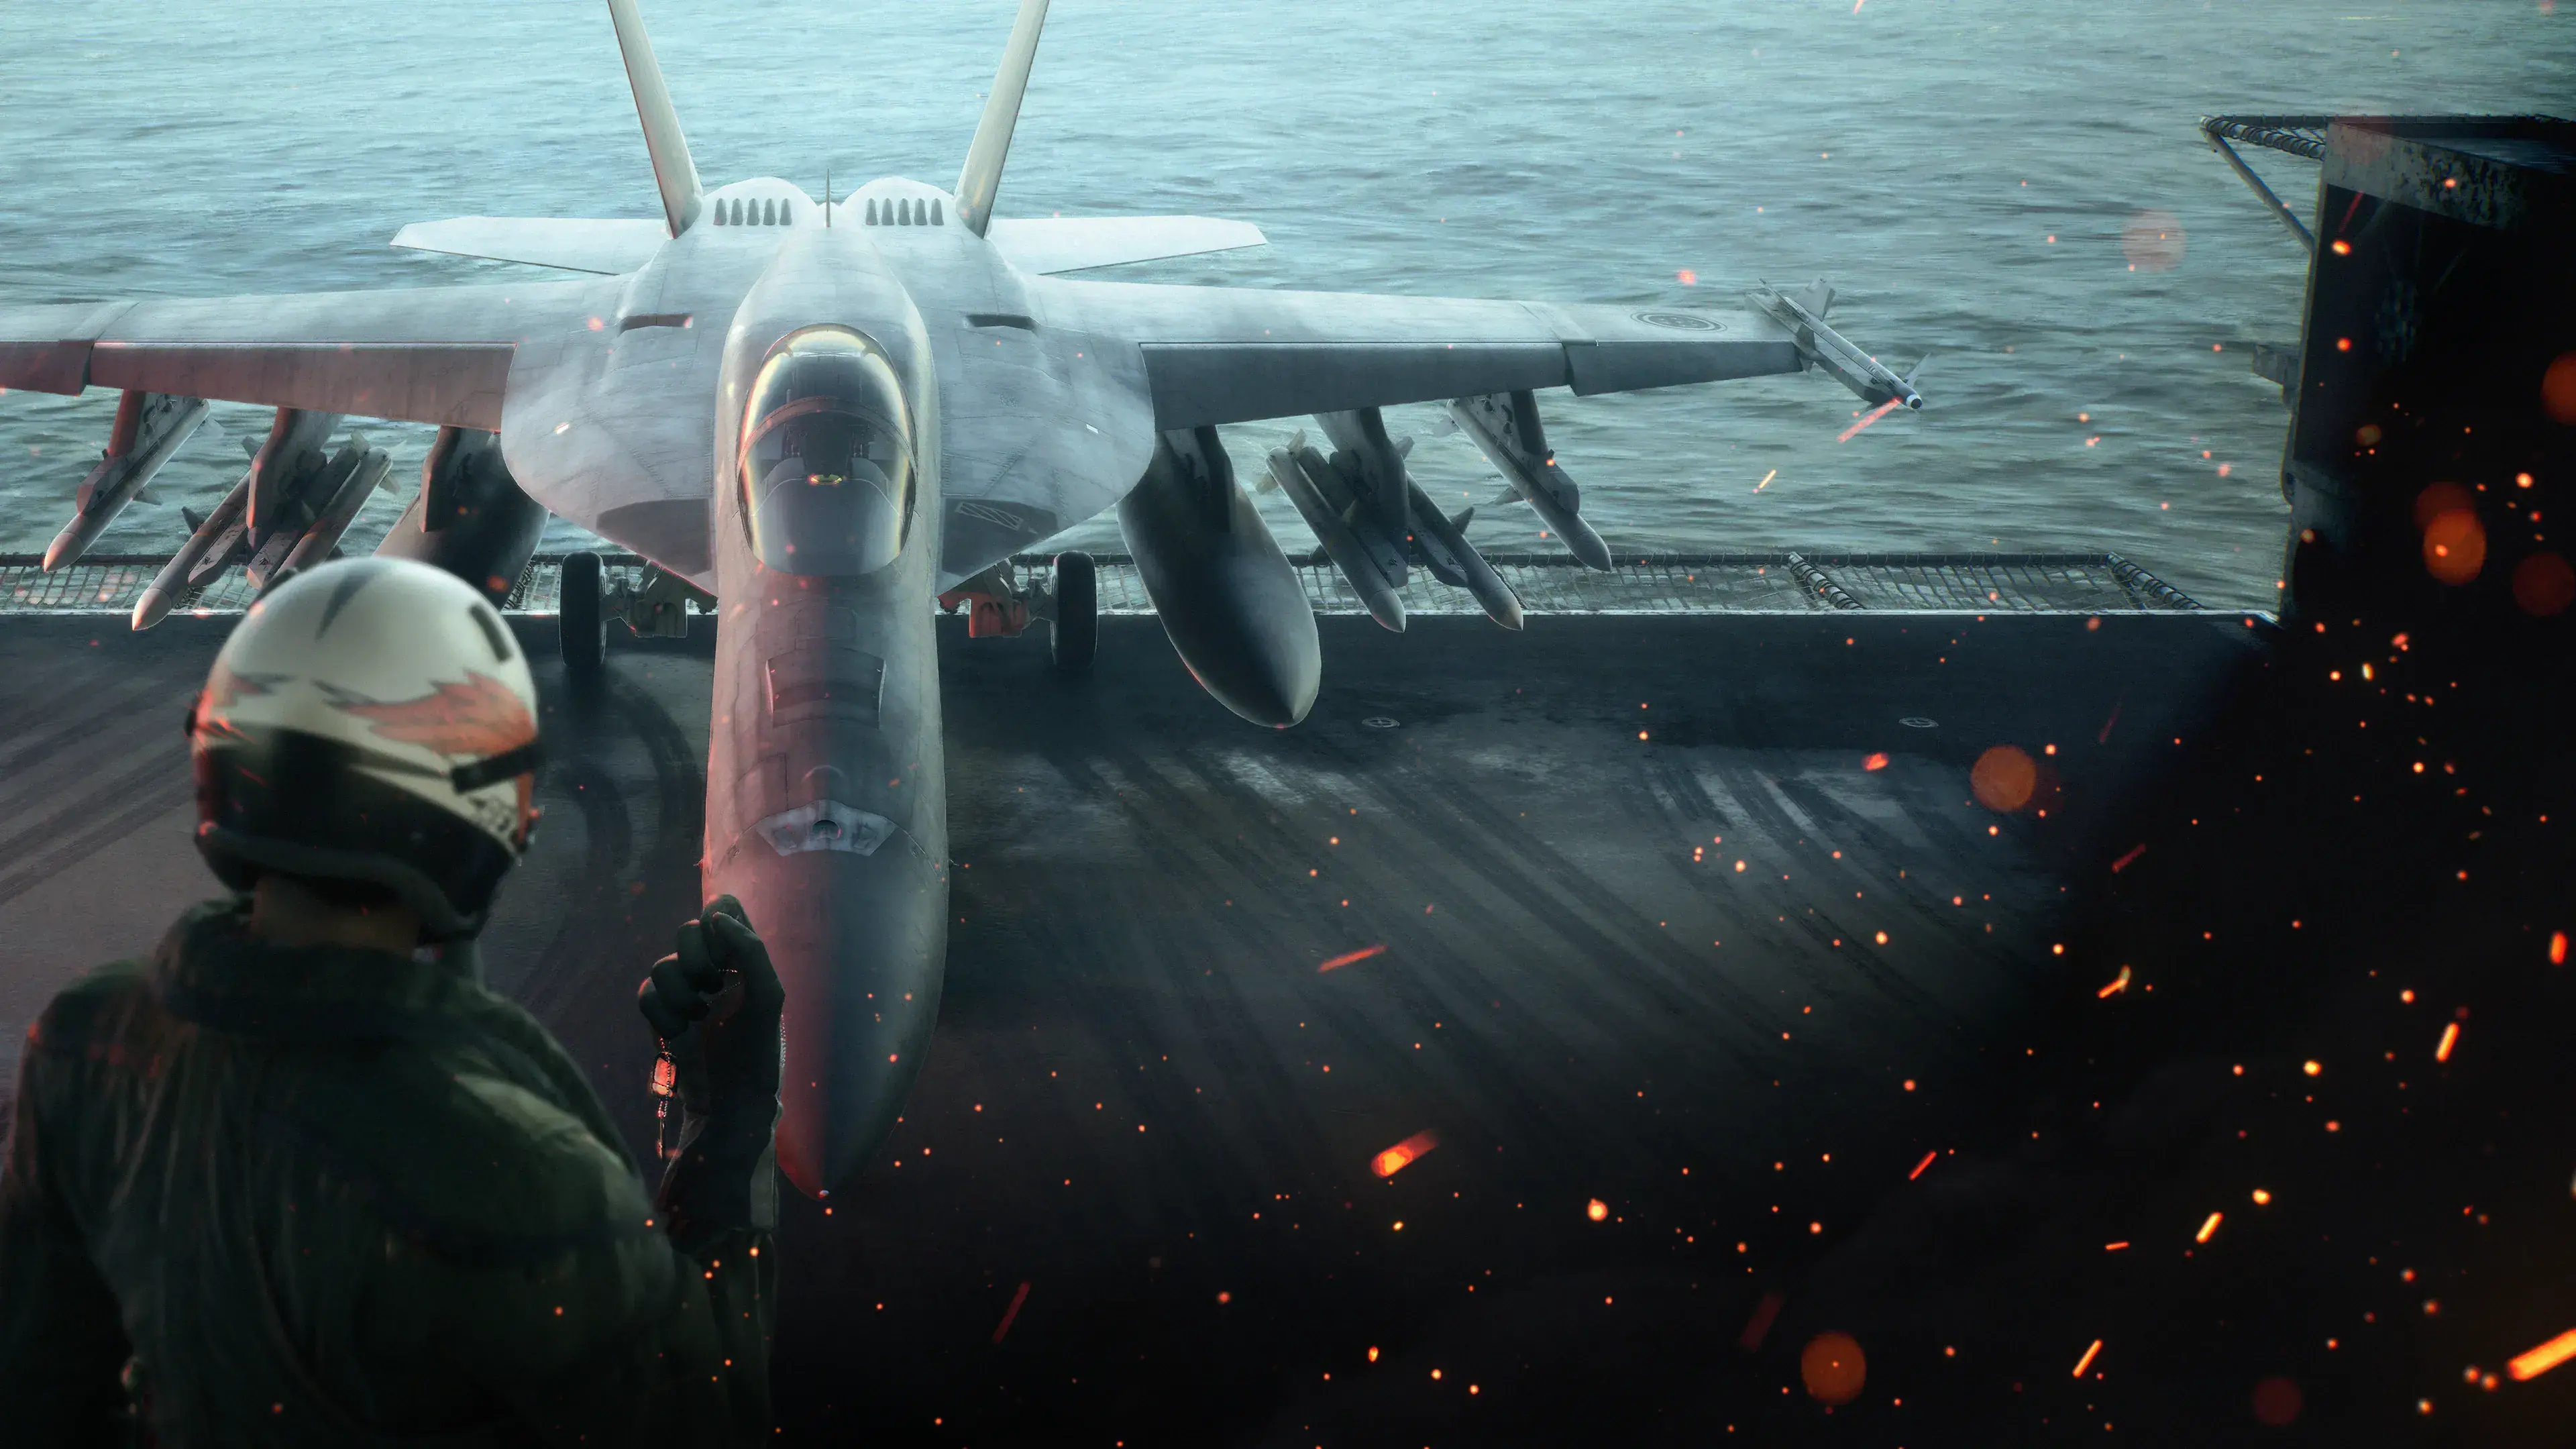
ACE COMBAT 8 Mission 6, Attack on the Drinwich Airfield, is won by protecting two allied assault groups rather than clearing every enemy on the map. Escort the northern force first, rotate south as soon as Queen Flight requests help, and then keep responding to whichever allied position is under immediate attack. Once the assault reaches the airfield, engage only valid hostile targets and avoid the facilities marked for capture.
The most important rule is simple: a red TGT threatening an ally takes priority over an unmarked enemy, an easy target, or extra score. Watch the full radar, listen to AWACS, and change direction as soon as an allied group begins flashing or calls for support.
Mission 6 objectives at a glance
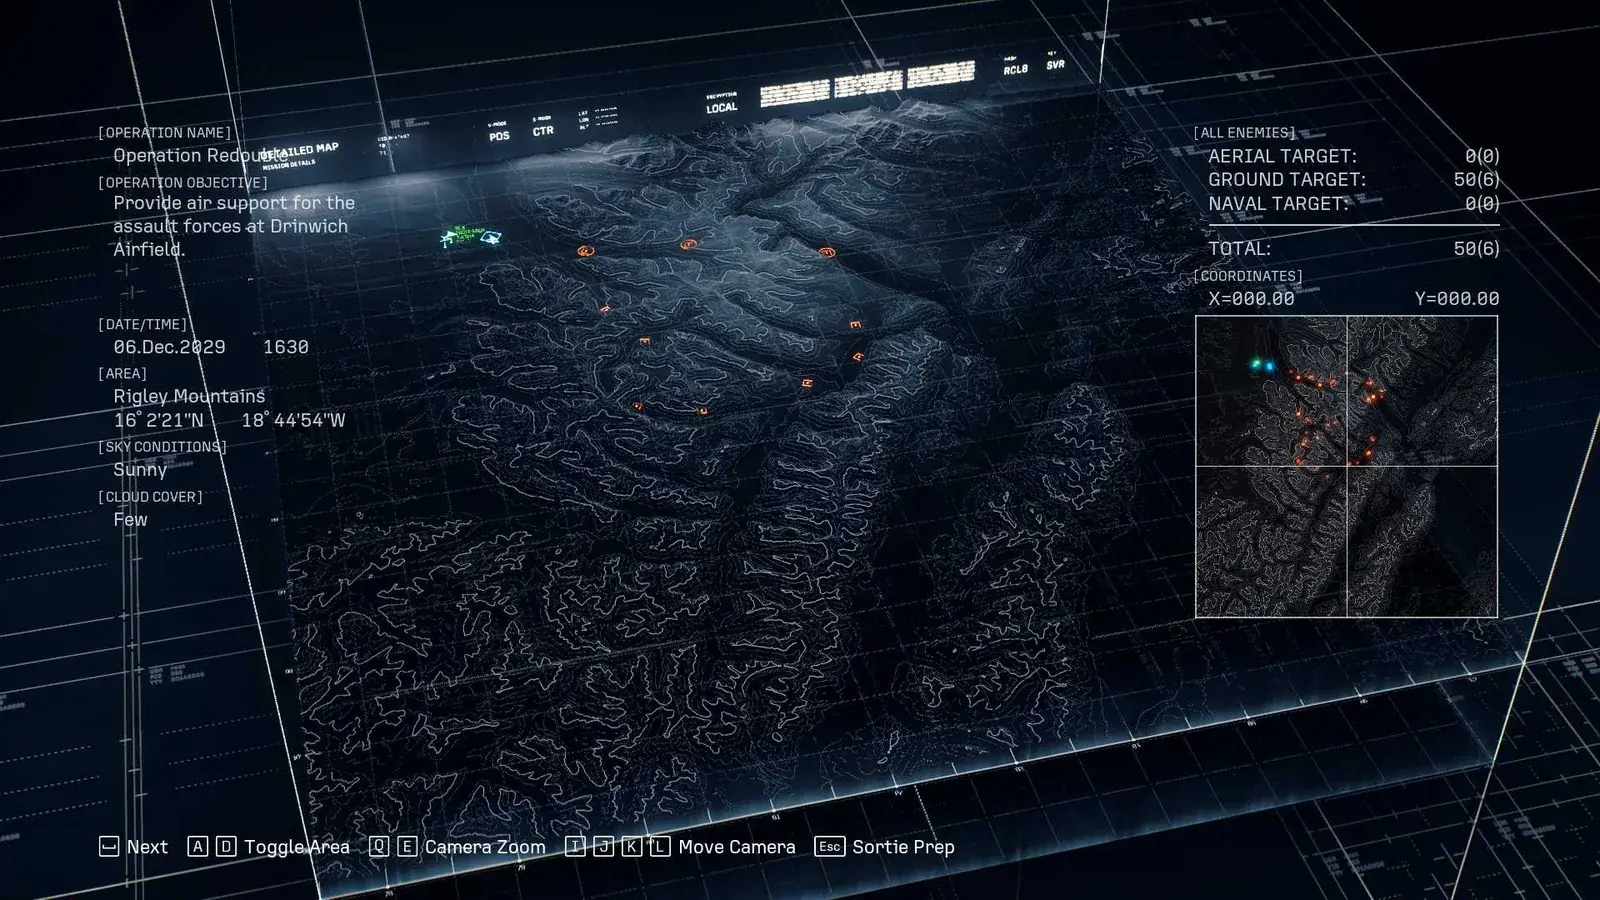
The briefing identifies Drinwich Airfield and the two allied assault groups.
The operation begins with transport helicopters carrying mechanized troops toward Drinwich Airfield. The force divides into two routes:
- Joker Flight covers the northern route.
- Queen Flight covers the southern route.
- Surface-to-air weapons and interceptors threaten the transports during the approach.
- After the helicopters reach the drop zones, the troops advance through the north and south gates.
- Fuel, ammunition, storehouses, and other designated facilities must be captured rather than destroyed.
Losing too many ground troops can abort the operation. Damaging a protected facility may also force an abort, although an accidental hit is not documented as a guaranteed failure in every case. Treat every protected marker as a strict no-fire zone.
This walkthrough prioritizes a reliable completion. It does not assume a particular score or rank requirement.
Recommended aircraft and weapons
Mission 6 mixes light ground defenses with repeated aerial interceptions. An air-to-air special weapon is therefore a practical choice even though many initial targets are on the ground. Standard missiles and the gun are sufficient for exposed AA weapons and vehicles when used carefully.
The mission has been completed with the F/A-18C, so purchasing another aircraft is not a documented prerequisite. Its 4AAM can help remove clustered interceptors more quickly, but that is a useful option rather than a guaranteed solution. Use the aircraft you can control accurately; rapid turns and precise target selection matter more here than maximum ground-attack power.
Avoid relying on wide-area explosive weapons around the airfield. Bombs may appear attractive while enemies are grouped together, but the capture zone contains fuel and ammunition that can produce chain explosions. If you carry a ground-attack weapon for the approach, stop using it once hostile units are mixed with protected facilities.
For parts, favor improvements that help you acquire, reach, and destroy urgent targets quickly. The core problem is response time: you repeatedly move between two allied groups while new threats appear on different sides of the operation area.
Spoiler warning: The walkthrough below describes every objective transition from the opening escort through the final attack at the airfield.
Phase 1: Clear the northern helicopter route
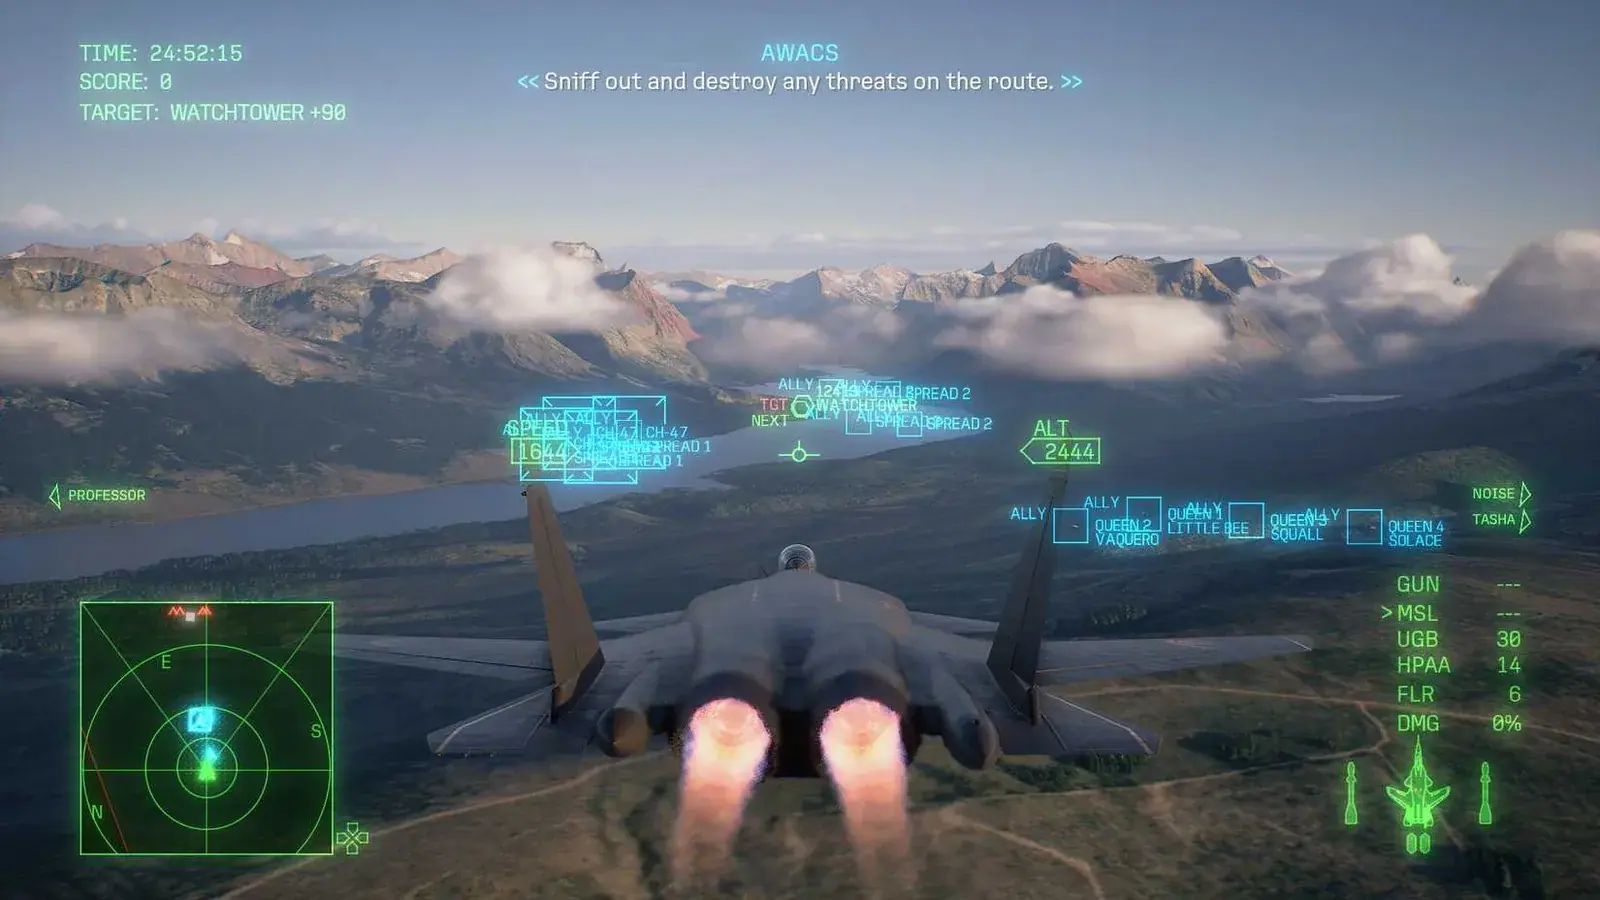
Use the HUD markers to identify threats along the northern escort route.
Follow the northern transport group at the start, but do not sit directly beside the helicopters. Move slightly ahead, expand the radar when possible, and inspect the route for red ground targets. Remove SAMs, AA guns, and other designated defenses before the transports enter their effective range.
When enemy aircraft approach the northern group, stop attacking optional ground units and intercept them. A surface target behind you is less urgent than a fighter already closing on a helicopter. After AWACS confirms that the immediate threat has been cleared, resume sweeping the route ahead.
Do not chase an enemy far away from the transports. Mission 6 punishes tunnel vision: destroying one distant aircraft can leave the route undefended when a fresh red target appears closer to the helicopters.
Phase 2: Rotate south when Queen Flight calls
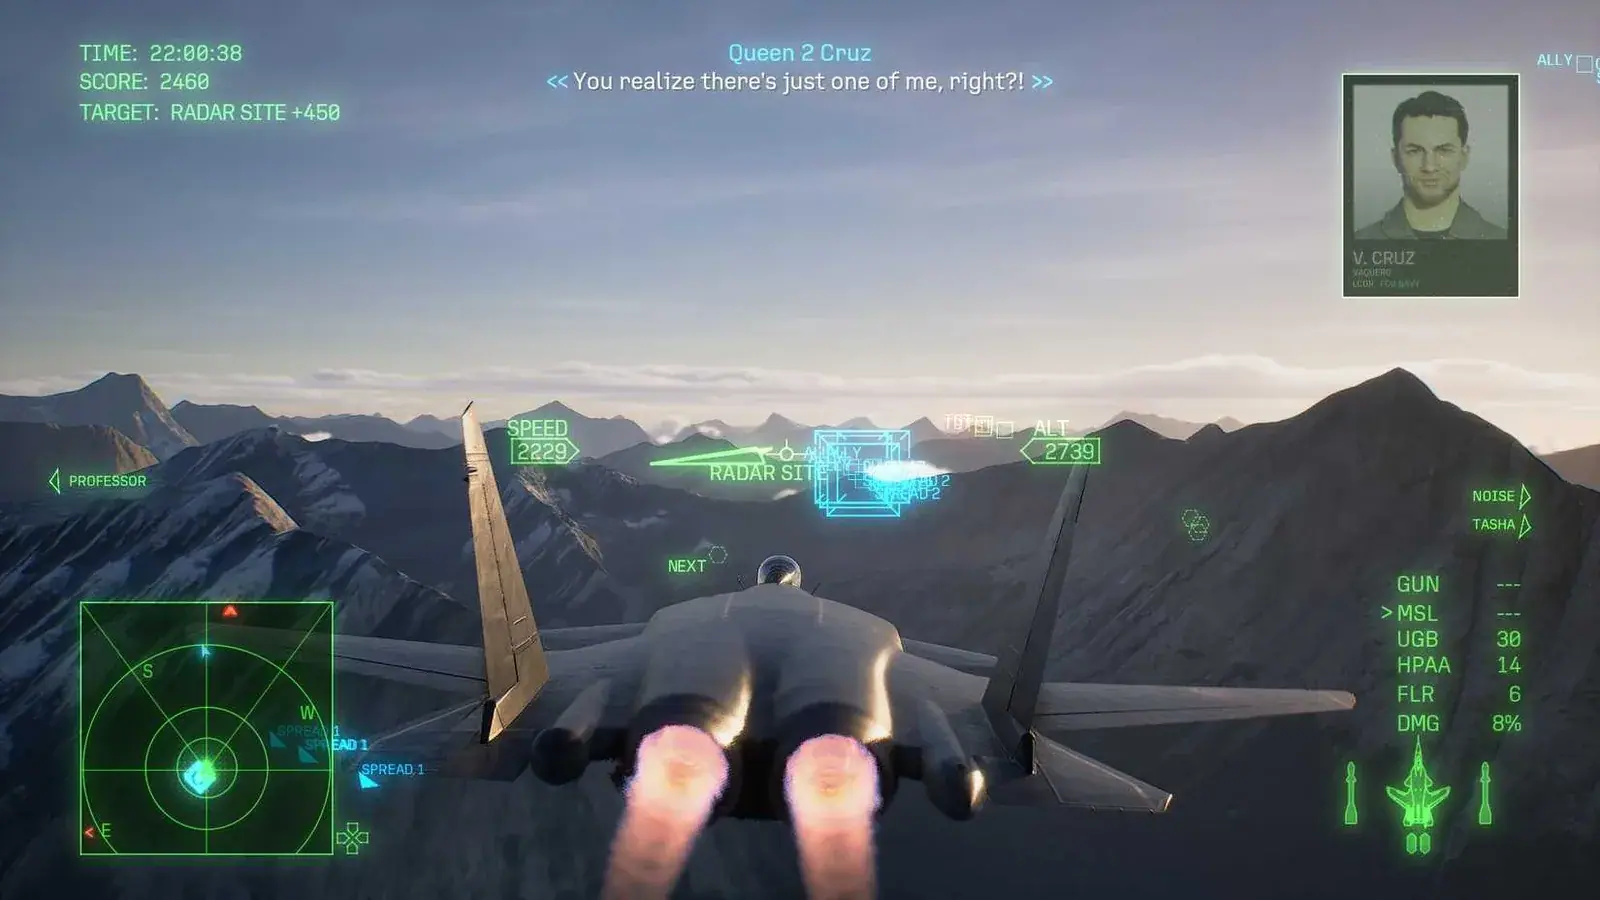
The Spread 2 and Queen Flight radio cues help identify the southern escort action.
Queen Flight and the southern transports will eventually need assistance. Turn south immediately when the call arrives. Use the map to identify the red targets surrounding that group instead of attacking the first contact you see on the way.
Clear the aircraft and ground defenses actively threatening the southern force. Once the radio confirms that the southern route is safe, check the northern group again rather than remaining south to collect optional kills. New interceptors can launch toward the north while you are helping Queen Flight.
The stable rhythm for this phase is:
- Clear every nearby red threat around the northern transports.
- Rotate south as soon as the southern group requests support.
- Remove the southern group’s immediate attackers.
- Recheck the full radar and return north when new red targets appear there.
- Repeat the rotation until both groups reach the landing area.
If a blue allied position flashes or AWACS reports that it is under fire, treat that as the highest-priority destination. White or otherwise non-objective contacts can wait while a red TGT is attacking the operation’s limited ground force.
Phase 3: Secure the approach to the drop zones
As both routes close on Drinwich, the protected base becomes a factor. Targets designated for capture are excluded from the fire-control system, but careless gunfire or an explosive attack can still hit the surrounding facilities. Begin shortening your firing passes and confirm each target before releasing a weapon.
Continue clearing route defenses until both transport groups arrive. Do not fly deep into the base looking for targets while helicopters are still exposed behind you. The objective changes only after the troops unload and begin their ground assault.
Use the transition to check your ammunition and radar. You still need weapons for hostile aircraft, helicopters, vehicles, and the final urgent targets. Conserving special weapons for aerial threats is generally safer than spending them on isolated ground defenses that standard missiles can destroy.
Phase 4: Support the north and south ground assaults
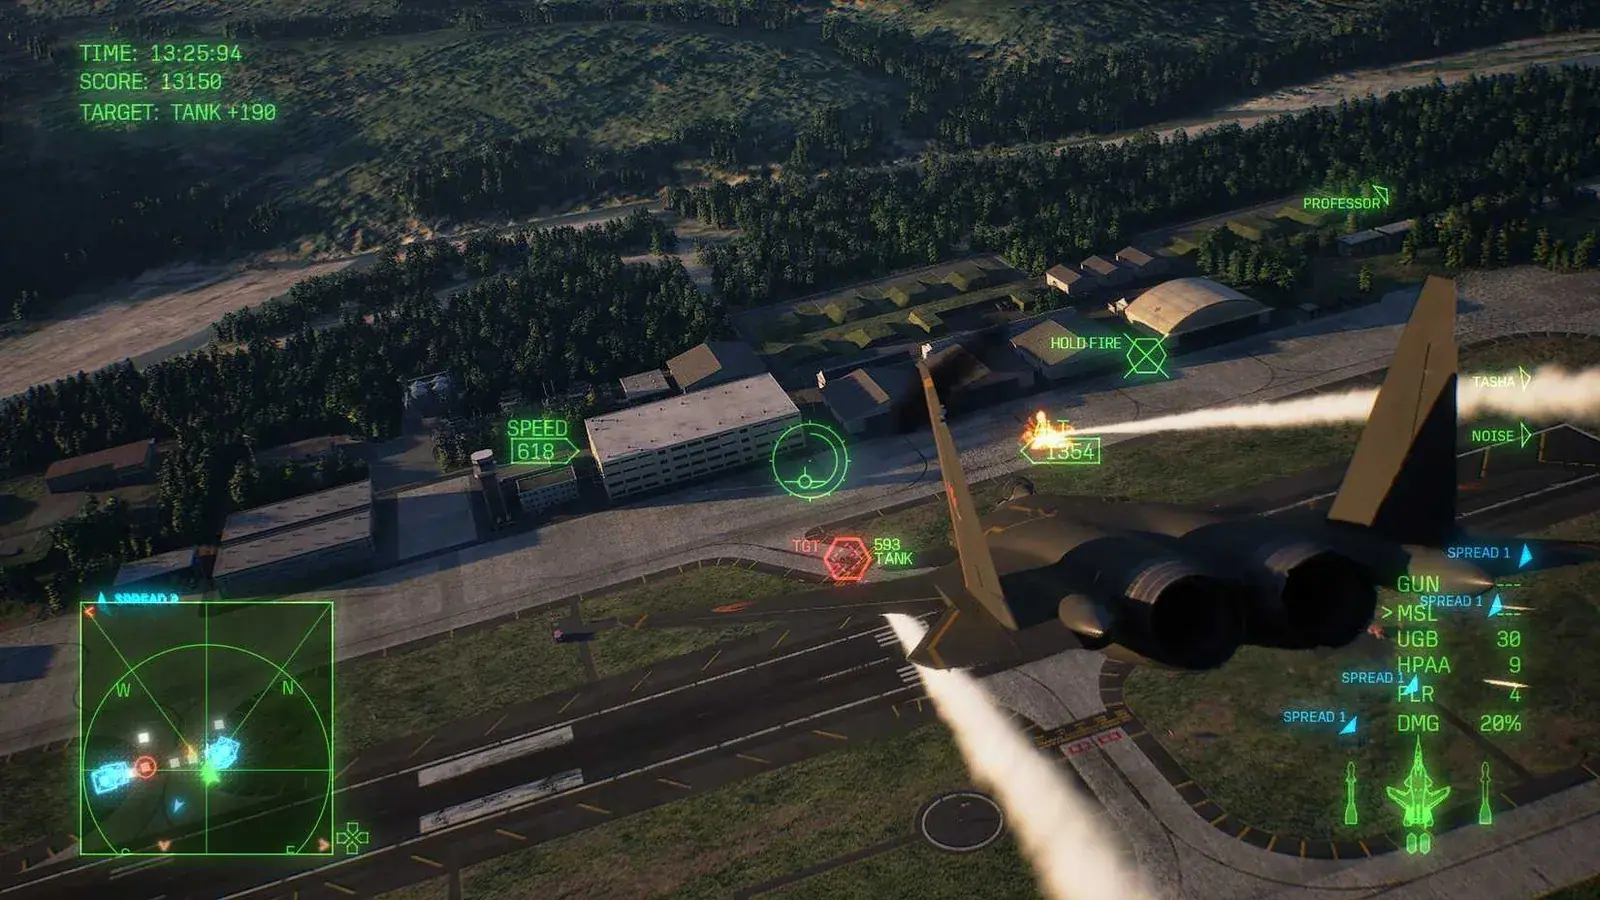
The HOLD FIRE marker beside hostile tanks shows why attack angles matter inside the base.
After the landing, the allied troops divide toward the north and south gates. Enemy vehicles approach both sides, and further aerial threats can target the advancing units. Stay over the perimeter rather than circling far beyond the airfield; the shorter distance lets you answer either support call.
Prioritize threats in this order:
- Red targets currently attacking an allied ground group.
- Enemy helicopters or aircraft closing on the troops.
- Hostile vehicles blocking a gate or pinning down the advance.
- Other valid targets that are clear of protected buildings.
An enemy transport may become a valid target after it takes off and clears the base. Wait for the weapons-free instruction and a clean separation from the protected area. Firing while it is still surrounded by fuel or ammunition risks collateral damage.
The same restraint applies to vehicles between buildings. Approach along a line that places open ground behind the selected target. If your angle points through the enemy toward a hangar, storehouse, fuel vehicle, or another protected object, break away and make another pass. One delayed shot is preferable to restarting the mission after a chain explosion.
Watch the radar between attacks. A successful pass on the south side does not mean that side remains safe; a new support request can arrive while you are turning toward the north. Complete the current urgent kill, then react to the latest call instead of following a fixed circuit.
Phase 5: Destroy the final drone threat
Large drones deploy from the airfield late in the assault and immediately threaten Spread Platoon. This is not a moment to clear leftover enemies elsewhere. Turn toward the base, select the drones identified as hostile targets, and destroy the ones attacking the troops.
Make controlled passes rather than spraying the runway and surrounding facilities. Keep the selected drone between your nose and open air whenever possible. If the target crosses in front of a protected structure or fuel-carrying vehicle, release the lock, reposition, and attack from a cleaner angle.
Your wingmen can help thin the wider battle, but you should personally concentrate on the red targets endangering the ground forces. Continue until the final threat sequence and radio dialogue resolve the operation.
Protected targets and avoidable mission failures
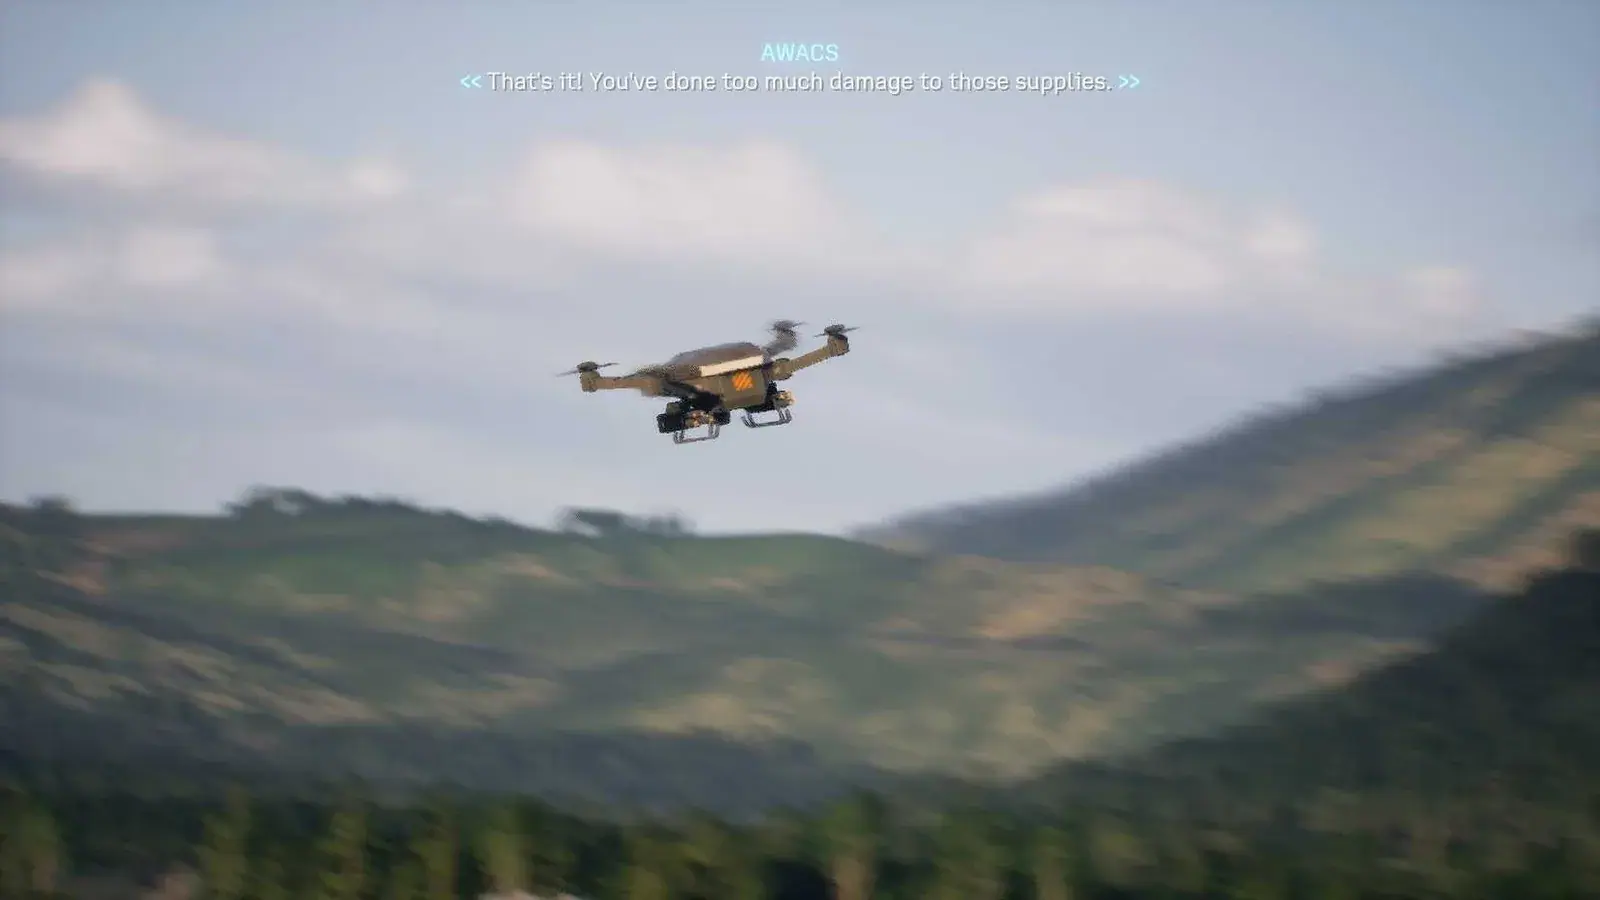
This supply-damage warning indicates an avoidable failure; it differs from the scripted completion explosion.
Most Mission 6 failures come from prioritization or collateral damage rather than a lack of firepower.
- An allied group is eliminated during a rotation. Clear all nearby red threats before leaving one route, then travel directly to the other. Do not stop for optional targets between the groups.
- The transports take repeated missile fire. Range ahead and remove route SAMs and AA weapons, but remain close enough to turn back when interceptors appear.
- Ground troops stall at a gate. Look for red vehicles or aircraft specifically associated with the support request. Unmarked enemies elsewhere are not the immediate blocker.
- A protected facility is hit. Use standard missiles or short gun bursts, verify the background, and avoid explosive area attacks inside the base.
- A fuel or ammunition chain reaction begins. Stop firing into the affected cluster. Do not assume that every explosion is a target you are meant to destroy.
- The player follows one group for too long. Mission 6 expects repeated movement between north and south. The radar and radio calls should determine the next turn.
Do not interpret every large explosion as proof that you failed. The operation continues when the scripted late event occurs and the allied troops report that they are safe. An actual failure is communicated by the mission state rather than by the size of an explosion alone.
Wingman commands during the escort
A dispersed attack order can give your wingmen room to engage separate contacts and may buy time while you rotate between routes. A regular attack order focuses their effort more narrowly in front of you. Neither command replaces your responsibility to protect the helicopters and ground troops.
Use dispersed attacks when several hostile contacts are spread around the operation area. Use a focused attack when an urgent aerial target is directly ahead and you want concentrated pressure. In both cases, confirm the result yourself: wingmen may reduce the workload, but you should not leave an allied group merely because an order was issued.
Quick retry checklist
Before restarting, reduce the mission to these decisions:
- Equip a controllable aircraft with a practical air-to-air option.
- Clear red route defenses slightly ahead of the northern helicopters.
- Break off immediately for enemy aircraft targeting the transports.
- Answer Queen Flight’s southern request without stopping for extra kills.
- Return north when fresh threats appear there.
- Keep checking the expanded radar instead of staring at the current target.
- At the airfield, fire only on confirmed hostile targets.
- Protect both gate assaults and reposition for clean attack angles.
- Save enough standard and special ammunition for the late aerial threats.
- Treat AWACS support calls and flashing allied positions as higher priority than score.
Following that loop turns Mission 6 from a map-clearing exercise into a sequence of short rescue responses. You do not need to destroy everything; you need to destroy the correct threat before it overwhelms the allied unit assigned to the operation.
Mission ending
Story spoiler warning: The following explains the operation’s final outcome.
After the last drone engagement, a fuel-related explosion damages the airfield and leads to an angry response during the debriefing. This event occurs with the allied troops reported safe and does not represent a preventable mission failure. If the mission continues into its completion dialogue, do not restart because you assume the explosion invalidated the capture. The operation succeeds with Drinwich’s key facilities and remaining supplies secured.