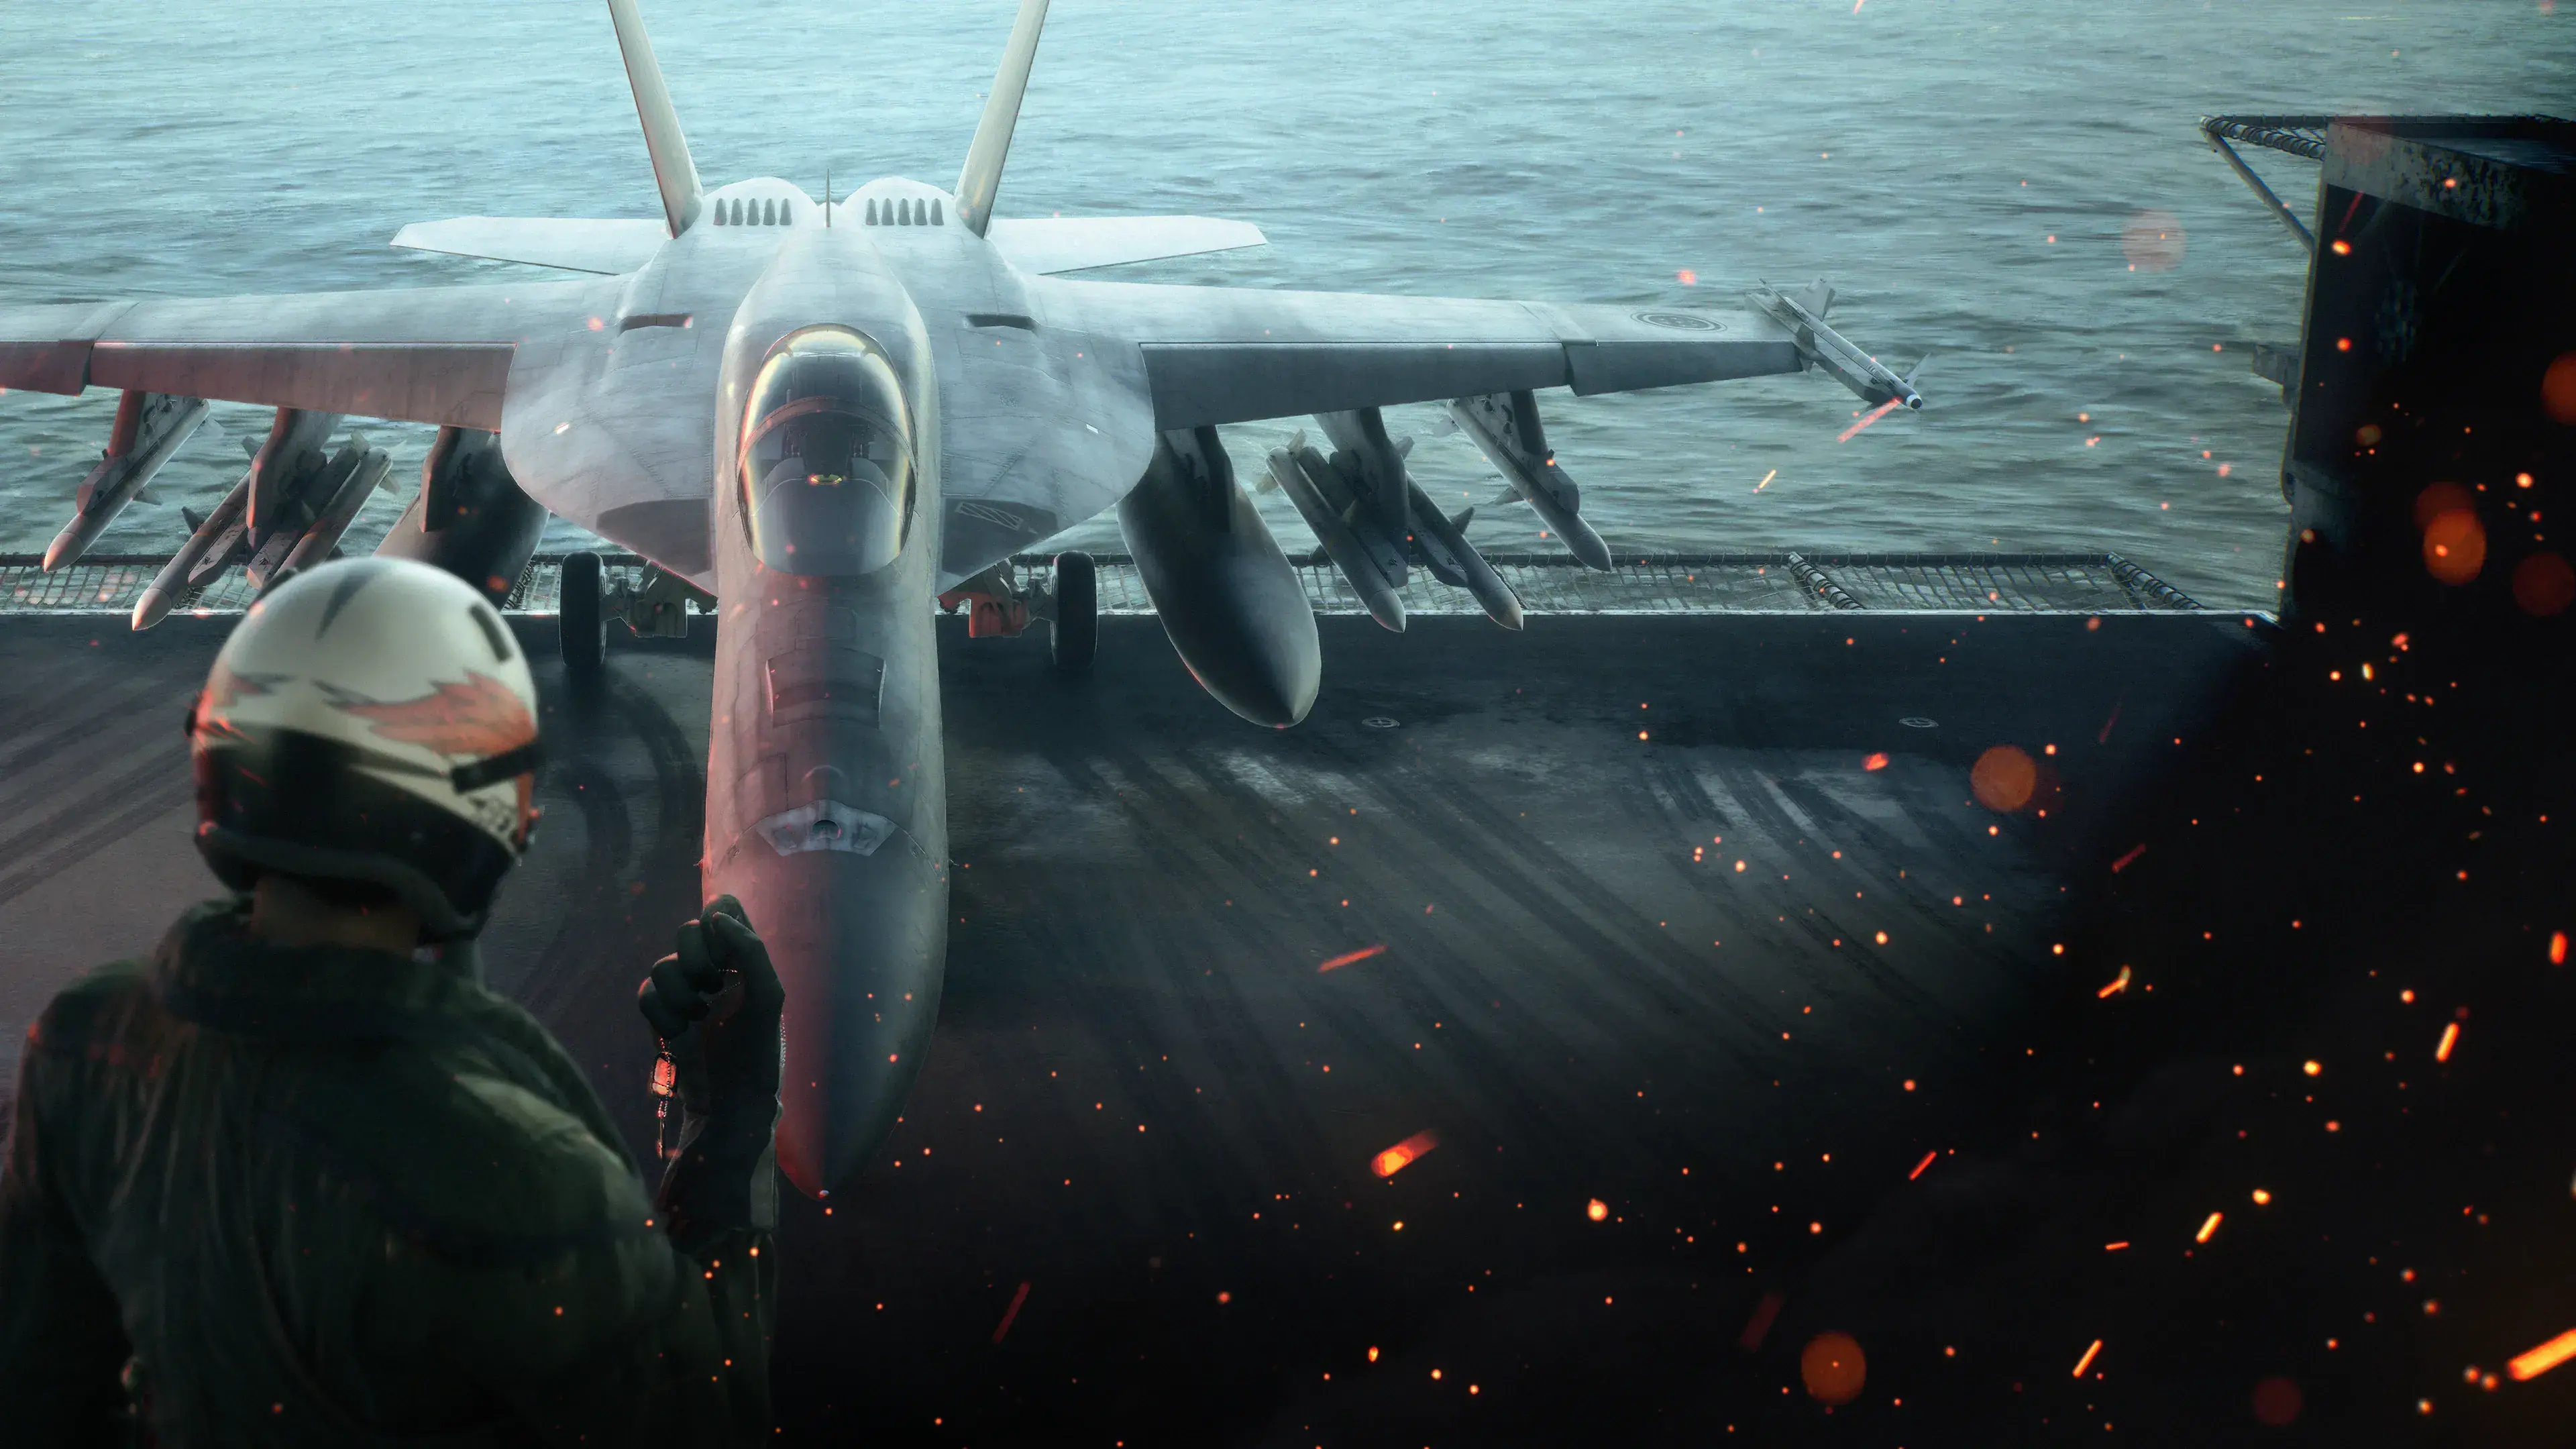
ACE COMBAT 8 Mission 5, “Retaking of Theve,” is an escort mission built around one rule: stay responsive to the landing craft instead of committing to a long chase or a full ground sweep. Clear the opening priority fighters, return toward the convoy for the incoming helicopters, then make short strikes on the marked howitzers, rocket artillery, and tanks. When the objective changes, turn back with the convoy immediately and intercept the red TGT aircraft while avoiding the indicated lines of fire.
The mission becomes manageable when you treat every attack as a short cycle: remove the fastest threat, hit one ground cluster, check the convoy, and reposition. Destroying every unmarked enemy is unnecessary for a clear and can leave the LCACs exposed.
Mission 5 objectives and priority order
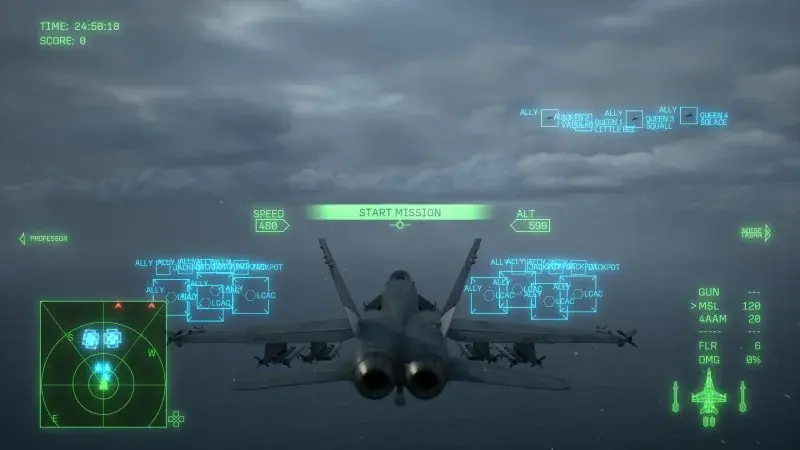
The opening approach toward Theve and the landing-craft convoy.
Operation Long Shot asks Joker Flight to protect the amphibious landing force as it approaches Theve. The briefing identifies enemy fighters, assault helicopters, tanks, and howitzers as priority targets. In practice, their danger is not equal at every moment.
| Situation | First target | Why it comes first |
|---|---|---|
| Opening approach | Red TGT fighters | They can reach the convoy quickly and pull you away if you accept a prolonged dogfight |
| Helicopter callout or new rotor contacts | Assault helicopters | They can attack the LCACs from close range while you are looking inland |
| Clear air near the convoy | Howitzers and rocket artillery | They keep pressuring the landing craft from shore |
| Ground pass after artillery | Marked tanks | They remain part of the required threat set but usually come after active artillery |
| Repeated high-spec SAM pressure | The associated radar unit | Removing it can relieve the defensive pressure described during the mission |
| Withdrawal | Red TGT strike aircraft and helicopters | The convoy is reversing course, so distant cleanup no longer serves the objective |
Use the table as a decision order, not as a promise that threats will wait politely. If a new red air target appears while you are lining up a ground pass, break away and reassess. The convoy, not your current target, determines the route.
Aircraft, weapons, and squad setup
A carrier restriction can limit the aircraft available during the first campaign run. Choose the best carrier-capable aircraft you actually have rather than building the plan around a later unlock. A multirole aircraft is the safest profile because Mission 5 repeatedly alternates between air interception and quick ground strikes.
The F-14D with LAAMs is a practical air-focused option when available. Long-range shots can shorten the time spent leaving the LCACs to chase incoming aircraft, while standard missiles can handle the marked ground units. An F/A-18E or another available multirole can also cover both jobs; combinations involving SOD for ground groups and an air-to-air special weapon have been used successfully. These are loadout choices, not guaranteed clears.
For a first attempt, favor the following:
- Improve standard missile performance if your parts selection allows it, because standard missiles remain useful against both air and ground TGTs.
- Take a long-range or multi-target air weapon if fighters are the part causing losses.
- Take a ground-area weapon if you can already intercept aircraft consistently but lose time clearing artillery.
- Avoid splitting ammunition between two special weapons unless both solve a problem you actually have in this mission.
The Su-34 with UGB or UGBL can erase ground clusters in later replays, but it may not be selectable for this campaign sortie because of carrier restrictions. Free Mission removes most campaign aircraft restrictions after the campaign is completed, so save that setup for a replay unless the sortie screen actually permits it.
Set wingmen to spread out and allow special-weapon use if those commands are available in your setup. This can widen coverage while you switch between shore and convoy. Wingmen are support, not a substitute for checking which red TGT is currently attacking the LCACs.
Phase-by-phase Mission 5 route
Spoiler warning: The walkthrough from this point describes Mission 5’s mid-mission reversal, the weapon that causes it, and the retreat.
Phase 1: Clear the opening fighters without drifting away
Accelerate toward the first red TGT fighters and remove them efficiently. Do not turn the opening into a general air sweep. Unmarked escorts can consume time without advancing the protection objective, especially if they drag you away from the landing craft.
Use missiles when a target is about to give you a favorable rear or low-aspect shot rather than firing repeatedly into a hard turn. If one aircraft begins a long evasive loop, switch to another immediate threat. A fast kill is valuable; a stubborn chase is not.
After the first priority aircraft are down, angle back toward the LCAC formation. This return is the important part of the opening. The radio soon directs attention inland, but the next close threat can approach the boats while you are looking at the coast.
Phase 2: Intercept the helicopters near the convoy
Watch the radar around and behind your position for assault helicopters closing on the LCACs. Destroy them before making a deep run toward the shore. This is the common explanation for landing craft taking damage while the obvious targets appear to be inland.
Stay close enough that you can acquire the helicopters quickly. If you have a long-range air weapon, use it to reduce travel time; otherwise, approach from a stable angle and finish them with standard missiles or guns. Do not assume the air is safe merely because the first fighter wave is gone.
Once the nearby helicopters are removed, check for new red fighter targets. Only begin the ground run when the immediate air picture around the convoy is controlled.
Phase 3: Make short attacks on the shore targets
Attack marked howitzers and rocket artillery first, then marked tanks. A ground-area weapon can clear a clustered group, but standard missiles are sufficient when ammunition or aircraft choice is limited. SAMs are secondary unless their pressure is preventing safe attack runs; the mission dialogue points to a radar unit associated with the high-spec SAM threat.
Do not attempt to sanitize the whole coastline. Make one useful pass, extend far enough to turn safely, then check the radar and convoy status. New priority aircraft should pull you back toward the water. This creates the central Mission 5 rhythm:
- Intercept the red air targets moving toward the convoy.
- Use the gap to destroy one marked artillery or tank group.
- Turn back before a ground sweep becomes a long commitment.
- Repeat until the landing force nears the shore and the mission state changes.
Non-TGT enemies can contribute score, but they are cleanup targets only when no marked threat is endangering the boats. Survival and objective control come first on a normal clear.
Phase 4: React to the “900” railgun strike
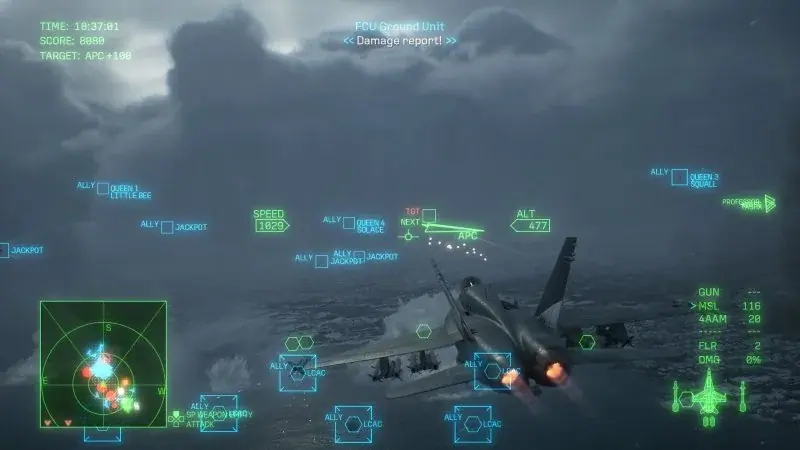
The ground unit’s damage report accompanies the change from advance to retreat.
As the landing force closes on shore, the “900” warning leads into a long-range land-battleship strike. The attack is scripted, and the operation changes from advance to withdrawal. Do not continue inland trying to rescue the original assault.
Turn toward the retreating LCACs as soon as control returns and rebuild your awareness from their direction of travel. Debris and weather can make the radar picture difficult to read, so follow the updated targets and the convoy instead of the old shoreline route.
The game provides warnings and projected lines for later shots. Break out of a firing line when warned, even if that means abandoning a nearly completed attack. A missed kill can be reacquired; flying through the incoming strike can end the attempt.
Phase 5: Escort the retreat and finish the required targets
Stay on the convoy side of the fight. New strike fighters, escorts, and helicopters arrive while shore defenses may remain active. Prioritize red TGT aircraft that are approaching the boats, and avoid being drawn into solo combat with an unmarked escort.
Long-range air-to-air weapons are especially useful here because they let you engage before the attackers settle into close defensive turns. With standard missiles, approach along the enemy’s path, create spacing, and fire from a favorable rear angle. If a target pulls you away from the retreat route, disengage and select the next marked threat.
Continue until the landing force reaches safety and all required targets are destroyed. Do not relax merely because the boats appear to be beyond the worst shore fire; the mission can still require the remaining hostile wave to be cleared.
Recovering from common failure patterns
If an LCAC disappears early, the cause is usually a threat-order problem rather than insufficient damage output.
- The boats take damage while you attack the beach: Return to the convoy and look for helicopters. On the next attempt, delay the deep ground run until that wave is removed.
- Artillery keeps firing: Shorten air chases. Kill only the priority aircraft needed to create a window, then strike marked howitzers or rocket artillery.
- A fighter absorbs repeated missiles: Stop firing into its strongest turn. Reposition for a rear-angle shot, use guns when stable, or switch to a more urgent target.
- SAM pressure ruins every ground pass: Destroy the indicated radar unit, then resume the priority artillery route.
- The retreat collapses: Turn around immediately after the scripted strike. Staying inland for extra ground kills puts you behind the moving convoy.
- Railgun fire catches you: Treat the warning and projected trajectory as a forced dodge cue. Break first and reacquire afterward.
- Special weapons run dry too soon: Reserve them for the threat type they solve best. Standard missiles should carry the routine work.
Restarting can be sensible when pursuing an all-LCAC objective and a craft is lost before the reversal. For an ordinary clear, continue if the mission has not failed; the mission medal has a lower survival requirement than the optional all-eight route.
Medal, named Ace, and S-rank goals
Optional-content spoiler warning: This section names Mission 5’s enemy Ace and explains the landing-craft survival goals.
The Mission 5 medal is Proud Shoulders, awarded for evacuating four or more LCACs. That objective is different from keeping every craft alive. If the medal is your only goal, build the route around reliable threat response rather than unnecessary score cleanup.
The named Ace is Custos, flying a Su-25SM Frogfoot. Named Aces appear only on Veteran difficulty or higher, and Mission 5 reports tie this encounter to preserving all eight LCACs. For an Ace attempt, keep the entire formation alive through the approach, remain alert around the transition into the railgun event, and be ready to make a quick interception without abandoning the convoy for long. Finish the mission after the kill so it counts.
There is no reliable fixed S-rank threshold here that should be treated as universal. A strong attempt combines quick priority kills, minimal dead time, and additional targets only during safe gaps. Do not sacrifice an LCAC or spend a minute chasing one evasive non-TGT merely to inflate the destruction score. The named-Ace route and an S-rank route can overlap, but neither outcome is guaranteed by one aircraft or weapon choice.
For cleanup, Free Mission is the practical place to use later aircraft and parts, pursue Custos, or refine a rank attempt. It unlocks after completing the campaign once and removes most carrier and back-to-back sortie restrictions.
Quick clear checklist
- Bring a carrier-capable multirole or an air-focused aircraft with a workable ground option.
- Kill the opening red fighters, then return toward the LCACs.
- Remove incoming helicopters before committing to the shore.
- Strike marked artillery first, tanks second, and non-TGTs only in safe gaps.
- Alternate one short ground pass with a fresh radar and convoy check.
- After the “900” strike, reverse course immediately.
- During retreat, stay near the convoy, hunt red TGT aircraft, and dodge every projected railgun line.
- Continue until the required enemies are gone and the landing force is safe.